Refreshing Strawberry Lemonade Popsicles – Easy Recipe
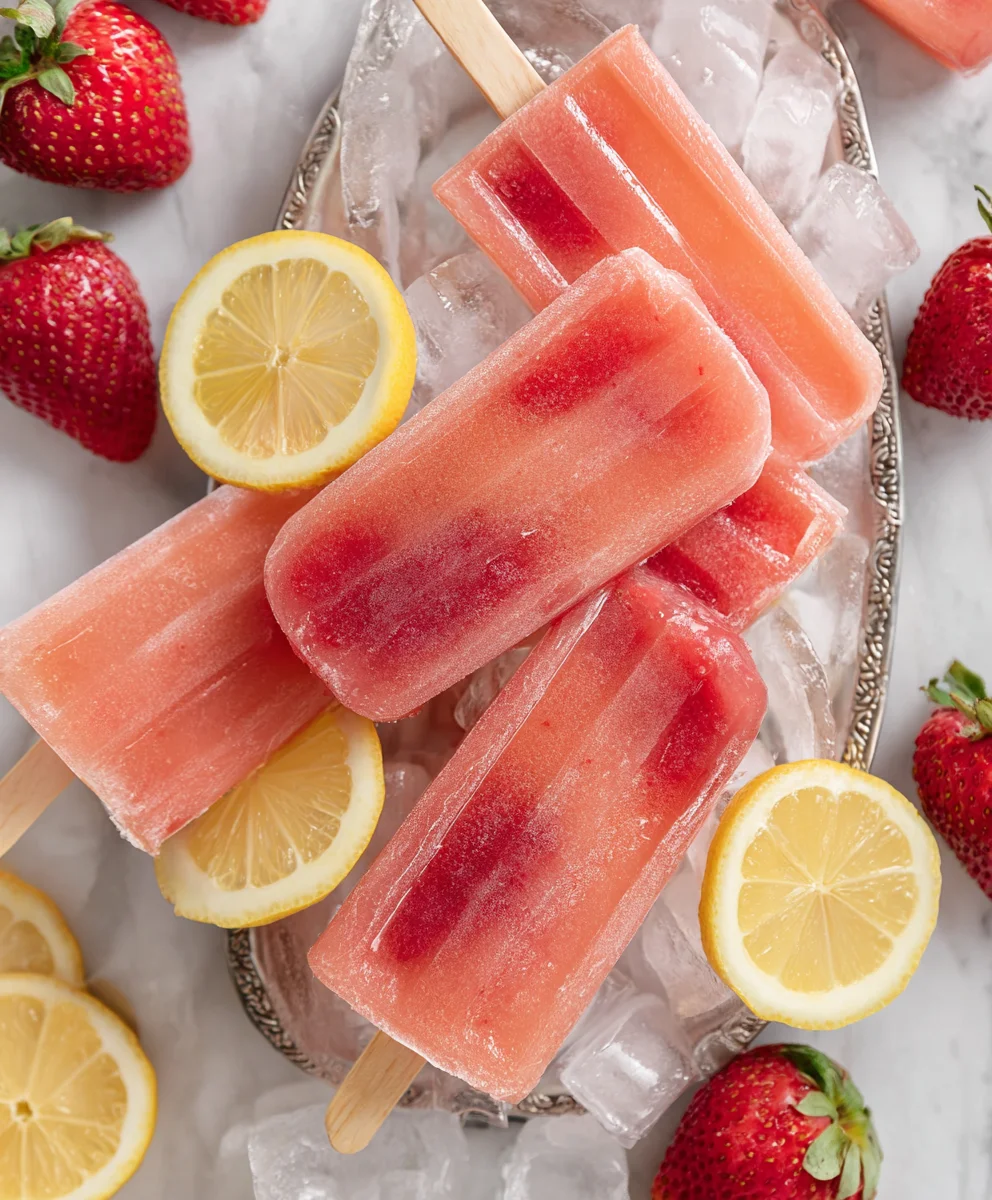
Strawberry Lemonade Popsicles are more than just a frozen treat; they are a gateway to pure, unadulterated summer joy. Imagin extracte this: the sun is shining, a gentle breeze whispers through the trees, and you’re holding a vibrant, frosty popsicle that perfectly balances sweet, ripe strawberries with the zesty tang of fresh lemon. It’s no wonder why these delightful creations are a perennial favorite. The appeal is simple yet profound – they evoke childhood memories, offer instant refreshment on a sweltering day, and deliver a burst of natural, fruity goodness without any fuss. What truly sets our Strawberry Lemonade Popsicles apart is the commitment to fresh, vibrant flavors. We’re not relying on artificial ingredients here; just the pure essence of sun-ripened strawberries and bright, zesty lemons, transforming simple components into something truly magical. Get ready to capture the taste of sunshine in every single bite!
Ingredients:
- 1 container (59 fl oz) Simply Lemonade
- 1 cup fresh strawberries, hulled and diced
- 1 tablespoon granulated sugar
Preparation Phase: Assembling the Base
Gathering Your Tools and Ingredients
Before we dive into creating these delightful Strawberry Lemonade Popsicles, let’s make sure we have everything we need. You’ll want to gather your ingredients first. Having them all out and ready will make the entire process smoother. You’ll need that container of Simply Lemonade – its bright, zesty flavor is the perfect foundation for our popsicles. Next, grab your fresh strawberries. The fresher they are, the more vibrant their flavor will be. We’re going to dice these, so have a sharp knife and a cutting board handy. Finally, we have a touch of sugar. This small amount will help to balance the tartness of the lemon and enhance the natural sweetness of the strawberries, ensuring a perfectly balanced popsicle.
Preparing the Strawberries
The first active step in our popsicle-making journey is preparing the strawberries. Take your cup of fresh strawberries, and give them a quick rinse under cool water to remove any lingering dirt. Once they’re clean, it’s time to hull them. This means removing the green leafy tops. You can do this by simply slicing them off with your knife. After hulling, dice the strawberries into small, bite-sized pieces. Aim for pieces that are roughly ¼ inch in size. These smaller pieces will distribute evenly throughout the popsicle, giving you a burst of strawberry goodness in every lick. Don’t worry if some pieces are slightly larger or smaller; consistency is nice but not absolutely critical here. The goal is simply to break them down so they meld beautifully with the lemonade.
The Sweetening and Mixing Phase: Creating the Perfect Blend
Sweetening the Strawberry Mixture
Now that our strawberries are prepped, let’s move on to sweetening them. In a small bowl, combine the diced strawberries with the 1 tablespoon of granulated sugar. Gently stir the sugar into the strawberries. The sugar will start to draw out some of the natural juices from the strawberries, creating a lovely, syrupy mixture. This process is called maceration, and it really helps to amplify the strawberry flavor. Let this mixture sit for about 5 to 10 minutes while you prepare your popsicle molds. This brief waiting period is crucial for allowing the sugar to work its magic and for the flavors to begin extract to meld. You’ll notice the strawberries start to look a little glossy and moist – that’s exactly what we want!
Combining Lemonade and Strawberries
With our sweetened strawberries ready, it’s time to bring everything together. Open up your container of Simply Lemonade. Pour the entire contents into a larger pitcher or bowl. Now, carefully add the macerated strawberries, along with any accumulated juices, into the lemonade. Give it a gentle stir to combine. You don’t want to whisk or beat this mixture vigorously, as we’re not trying to incorporate air. A slow, steady stir will ensure that the strawberry pieces are distributed evenly throughout the lemonade without breaking them down too much. We want those lovely little bits of fruit suspended in our popsicles. Taste the mixture at this point. If you prefer a sweeter popsicle, you can add another teaspoon of sugar, stirring until it dissolves completely. Conversely, if you want a more intense strawberry flavor, you can mash some of the strawberries slightly with a fork before adding them to the lemonade.
The Freezing Phase: Turning Liquid into Luscious Popsicles
Filling the Popsicle Molds
This is where the magic really starts to happen! Grab your popsicle molds. If you’re using standard plastic molds, ensure they are clean and dry. Carefully pour or ladle the strawberry lemonade mixture into each mold. Be sure not to fill them all the way to the very top. Leave a small amount of space, about ¼ inch, at the rim. This is important because as the liquid freezes, it will expand slightly. Overfilling the molds can lead to overflow, which creates a mess and can make it difficult to get the popsicles out later. If you’re using molds with built-in stick holders, pour the mixture up to the fill line indicated on the mold. For molds that require separate popsicle sticks, pour the mixture as described, and you’ll insert the sticks after a preliminary freeze.
The Crucial Freezing Process
Once your popsicle molds are filled, it’s time for them to take their journey to the freezer. Place the filled molds on a flat, stable surface in your freezer. This ensures that the popsicles freeze evenly and don’t end up lopsided. If you’re using molds that require you to insert popsicle sticks separately, you’ll want to let them freeze for about 1 to 2 hours until they are partially set. At this point, the mixture will be slushy but firm enough to hold a stick upright. Carefully insert a popsicle stick into the center of each partially frozen popsicle. Then, return the molds to the freezer for another 3 to 5 hours, or until they are completely frozen solid. The exact freezing time will depend on your freezer’s temperature and the size of your molds. It’s best to check them after 3 hours to gauge their readiness. Once they are firm all the way through, they are ready to be enjoyed!
Conclusion:
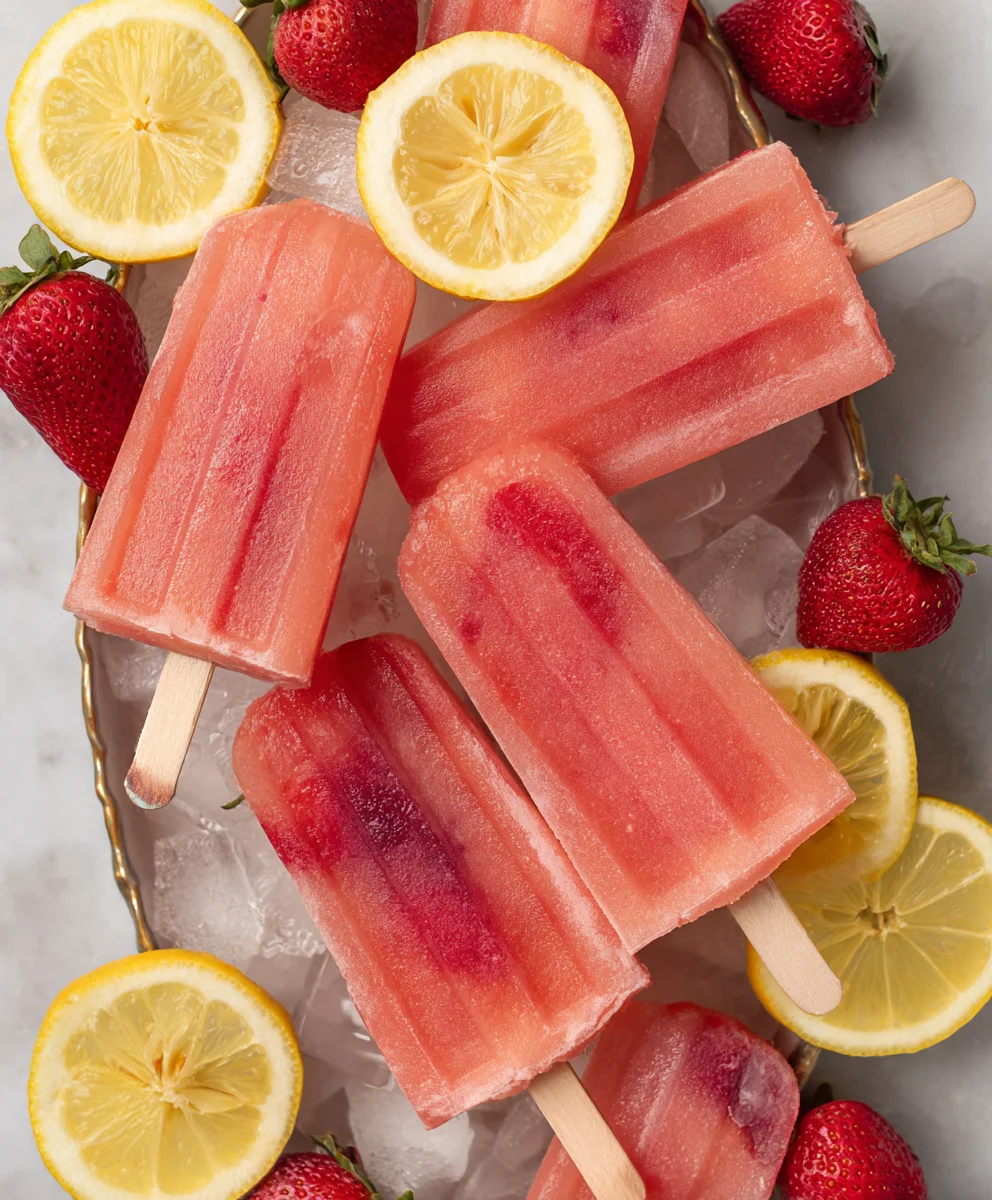
We’ve reached the sweet and tangy conclusion of our journey making delicious Strawberry Lemonade Popsicles! This recipe is incredibly straightforward, perfect for a hot summer day or anytime you need a refreshing treat. The vibrant combination of sweet strawberries and zesty lemon creates a flavor explosion that is both invigorating and satisfying. I hope you’ve enjoyed learning how to create these delightful frozen delights.
These Strawberry Lemonade Popsicles are fantastic served on their own, as a playful dessert for kids and adults alike. They also make a wonderful addition to barbecues, picnics, or simply an afternoon snack. For serving suggestions, consider garnishing them with a fresh mint sprig or a thin slice of lemon for an extra touch of elegance. You can also experiment with different fruit additions; think about blending in raspberries or even a touch of basil for a unique twist.
Don’t be afraid to get creative! Feel free to adjust the sweetness and tartness to your personal preference. If you find them too tart, add a touch more sugar or honey. If you prefer them more zingy, increase the lemon juice. The possibilities are endless, and the joy of homemade popsicles is truly rewarding. So, gather your ingredients, get blending, and enjoy these wonderful Strawberry Lemonade Popsicles!
Frequently Asked Questions about Strawberry Lemonade Popsicles:
Q1: Can I use frozen strawberries for this recipe?
Absolutely! Using frozen strawberries is a great option for these Strawberry Lemonade Popsicles. They will contribute to the frozen texture and intense strawberry flavor. If using frozen strawberries, you might need to let them thaw slightly before blending to ensure a smooth consistency.
Q2: How long do these popsicles typically take to freeze?
The freezing time for your Strawberry Lemonade Popsicles can vary depending on your freezer’s temperature and the size of your popsicle molds. Generally, it takes about 4 to 6 hours for them to fully solidify. For best results, ensure they are completely frozen before attempting to remove them from the molds.
Refreshing Strawberry Lemonade Popsicles – Easy Recipe
Simple and refreshing homemade popsicles made with fresh strawberries and lemonade. A perfect cool treat for a hot day!
Ingredients
-
1 container (59 fl oz) Simply Lemonade
-
1 cup fresh strawberries, hulled and diced
-
1 tablespoon granulated sugar
-
Water (for rinsing strawberries)
-
Ice (for freezing, implied)
Instructions
-
Step 1
Gather your ingredients: Simply Lemonade, fresh strawberries, and granulated sugar. Ensure you have a knife and cutting board for preparing the strawberries. -
Step 2
Rinse the fresh strawberries under cool water. Hull them by slicing off the green leafy tops. Dice the strawberries into small, approximately ¼ inch pieces. -
Step 3
In a small bowl, combine the diced strawberries with the 1 tablespoon of granulated sugar. Stir gently and let sit for 5 to 10 minutes to macerate. -
Step 4
Pour the entire container of Simply Lemonade into a pitcher or bowl. Add the macerated strawberries and their accumulated juices to the lemonade. Stir gently to combine. -
Step 5
Carefully pour the strawberry lemonade mixture into popsicle molds, leaving about ¼ inch of space at the rim to accommodate expansion during freezing. -
Step 6
Place the filled popsicle molds on a flat surface in the freezer. Allow to freeze for 1 to 2 hours until partially set. Insert popsicle sticks and return to the freezer for another 3 to 5 hours, or until completely frozen.
Important Information
Nutrition Facts (Per Serving)
It is important to consider this information as approximate and not to use it as definitive health advice.
Allergy Information
Please check ingredients for potential allergens and consult a health professional if in doubt.