Easy Homemade Cereal Bars – Quick & Delicious Recipe
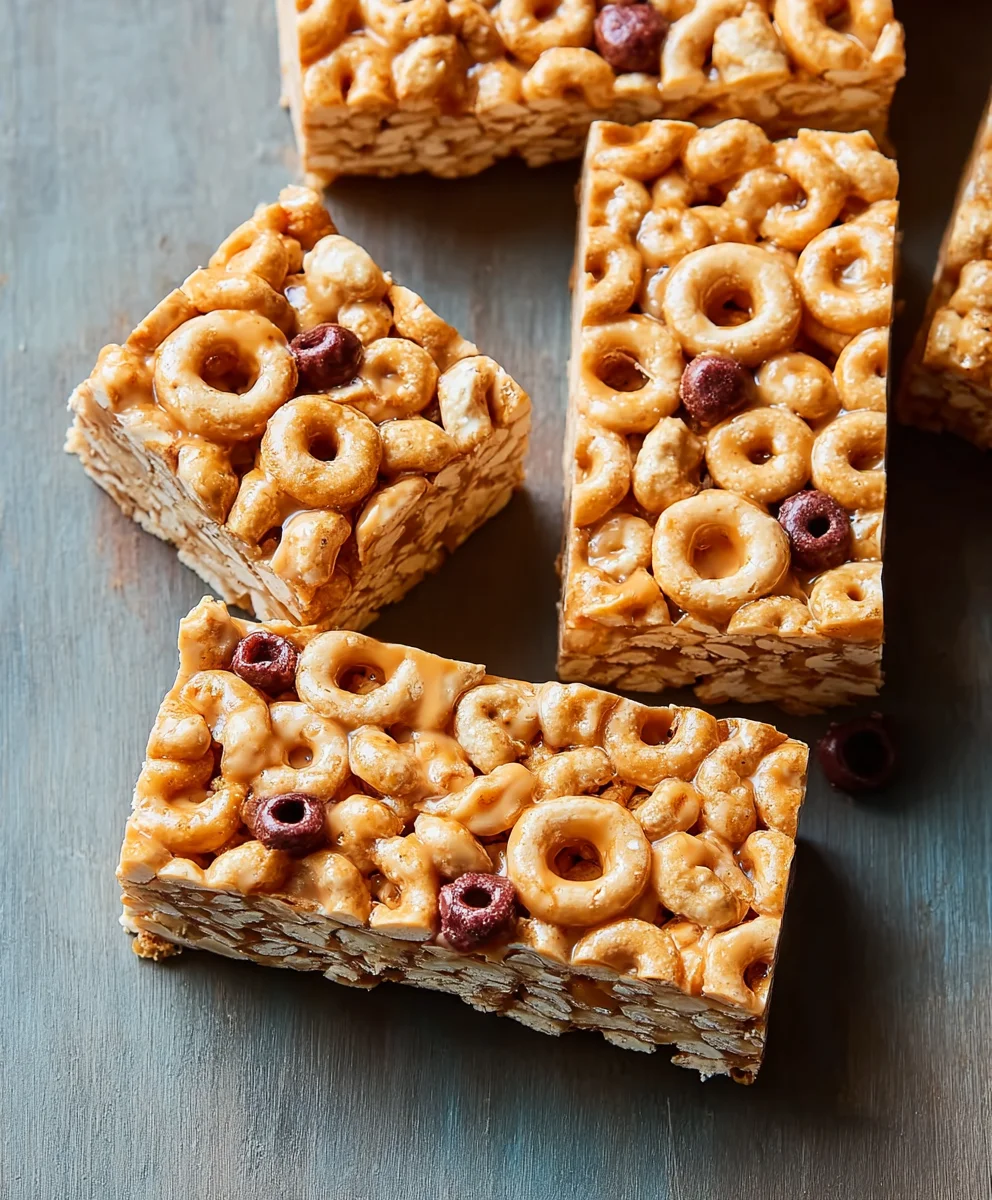
Cereal bars, oh how we love them! These delightful little treats are more than just a quick breakfast or snack; they’re a nostalgic hug in edible form, a portable burst of crunchy goodness that can brighten any moment of your day. What’s not to adore about them? They offer that perfect balance of sweetness and texture, a satisfying crunch that’s always welcome. Whether you’re rushing out the door, need a mid-afternoon pick-me-up, or are looking for a crowd-pleasing addition to a bake snon-alcoholic ale, homemade cereal bars always hit the spot. This recipe elevates the classic, infusing it with unique flavors and a texture that’s both chewy and delightfully crisp. Get ready to ditch the store-bought versions and discover how truly special homemade cereal bars can be, offering a customizable adventure for your taste buds!
Ingredients:
- 3 cups cereal of choice
- 2/3 cup peanut butter or nut butter of choice
- 1/2 cup agave, honey, or brown rice syrup
- 1/2 tsp salt (optional)
- 3 tbsp protein powder (optional)
Preparing Your No-Bake Cereal Bars
Step 1: Prepare Your Pan and Melt the Binder
The first step to creating these delightfully chewy cereal bars is to get your pan ready. You’ll need a square baking pan, typically an 8×8 inch size works perfectly for this recipe. Line it with parchment paper, making sure to leave some overhang on the sides. This parchment paper “sling” is a game-changer, making it incredibly easy to lift the entire block of cereal bars out of the pan once they’re set, allowing for clean cuts and minimal mess. Don’t skip this part! Next, it’s time to create the sticky, binding magic. In a medium saucepan, combine your chosen sweetener – whether it’s agave nectar for a vegan option, honey for its floral notes, or brown rice syrup for a mild sweetness – with your peanut butter (or any other nut butter you prefer, like almond or cashew butter for a different flavor profile). If you’re opting for a touch of salt to enhance the overall flavor and balance the sweetness, add it now. Place the saucepan over low heat. You want to gently melt these ingredients together, stirring constantly. The goal here is not to boil, but to achieve a smooth, uniform consistency where the peanut butter is fully incorporated into the sweetener. This gentle melting process ensures a smooth texture in your finished cereal bars and helps everything combine beautifully. Keep stirring until the mixture is liquid and well-blended; this usually takes about 2-3 minutes.
Step 2: Incorporate the Optional Protein Powder (If Using)
If you’ve decided to boost the nutritional content of your cereal bars with protein powder, this is the ideal time to add it. Once your peanut butter and sweetener mixture is smooth and has been removed from the heat, it’s time to whisk in the protein powder. Sift it in if you’re concerned about lumps, or just add it directly and whisk vigorously. Adding it while the mixture is still warm helps to ensure it dissolves smoothly and integrates evenly without clumping. You’ll want to whisk until there are no visible streaks of protein powder and the mixture is uniformly colored and smooth. This step is purely optional, but it’s a fantastic way to make your cereal bars more substantial and a great post-workout snack or a more filling breakfast option. If you’re not using protein powder, you can simply proceed to the next step.
Step 3: Combine the Cereal with the Binder
Now comes the fun part where we transform a bowl of cereal into delicious, portable treats. Pour your 3 cups of cereal directly into a large mixing bowl. The type of cereal you choose will significantly impact the flavor and texture of your bars. Classic choices like Rice Krispies or puffed rice cereal will yield a lighter, crispier bar, while options like Cheerios or bran flakes will result in a denser, chewier bar. Feel free to get creative with your cereal selection! Now, carefully pour the warm peanut butter and sweetener mixture over the cereal. Using a sturdy spatula or a wooden spoon, gently fold the cereal into the mixture. The key here is to coat every single piece of cereal evenly with the sticky binder. Be thorough but gentle; you don’t want to crush the cereal too much, as this can lead to a mushy texture. Continue mixing until all the cereal is well-coated and there are no dry pockets. This step is crucial for ensuring that your cereal bars hold their shape and have that satisfying chewy texture we all love.
Step 4: Press the Mixture into the Prepared Pan
Once the cereal is thoroughly coated, it’s time to transfer it to your prepared baking pan. Spoon the mixture into the parchment-lined pan. Now, this is where you want to apply some pressure to firmly pack the cereal mixture into the pan. You can use the back of your spatula, or for even better results, lightly grease your hands with a bit of neutral oil or cooking spray, or use another piece of parchment paper on top of the mixture and press down firmly. The firmer you press, the more compact and less crum extractbly your cereal bars will be. Aim for an even, level surface. Take your time with this step, ensuring that the mixture is compacted tightly into the corners and edges of the pan. This thorough pressing is what will prevent your bars from falling apart when you cut them.
Step 5: Chill and Cut Your Cereal Bars
With the cereal mixture firmly pressed into the pan, it’s time to let the magic of chilling work its wonders. Cover the pan with plastic wrap or foil, and place it in the refrigerator. You’ll want to let them chill for at least 1 to 2 hours. This chilling period is essential for allowing the peanut butter and sweetener to set properly, binding all the cereal together into a solid mass. The longer they chill, the firmer they will become. Once thoroughly chilled and firm to the touch, use the parchment paper overhang to carefully lift the entire block out of the pan and place it on a cutting board. Now, using a sharp knife, cut the block into your desired bar shapes. You can go for classic rectangles, squares, or even fun shapes if you’re feeling ambitious. For cleaner cuts, you might want to warm your knife slightly under hot water and dry it thoroughly before slicing. Store your finished cereal bars in an airtight container in the refrigerator to maintain their shape and texture.
Conclusion:
There you have it! Crafting your own delicious and wholesome Cereal Bars at home is surprisingly simple and incredibly rewarding. We’ve walked through each step, ensuring you can create these delightful treats that are perfect for breakfast on the go, an afternoon snack, or even a healthier dessert option. The satisfaction of knowing exactly what goes into your food, and the ability to customize them to your exact preferences, is truly unmatched.
These Cereal Bars are wonderfully versatile. Serve them chilled for a firmer bite, or at room temperature for a chewier experience. They pair beautifully with a glass of milk, a hot cup of coffee, or a refreshing herbal tea. For an extra touch, consider a light drizzle of melted chocolate or a dusting of powdered sugar before serving.
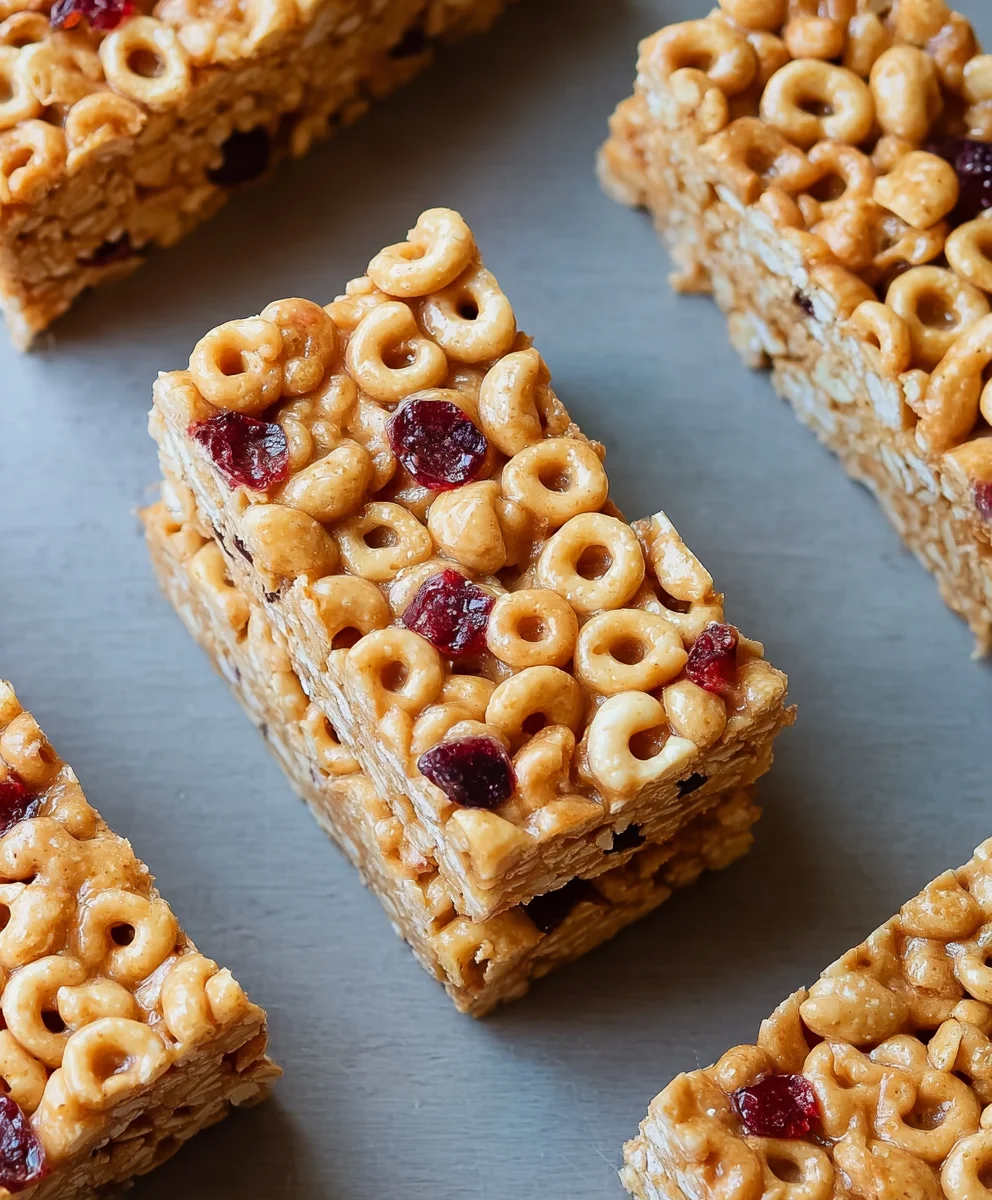
Don’t be afraid to get creative with the variations! Feel free to swap out different nuts for a new flavor profile, experiment with dried fruits like cranberries or apricots, or even add a pinch of cinnamon or nutmeg for warmth. The possibilities are endless, allowing you to tailor these Cereal Bars to your family’s unique tastes. We encourage you to try this recipe and make it your own. Happy baking!
Frequently Asked Questions:
Q1: How should I store my Cereal Bars?
You can store your Cereal Bars in an airtight container at room temperature for up to 3 days. For longer storage, they can be refrigerated for up to a week, or even frozen for up to 2 months. If freezing, ensure they are well-wrapped to prevent freezer burn.
Q2: Can I make these Cereal Bars gluten-free?
Absolutely! To make these Cereal Bars gluten-free, simply ensure you are using certified gluten-free oats. You may also want to check that any other added ingredients, such as chocolate chips or nuts, are also certified gluten-free to maintain the integrity of the recipe.
Q3: What kind of cereal is best for these Cereal Bars?
The beauty of these Cereal Bars is their adaptability. While a good quality granola or puffed rice cereal forms a great base, you can use almost any breakfast cereal you enjoy. Consider cereals with a bit of crunch and minimal sugar for the best results. Avoid highly sugary or easily-soggy cereals.
Easy Homemade Cereal Bars – Quick & Delicious Recipe
Quick and delicious no-bake cereal bars made with your favorite cereal, peanut butter, and a sweet binder. Perfect for a quick breakfast or snack.
Ingredients
-
3 cups cereal of choice
-
2/3 cup peanut butter or nut butter of choice
-
1/2 cup agave, honey, or brown rice syrup
-
1/2 tsp salt (optional)
-
3 tbsp protein powder (optional)
Instructions
-
Step 1
Line an 8×8 inch baking pan with parchment paper, leaving overhang. In a saucepan over low heat, gently melt together the sweetener (agave, honey, or brown rice syrup) and peanut butter (or other nut butter) until smooth. Stir in optional salt. -
Step 2
If using protein powder, whisk it into the warm peanut butter and sweetener mixture until fully incorporated and smooth. Remove from heat. -
Step 3
Pour 3 cups of your chosen cereal into a large bowl. Pour the warm peanut butter mixture over the cereal and gently fold until all cereal pieces are evenly coated. Be careful not to crush the cereal. -
Step 4
Spoon the coated cereal mixture into the prepared pan. Press firmly and evenly into the pan using a spatula or lightly oiled hands to ensure the bars hold their shape. Ensure the mixture is compacted into the corners. -
Step 5
Cover the pan and refrigerate for at least 1 to 2 hours, or until firm. Lift the block out of the pan using the parchment paper overhang and cut into desired bar shapes with a sharp knife.
Important Information
Nutrition Facts (Per Serving)
It is important to consider this information as approximate and not to use it as definitive health advice.
Allergy Information
Please check ingredients for potential allergens and consult a health professional if in doubt.