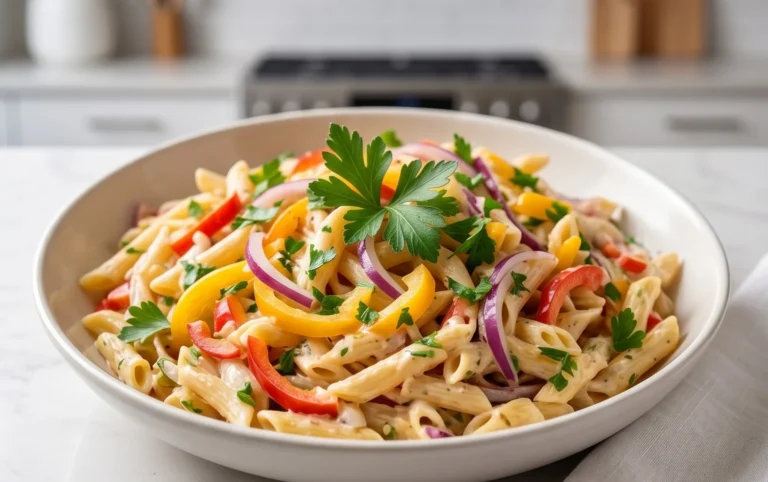
Classic Pasta Salad Recipe- Easy & Delicious Side Dish
Classic pasta salad is more than just a side dish; it’s a cornerstone of summer gatherings, a potluck legend, and a testament to simple, delicious flavors. Who doesn’t have a fond memory tied to a heaping bowl of this crowd-pleasing creation? It’s the ultimate in effortless entertaining, a dish that practically makes itself while you’re busy mingling. What truly makes this classic pasta salad so special is its incredible versatility. It’s a blank canvas, ready to be adorned with your favorite vibrant vegetables, savory meats, and creamy, tangy dressing. Whether you’re craving a light and refreshing bite or a hearty meal, this adaptable recipe delivers every single time. Get ready to discover the secrets to crafting the most delicious and memorable classic pasta salad you’ve ever tasted.
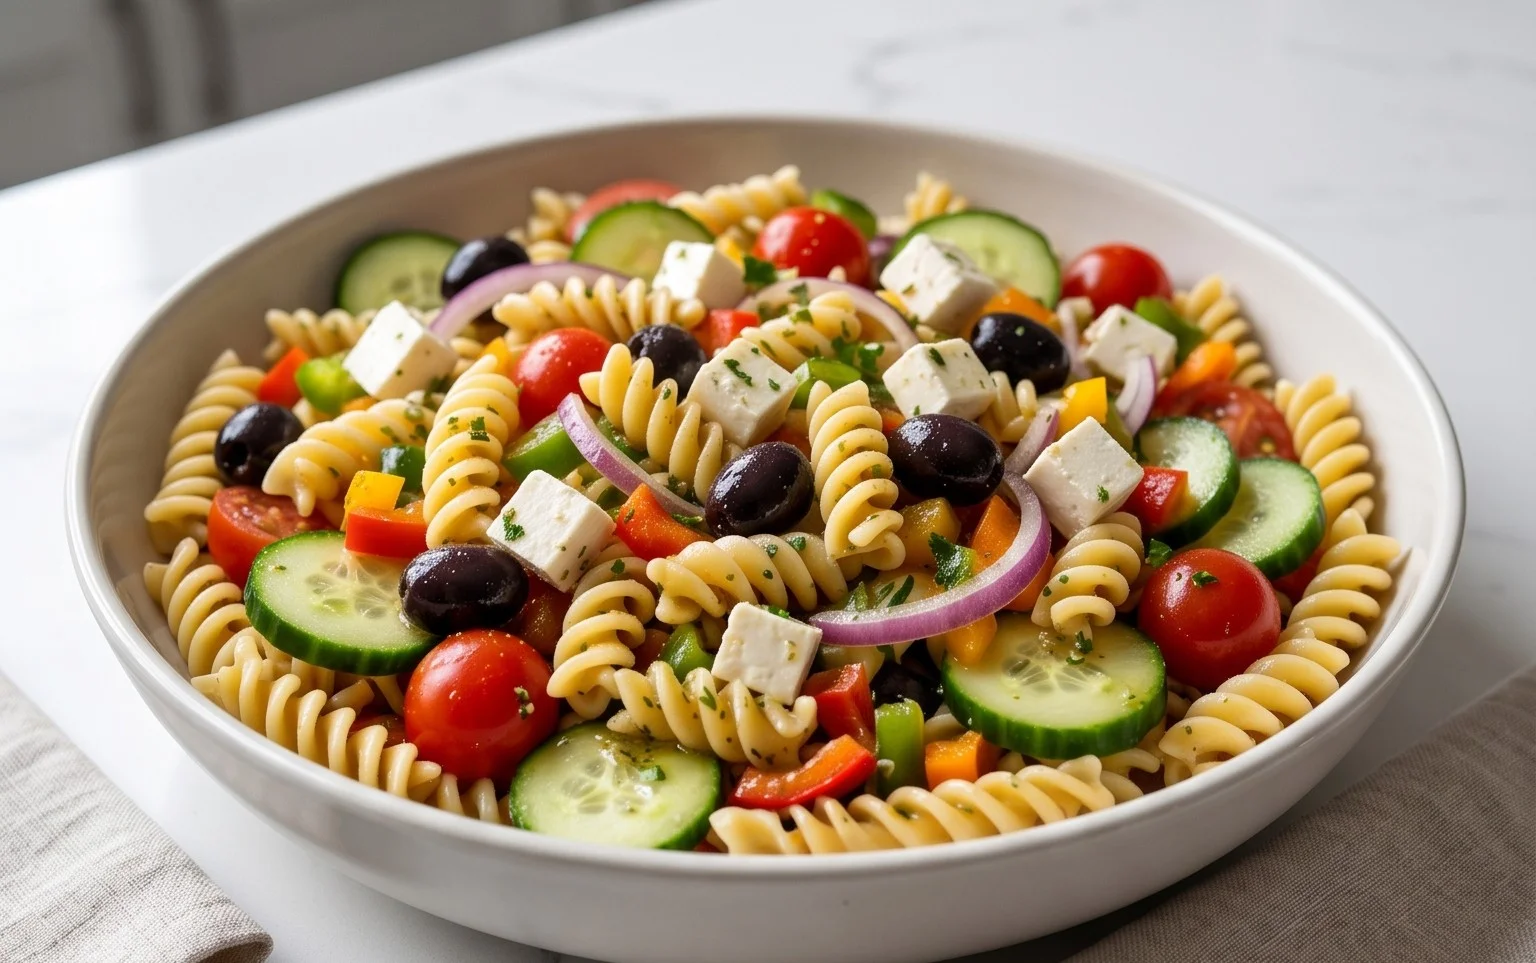
Classic Pasta Salad
There’s something undeniably comforting and satisfying about a well-made pasta salad. It’s the perfect side dish for barbecues, picnics, potlucks, or even just a light and flavorful weeknight meal. This Classic Pasta Salad recipe is a crowd-pleaser for a reason. It’s packed with vibrant flavors and textures, easy to customize, and can be made ahead of time, which is always a bonus when you’re entertaining. We’re talking about a delicious blend of al dente pasta, fresh vegetables, savory beef pepperoni, and a zesty, homemade dressing that brings it all together. Forget those bland, store-bought versions; this recipe is all about bringin extractg bold, classic flavors to your table.
The beauty of this pasta salad lies in its simplicity and the quality of its ingredients. We’re using tri-color rotini for a fun visual appeal and a shape that holds the dressing beautifully. The combination of cherry tomatoes, red onion, and green bell pepper adds a fresh crunch and a burst of sweetness and slight bitterness. The sliced beef pepperoni brings a salty, savory depth, while the mozzarella and Parmesan cheeses add a creamy, nutty richness. And of course, the dressing – oh, the dressing! A simple yet effective vinaigrette made with good olive oil, tangy red grape juice vinegar, and a classic Italian seasoning blend.
Let’s get down to what you’ll need to create this masterpiece.
Ingredients:
Cooking Instructions:
Step 1: Prepare the Pasta Base
The foundation of any great pasta salad is perfectly cooked pasta. For this recipe, we’ll be using 24 ounces of tri-color rotini. You’ll want to bring a large pot of generously salted water to a rolling boil. Don’t skimp on the salt; it’s crucial for flavoring the pasta from the inside out. Add the rotini and cook according to the package directions, but aim for just shy of al dente. We want the pasta to have a slight bite to it, as it will continue to soften as it chills in the dressing. Overcooked pasta can turn mushy, and nobody wants that in their pasta salad! Once cooked, drain the pasta thoroughly in a colander. To prevent the pasta from clumping together as it cools, you can rinse it briefly with cold water. While this is debated among pasta purists, for pasta salad, it’s a helpful step to ensure individual pasta pieces. Let the pasta sit in the colander to drain any excess water completely.
Step 2: Chop and Prepare the Fresh Ingredients
While the pasta is draining, it’s time to get your fresh ingredients ready. Halve your pint of cherry tomatoes. This not only makes them easier to eat but also allows them to release some of their juices, adding to the salad’s flavor. Dice one red onion. Red onion offers a nice sharp bite that complements the sweetness of the tomatoes and the richness of the cheese. If you find raw onion a bit too strong, you can soak the diced onion in ice water for about 10 minutes before draining and adding it to the salad; this will mellow its pungency. Next, dice one green bell pepper. Bell peppers add a lovely crunch and a touch of sweetness. Ensure the pieces are relatively uniform in size for a balanced bite throughout the salad. Slice your 8 ounces of olives. Black olives are a classic choice, but Kalamata olives would also add a wonderful briny flavor if you prefer.
Step 3: Assemble the Salad Components
Now for the fun part – bringin extractg everything together! In a large mixing bowl, combine the drained and cooled rotini pasta. Add the halved cherry tomatoes, diced red onion, diced green bell pepper, and sliced olives to the bowl. For the beef pepperoni, you can either add it as is, or if you want to intensify its flavor, you can gently sauté it in a dry skillet for a minute or two until it just starts to crisp up. Let it cool slightly before adding it to the bowl. Then, add the 16 ounces of cubed mozzarella cheese. Cubes are preferable to shredded for better texture and a more substantial cheese presence. Finally, sprinkle in the 1 cup of grated Parmesan cheese. This will add a salty, nutty dimension that ties all the flavors together.
Step 4: Whisk Together the Zesty Dressing
The dressing is what truly elevates this pasta salad. In a separate medium bowl or a large jar with a tight-fitting lid, combine 1 1/2 cups of good quality olive oil. To this, add 1/2 cup of red grape juice vinegar. This vinegar provides a lovely fruity tang without being too harsh. Next, add 2 tablespoons of Italian seasoning, which typically includes herbs like oregano, basil, thyme, and rosemary – the quintessential flavors of Italian cuisine. Follow this with 2 teaspoons of garlic powder for that essential garlic punch. Season with 1 1/2 teaspoons of salt and 1 teaspoon of black pepper. For a touch of heat, add 1/2 teaspoon of red pepper flakes. If you like things spicier, feel free to add a little more. Whisk all the ingredients vigorously until the dressing is well emulsified. If you’re using a jar, simply secure the lid tightly and shake it until everything is well combined.
Step 5: Combine and Chill
Pour the prepared dressing over the ingredients in the large mixing bowl. Gently toss everything together, ensuring that the pasta, vegetables, beef pepperoni, and cheeses are evenly coated with the dressing. This is where your spatula or large spoon comes in handy. Take your time and make sure no ingredient is left uncovered. Once everything is thoroughly mixed, cover the bowl tightly with plastic wrap or transfer the salad to an airtight container. For the best flavor, it’s crucial to let the pasta salad chill in the refrigerator for at least 2 to 4 hours. This allows the flavors to meld and deepen, creating a more complex and delicious final product. Ideally, making it the night before will result in an even more spectacular salad. Before serving, give it another gentle stir to redistribute the dressing. You can also add a final sprinkle of Parmesan cheese on top for an extra flourish. Enjoy this delightful Classic Pasta Salad!
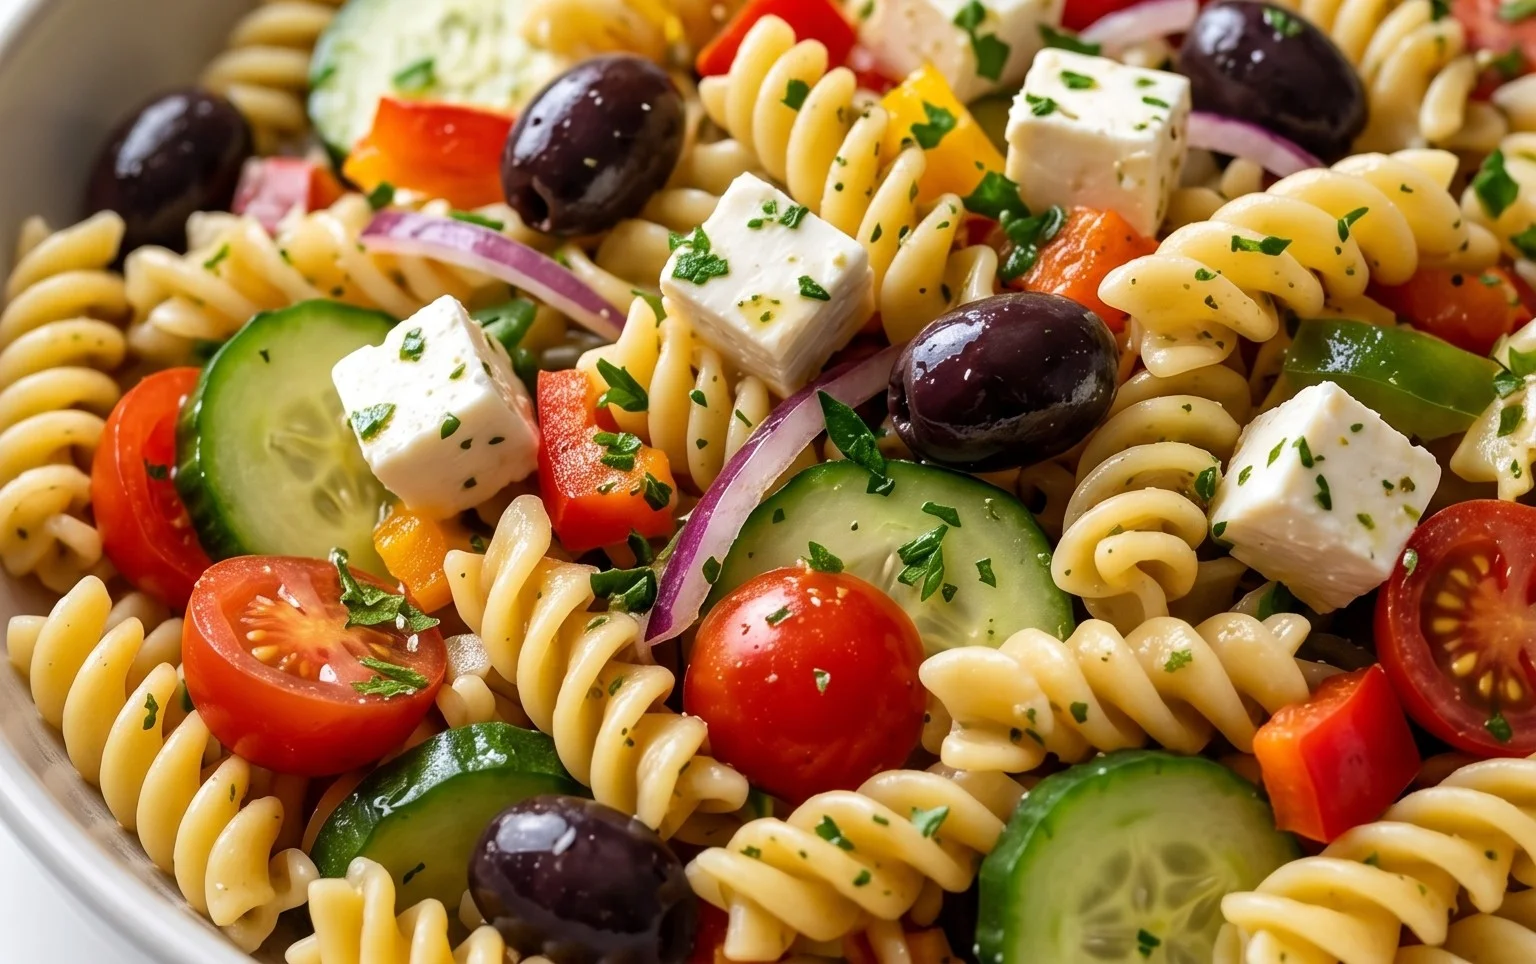
Conclusion:
There you have it – a truly delicious and satisfying Classic Pasta Salad recipe that’s perfect for any occasion! This dish is a winner because it’s incredibly versatile, incredibly flavorful, and surprisingly simple to whip up. The beauty of this Classic Pasta Salad lies in its ability to be customized to your heart’s content, making it a go-to for potlucks, picnics, weeknight dinners, or even just a light and refreshing lunch. Serve it alongside grilled chicken or fish, or let it shine as a star of your next barbecue buffet. Don’t hesitate to get creative with your add-ins; think of adding roasted vegetables, different cheeses, or even some spicy Italian sausage for an extra kick!
I truly encourage you to give this recipe a try. You’ll be amazed at how much you love it, and how many compliments you receive. It’s a crowd-pleaser that’s guaranteed to become a favorite in your recipe repertoire.
Frequently Asked Questions:
How can I make this pasta salad ahead of time?
This Classic Pasta Salad is an excellent make-ahead dish! You can prepare it a day in advance. Store it covered in the refrigerator. It’s best to add the dressing just before serving, or about 30 minutes prior, to prevent the pasta from becoming too soft. However, for this specific recipe, the dressing is robust enough that it can be mixed in beforehand without issue, allowing the flavors to meld beautifully overnight.
What pasta shapes work best for pasta salad?
While this recipe uses rotini, many pasta shapes hold up well. Farfalle (bow-tie), penne, fusilli, and elbow macaroni are all fantastic choices. The key is to choose a shape with nooks and crannies that can capture the delicious dressing and other ingredients. Avoid very thin or delicate pasta that can break apart easily.
Can I make this recipe vegetarian or vegan?
Absolutely! For a vegetarian version, simply omit any meat additions. To make it vegan, use a vegan mayonnaise or a vinaigrette-based dressing instead of a creamy one. Ensure all your add-ins, such as cheese, are also vegan-friendly.
Classic Pasta Salad
A refreshing and flavorful classic pasta salad perfect for potlucks and gatherings, featuring rotini pasta, colorful vegetables, savory pepperoni, and a zesty vinaigrette.
Ingredients
-
24 ounces tri-color rotini pasta (uncooked)
-
1 pint cherry tomatoes (halved)
-
12 ounces sliced beef pepperoni
-
1 red onion (diced)
-
1 green bell pepper (diced)
-
16 ounces mozzarella cheese (cubed)
-
1 cup grated parmesan cheese
-
8 ounces olives (sliced)
-
1 1/2 cups olive oil
-
1/2 cup red grape juice vinegar
-
2 tablespoons Italian seasoning
-
2 teaspoons garlic powder
-
1 1/2 teaspoons salt
-
1 teaspoon pepper
-
1/2 teaspoon red pepper flakes
Instructions
-
Step 1
Cook rotini pasta according to package directions. Drain and rinse with cold water to cool. -
Step 2
In a large bowl, combine the cooled pasta, halved cherry tomatoes, sliced beef pepperoni, diced red onion, and diced green bell pepper. -
Step 3
Add the cubed mozzarella cheese, grated parmesan cheese, and sliced olives to the pasta mixture. -
Step 4
In a separate small bowl or jar, whisk together the olive oil, red grape juice vinegar, Italian seasoning, garlic powder, salt, pepper, and red pepper flakes to create the dressing. -
Step 5
Pour the dressing over the pasta salad and toss gently to coat all ingredients evenly. -
Step 6
Cover the bowl and refrigerate for at least 30 minutes to allow the flavors to meld before serving.
Important Information
Nutrition Facts (Per Serving)
It is important to consider this information as approximate and not to use it as definitive health advice.
Allergy Information
Please check ingredients for potential allergens and consult a health professional if in doubt.