Vegan Chickpea Brownies-Flourless Gluten Free Delight
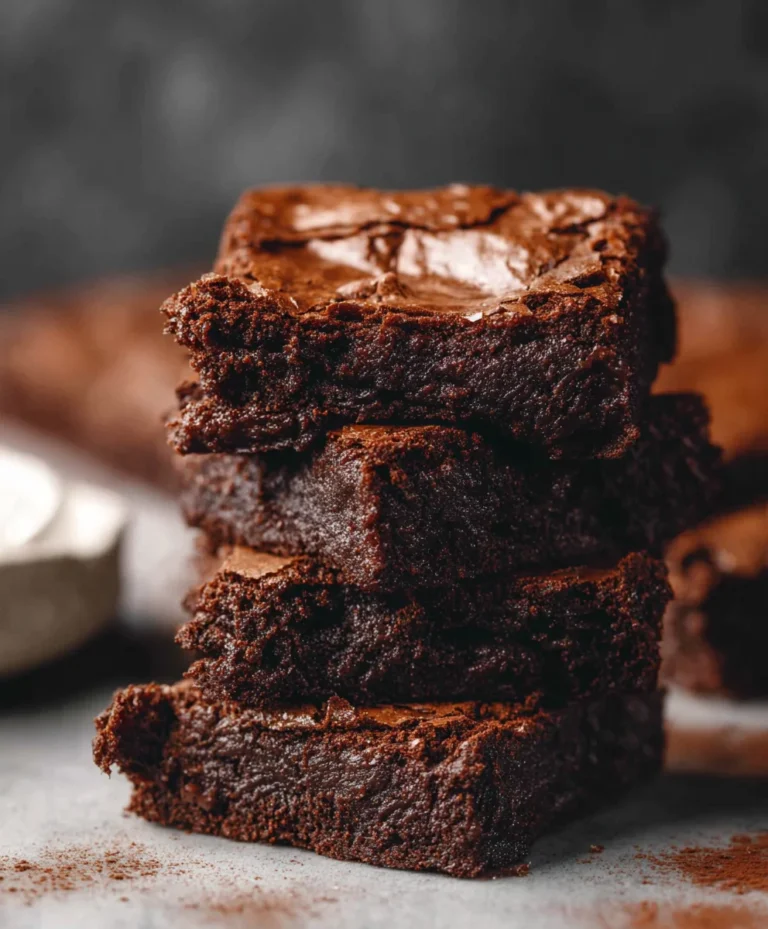
Flourless Chickpea Brownies are about to revolutionize your dessert game, and trust me, you won’t believe what makes them so incredibly fudgy and delicious! If you’ve been searching for a decadent treat that’s also kind to your body and dietary needs, your search ends here. These aren’t your average brownies; they’re a magical creation that satisfies every chocolate craving without a trace of flour or animal products. People absolutely adore these flourless chickpea brownies because they deliver an intensely rich, chocolatey flavor and a wonderfully dense, chewy texture that rivals traditional baked goods. What makes them truly special is the humble chickpea, which, when blended, creates an unbelievably smooth base that’s packed with plant-based protein and fiber, making them not only guilt-free but also surprisingly satisfying. Prepare to be amazed by how something so wholesome can be so utterly indulgent!
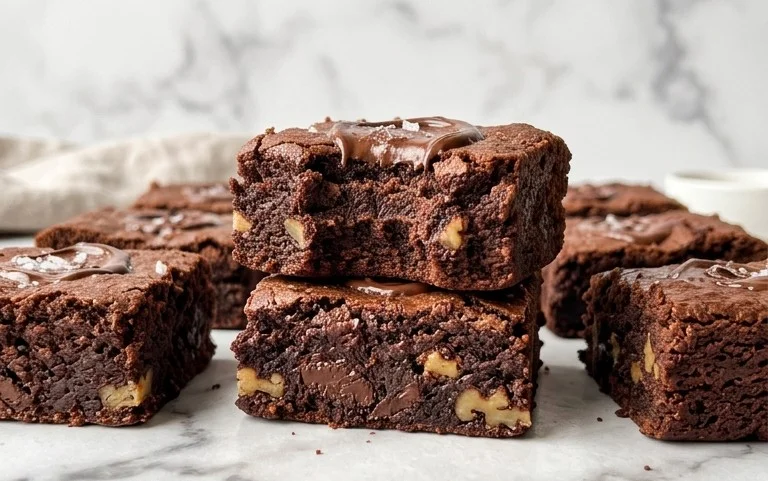
Flourless Chickpea Brownies (Vegan & Gluten Free)
Are you craving something decadent, fudgy, and chocolatey, but need to steer clear of gluten and animal products? Look no further! These flourless chickpea brownies are an absolute game-changer. They’re surprisingly simple to make, require no fancy ingredients, and the star of the show, chickpeas, provides a wonderful texture and a boost of plant-based protein. You won’t even taste them, I promise! What you’ll get is a rich, moist brownie that’s perfect for satisfying your sweet tooth while keeping it wholesome. These are fantastic for sharing, especially with friends or family who have dietary restrictions. They’re also a great make-ahead treat for busy weeks or impromptu dessert cravings.
Ingredients:
Cooking Instructions:
Let’s get baking! This recipe is so straightforward, you’ll wonder why you haven’t made it before.
1. Prepare the Chickpea Base: The first crucial step is to get your chickpeas ready. Open the can of chickpeas, pour them into a colander, and rinse them under cold running water. You want to wash away as much of the canning liquid as possible. After rinsing, give them a good shake to remove excess water. For these brownies, it’s important that the chickpeas are as dry as possible. Patting them gently with a paper towel can help if you want to be extra thorough. Then, transfer the rinsed and drained chickpeas to your food processor.
2. Create the Fudgy Batter: Now, it’s time to blend everything together. To the food processor with the chickpeas, add the ½ cup of almond butter (or your chosen alternative), ½ cup of pure maple syrup, and 1 tablespoon of vanilla extract. Pulse the ingredients a few times to start breaking down the chickpeas. Then, process until the mixture is as smooth as possible. This might take a minute or two, and you may need to scrape down the sides of the food processor bowl a couple of times to ensure everything is incorporated. You’re looking for a thick, paste-like consistency, similar to brownie batter. Don’t worry if it’s not perfectly silky smooth; a tiny bit of texture from the chickpeas is perfectly fine and adds to the charm of these brownies.
3. Incorporate the Dry Ingredients and Chocolate: Once you have a smooth chickpea and nut butter base, it’s time to add the remaining dry ingredients. Add the ½ teaspoon of baking powder, ½ teaspoon of baking soda, ½ teaspoon of sea salt, and ⅓ cup of unsweetened cocoa powder to the food processor. Pulse again to combine these dry ingredients with the wet mixture. Process until everything is well incorporated and you have a uniform, thick batter. Now, it’s time for the chocolate chips! Add about half of the ¾ cup of mini chocolate chips to the batter. Pulse a few more times, just until the chocolate chips are mixed into the batter. You don’t want to over-process at this stage, as you want some of those delightful pockets of melty chocolate throughout your brownies.
4. Bake Your Decadent Brownies: Preheat your oven to 350 degrees Fahrenheit (175 degrees Celsius). Line an 8×8 inch baking pan with parchment paper, leaving some overhang on the sides. This will make it super easy to lift the brownies out of the pan once they’re baked. Spoon the brownie batter into the prepared pan and spread it out evenly with a spatula. It will be quite thick, so press it down gently to create a relatively even surface. Sprinkle the remaining mini chocolate chips over the top of the batter. This creates that classic brownie look and adds an extra burst of chocolate with every bite. Place the pan in the preheated oven and bake for 25-30 minutes. The brownies are done when a toothpick inserted into the center comes out with moist crum extractbs attached, but no wet batter. Be careful not to overbake, as that can lead to dry brownies, and we’re aiming for fudgy perfection here!
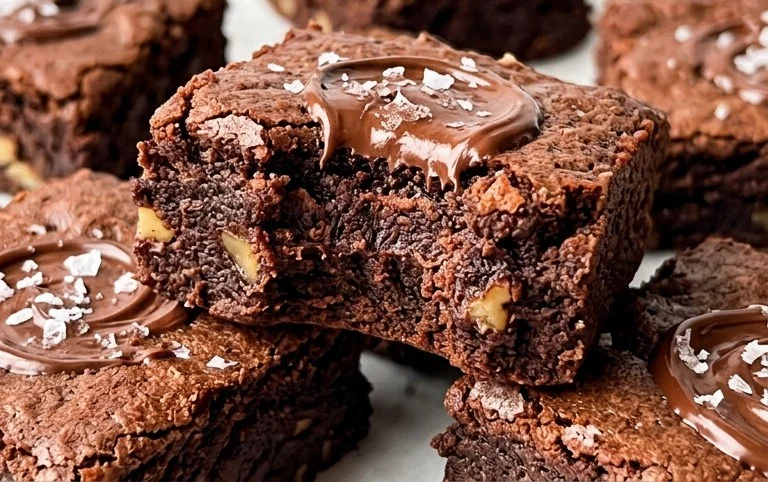
5. Cool and Enjoy the Bliss: This is perhaps the hardest part – waiting! Once the brownies are baked, remove the pan from the oven and let them cool completely in the pan on a wire rack. This step is crucial for the texture. As they cool, they will firm up significantly. Trying to cut them while warm can result in a crum extractbly mess. For the fudgiest results, I often recommend letting them cool for at least an hour, or even better, chilling them in the refrigerator for a couple of hours or overnight. Once completely cooled, use the parchment paper overhang to lift the entire brownie slab out of the pan. You can then cut them into squares using a sharp knife. These brownies are delicious served at room temperature, slightly chilled, or even gently warmed. They store beautifully in an airtight container at room temperature for up to 3 days, or in the refrigerator for up to a week. Enjoy every single fudgy, chocolatey bite!
Conclusion:
I hope you’re as excited as I am to try these incredible flourless chickpea brownies! They truly are a game-changer for anyone looking for a decadent dessert that’s also vegan and gluten-free. The humble chickpea lends a surprising moistness and fudgy texture without any of the gluten or dairy. It’s amazing how simple ingredients can create such a satisfying and delicious treat. They’re perfect for satisfying that chocolate craving while being a healthier alternative to traditional brownies.
These flourless chickpea brownies are wonderfully versatile. I love them simply dusted with a little powdered sugar, or with a dollop of vegan whipped cream. For an extra indulgence, try them warm with a scoop of your favorite vegan ice cream. If you’re feeling adventurous, consider adding some chopped nuts, vegan chocolate chips, or even a swirl of nut butter into the batter before baking. Don’t be afraid to experiment and make them your own!
I genuinely encourage you to give this recipe a go. You might be surprised at how easy they are to make and how absolutely delicious they turn out. They’re a fantastic option for potlucks, parties, or just a cozy night in. Enjoy every fudgy bite!
Frequently Asked Questions:
Can I taste the chickpeas in the brownies?
Absolutely not! The flavor of the chickpeas is completely masked by the rich cocoa and sweetness. You’ll be amazed at how they contribute to the perfect fudgy texture without imparting any bean-like flavor.
What kind of chickpeas should I use?
You can use canned or home-cooked chickpeas. Make sure they are well-rinsed and drained if using canned. For the best results, ensure there are no skins remaining after rinsing.
Can I freeze these brownies?
Yes! These flourless chickpea brownies freeze beautifully. Wrap them tightly in plastic wrap and then place them in an airtight container or freezer bag. They should last for up to 2-3 months in the freezer and can be thawed at room temperature.
Flourless Chickpea Brownies (Vegan & Gluten Free)
Decadent, fudgy brownies made with chickpeas, almond butter, and cocoa powder. Naturally vegan and gluten-free.
Ingredients
-
15.5 ounces chickpeas (1 can), rinsed and drained
-
½ cup almond butter
-
½ cup pure maple syrup
-
1 tablespoon vanilla extract
-
½ teaspoon baking powder
-
½ teaspoon baking soda
-
½ teaspoon sea salt
-
⅓ cup unsweetened cocoa powder
-
¾ cup mini chocolate chips
Instructions
-
Step 1
Preheat your oven to 350°F (175°C). Line an 8×8 inch baking pan with parchment paper. -
Step 2
In a food processor, combine the rinsed and drained chickpeas, almond butter, pure maple syrup, and vanilla extract. Process until smooth and creamy, scraping down the sides as needed. -
Step 3
Add the baking powder, baking soda, sea salt, and cocoa powder to the food processor. Process again until well combined and the batter is thick and fudgy. -
Step 4
Fold in ¾ cup of mini chocolate chips, reserving a small handful for topping if desired. -
Step 5
Spread the batter evenly into the prepared baking pan. Sprinkle with the reserved chocolate chips, if using. -
Step 6
Bake for 20-25 minutes, or until a toothpick inserted into the center comes out with moist crumbs attached (not wet batter). -
Step 7
Let the brownies cool completely in the pan on a wire rack before cutting into squares.
Important Information
Nutrition Facts (Per Serving)
It is important to consider this information as approximate and not to use it as definitive health advice.
Allergy Information
Please check ingredients for potential allergens and consult a health professional if in doubt.