Blue Cookie Monster Cookies- Fun & Easy Recipe
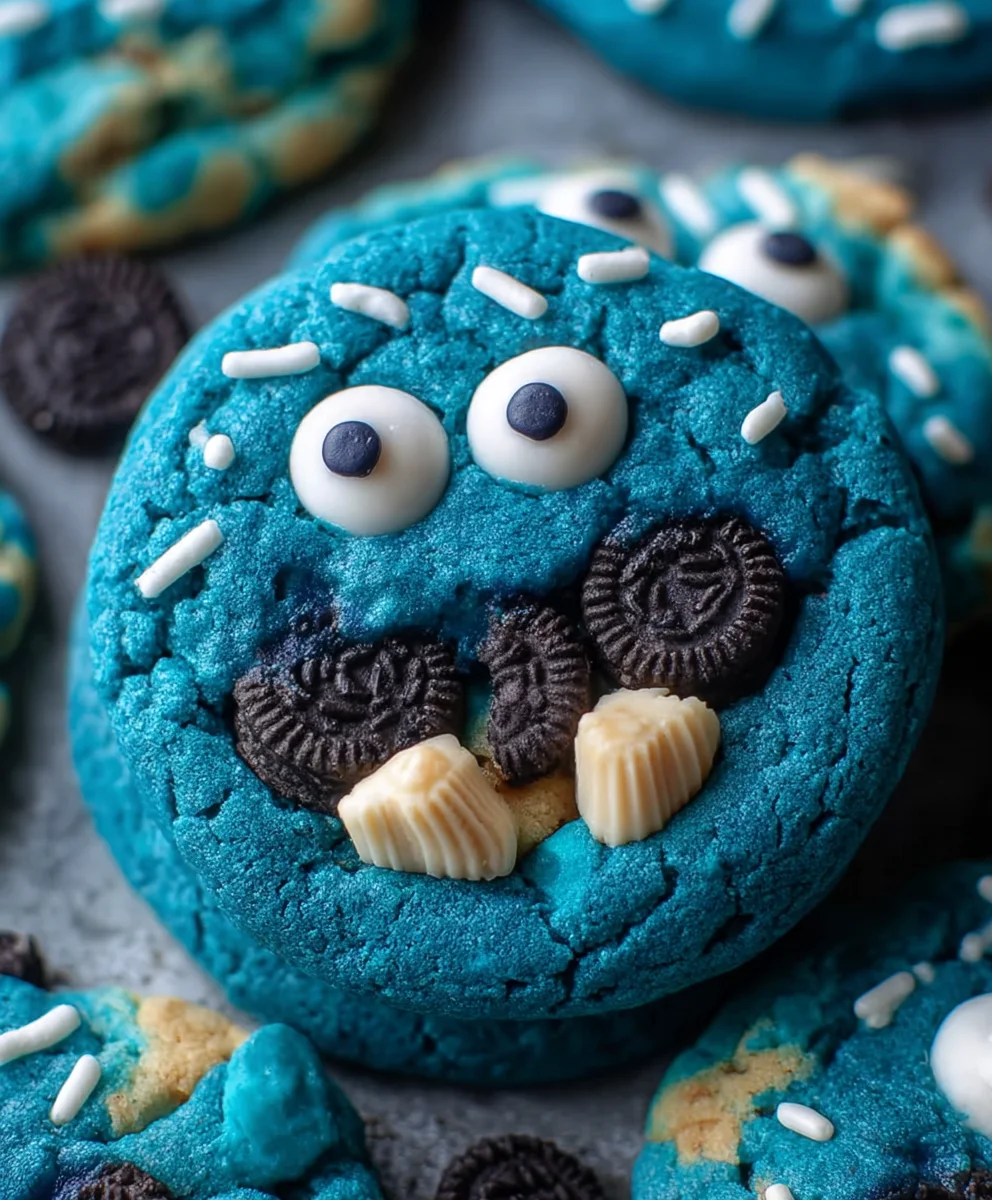
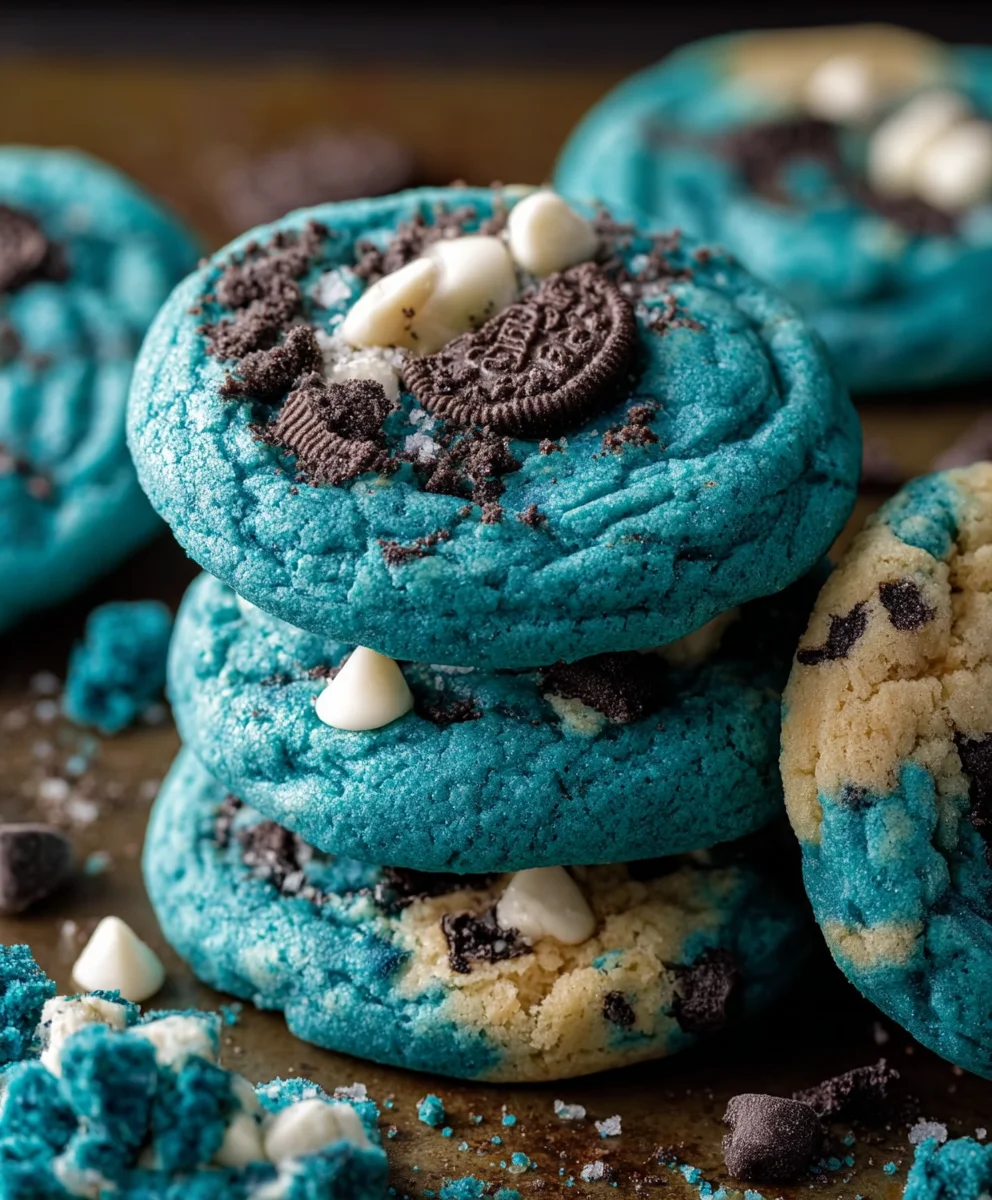
Blue Cookie Monster Cookies are more than just a treat; they’re a vibrant explosion of childhood joy and nostalgic delight that instantly transports you back to simpler times. Who doesn’t remember the beloved, fuzzy blue monster from Sesame Street, with his insatiable appetite for cookies? These delightful confections aim to capture that same infectious enthusiasm and pure, unadulterated happiness in every single bite. What truly makes these Blue Cookie Monster Cookies so special is their irresistible combination of textures and flavors: the satisfying crunch of the cookie, the gooey pockets of melted chocolate chips, and the fun, whimsical pops of candy-coated chocolate that mimic the monster’s iconic blue fur. They’re the perfect way to add a splash of color and fun to any gathering, from birthday parties to casual get-togethers, guaranteed to bring smiles to faces young and old.
Ingredients:
- 3 cups (360g) all-purpose flour
- 2 teaspoons cornstarch
- 1 teaspoon baking soda
- 1/4 teaspoon salt
- 2 sticks (1 cup) unsalted butter, softened to room temperature
- 1 1/4 cups packed light brown sugar
- 1/4 cup granulated sugar
- 2 large eggs, at room temperature
- 1 teaspoon pure vanilla extract
- Royal blue gel food coloring
- Electric blue gel food coloring
- Violet gel food coloring
- 2/3 cup white chocolate chips, divided
- 2/3 cup mini Chips Ahoy cookies, roughly chopped
- 2/3 cup Oreo cookies, roughly chopped (filling included)
Preparing the Cookie Dough Base
Dry Ingredients Whisking
In a medium-sized bowl, whisk together the all-purpose flour, cornstarch, baking soda, and salt. This step is crucial for ensuring that the leavening agents and salt are evenly distributed throughout the flour, which will lead to consistent cookie texture and rise. The cornstarch acts as a tenderizer, resulting in a softer, chewier cookie. Set this bowl aside for now.
Creaming Butter and Sugars
In a large mixing bowl, preferably using a stand mixer with the paddle attachment, cream together the softened unsalted butter, packed light brown sugar, and granulated sugar. Begin extract by mixing on low speed to incorporate the ingredients, then increase to medium-high speed and beat for about 3-5 minutes, or until the mixture is light and fluffy. This creaming process incorporates air into the dough, which contributes to the cookies’ structure and prevents them from spreading too much during baking. Scrape down the sides of the bowl occasionally to ensure all ingredients are thoroughly combined.
Incorporating Wet Ingredients
Add the room temperature large eggs, one at a time, to the creamed butter and sugar mixture. Beat well after each addition until fully incorporated. It’s important that the eggs are at room temperature because they emulsify better with the fats in the butter, creating a smoother, more stable dough. Next, mix in the pure vanilla extract. Continue to beat until the entire mixture is well combined and smooth.
Combining Wet and Dry
Gradually add the dry ingredients (from the first bowl) to the wet ingredients in the large mixing bowl. Mix on low speed until just combined. Be careful not to overmix at this stage. Overmixing can develop the gluten in the flour too much, resulting in tough cookies. Stop mixing as soon as you no longer see streaks of flour. The dough will be thick and slightly sticky.
Dividing and Coloring the Dough
Portioning the Dough
Divide the cookie dough evenly into three separate bowls. Aim for roughly equal portions so that the colors are distributed fairly.
Creating the Blue Hues
Now for the fun pargin extract bringing the Blue Cookie Monster to life! In the first bowl, add a generous amount of royal blue gel food coloring. In the second bowl, add a similar amount of electric blue gel food coloring. In the third bowl, add a combination of violet and a smaller amount of royal blue gel food coloring to create a deeper, more muted blue-purple shade. Gel food coloring is ideal here as it provides intense color without adding excess liquid to the dough, which could affect the texture.
Knead the coloring into each portion of dough until the color is uniform and vibrant. Wear gloves if you want to avoid stained hands!
Adding the Mix-ins
Folding in the Goodies
Gently fold half of the white chocolate chips into the royal blue dough. Then, divide the chopped mini Chips Ahoy cookies and the chopped Oreo cookies between the electric blue dough and the violet-blue dough. You want a good distribution of both types of cookies and chocolate chips throughout the doughs. Again, be careful not to overmix. You’re aiming to incorporate the additions without breaking them down too much, preserving their texture and visual appeal in the final cookies.
Chilling and Shaping
Dough Chilling for Structure
Cover each bowl of colored dough tightly with plastic wrap and refrigerate for at least 30 minutes, or up to 2 days. Chilling the dough is a critical step. It allows the fats to firm up, which prevents the cookies from spreading excessively during baking. It also allows the flavors to meld together, resulting in a more complex and delicious cookie.
Forming the Monster Cookies
Once the dough is chilled and firm, it’s time to create the signature “monster” look. For each cookie, take a portion of each colored dough – for example, a small scoop of royal blue, a slightly larger scoop of electric blue, and a medium scoop of violet-blue. Gently press the scoops together, but don’t overwork them. You want distinct swirls of color. Then, gently roll the combined dough into a ball. Press down lightly on the top of each ball to slightly flatten it.
Baking the Blue Wonders
Preheating and Baking Surface Prep
Preheat your oven to 350°F (175°C). Line baking sheets with parchment paper or silicone baking mats. This prevents the cookies from sticking to the baking sheet and ensures even baking.
Baking the Blue Cookie Monster Cookies
Place the formed cookie dough balls onto the prepared baking sheets, leaving about 2 inches of space between each cookie to allow for spreading. Bake for 10-14 minutes, or until the edges are set and lightly golden brown, but the centers still look slightly soft. The exact baking time will depend on your oven and the size of your cookies. Avoid overbaking, as this will result in a dry, hard cookie.
Cooling Process
Once baked, remove the baking sheets from the oven. Let the cookies cool on the baking sheets for about 5 minutes before carefully transferring them to a wire rack to cool completely. This allows the cookies to set up fully without breaking. The white chocolate chips will be melted and gooey, and the cookie pieces will be perfectly chewy. Enjoy your spectacular Blue Cookie Monster Cookies!
Conclusion:
There you have it! Your ultimate guide to crafting the most delightful Blue Cookie Monster Cookies. We’ve walked through each step, from selecting the perfect blue food coloring to achieving that signature chunky texture with chips and candies. These cookies are more than just a treat; they’re a nostalgic journey, a burst of vibrant fun, and a guaranteed crowd-pleaser for any occasion. I truly hope you enjoy making and devouring these as much as I do!
For serving, these Blue Cookie Monster Cookies are fantastic on their own with a cold glass of milk. They also make a wonderful addition to birthday parties, classroom celebrations, or even a fun afternoon baking project with the kids. Don’t be afraid to get creative with your variations! You can swap out the chocolate chips for white chocolate, add sprinkles for extra sparkle, or even mix in some M&M’s for a delightful crunch. The possibilities are endless!
Frequently Asked Questions about Blue Cookie Monster Cookies:
Q: Can I make these cookies ahead of time?
A: Absolutely! You can prepare the cookie dough and refrigerate it for up to 2 days before baking. This allows the flavors to meld beautifully. You can also freeze the dough balls for up to 3 months. Just bake them directly from frozen, adding a couple of extra minutes to the baking time.
Q: My cookies spread too much. What did I do wrong?
A: Cookie spread can be caused by a few things. Ensure your butter isn’t too soft or melted when you cream it with the sugar. Also, make sure you’re measuring your flour accurately by spooning it into the measuring cup and leveling it off, rather than scooping directly from the bag. Chilling the dough before baking can also help prevent excessive spreading.
Blue Cookie Monster Cookies – Fun & Easy Recipe
Create these fun and easy Blue Cookie Monster Cookies with a vibrant swirl of colors and delicious mix-ins. Perfect for parties and cookie lovers!
Ingredients
-
3 cups all-purpose flour
-
2 teaspoons cornstarch
-
1 teaspoon baking soda
-
1/4 teaspoon salt
-
1 cup unsalted butter, softened
-
1 1/4 cups packed light brown sugar
-
1/4 cup granulated sugar
-
2 large eggs
-
1 teaspoon pure vanilla extract
-
Royal blue gel food coloring
-
Electric blue gel food coloring
-
Violet gel food coloring
-
2/3 cup white chocolate chips, divided
-
2/3 cup mini Chips Ahoy cookies, roughly chopped
-
2/3 cup Oreo cookies, roughly chopped (filling included)
Instructions
-
Step 1
In a medium bowl, whisk together flour, cornstarch, baking soda, and salt. In a large bowl, cream softened butter with brown and granulated sugars until light and fluffy. Beat in eggs one at a time, then vanilla extract. -
Step 2
Gradually add dry ingredients to wet ingredients, mixing on low speed until just combined. Do not overmix. -
Step 3
Divide dough into three equal portions. Color one portion royal blue, another electric blue, and the third with violet and a little royal blue. Knead until color is uniform. -
Step 4
Fold half of the white chocolate chips into the royal blue dough. Divide chopped Chips Ahoy and Oreo cookies between the electric blue and violet-blue doughs. Gently fold in mix-ins. -
Step 5
Cover each dough and chill for at least 30 minutes. For each cookie, take a portion of each colored dough, gently press scoops together (don’t overwork), and roll into a ball. Lightly flatten. -
Step 6
Preheat oven to 350°F (175°C). Line baking sheets with parchment paper. Place cookie balls on sheets, 2 inches apart. -
Step 7
Bake for 10-14 minutes, until edges are set and lightly golden, and centers are still soft. Let cool on baking sheets for 5 minutes before transferring to a wire rack to cool completely.
Important Information
Nutrition Facts (Per Serving)
It is important to consider this information as approximate and not to use it as definitive health advice.
Allergy Information
Please check ingredients for potential allergens and consult a health professional if in doubt.