Small-Batch Black Forest Brownies-Rich Chocolate Cherry Bliss
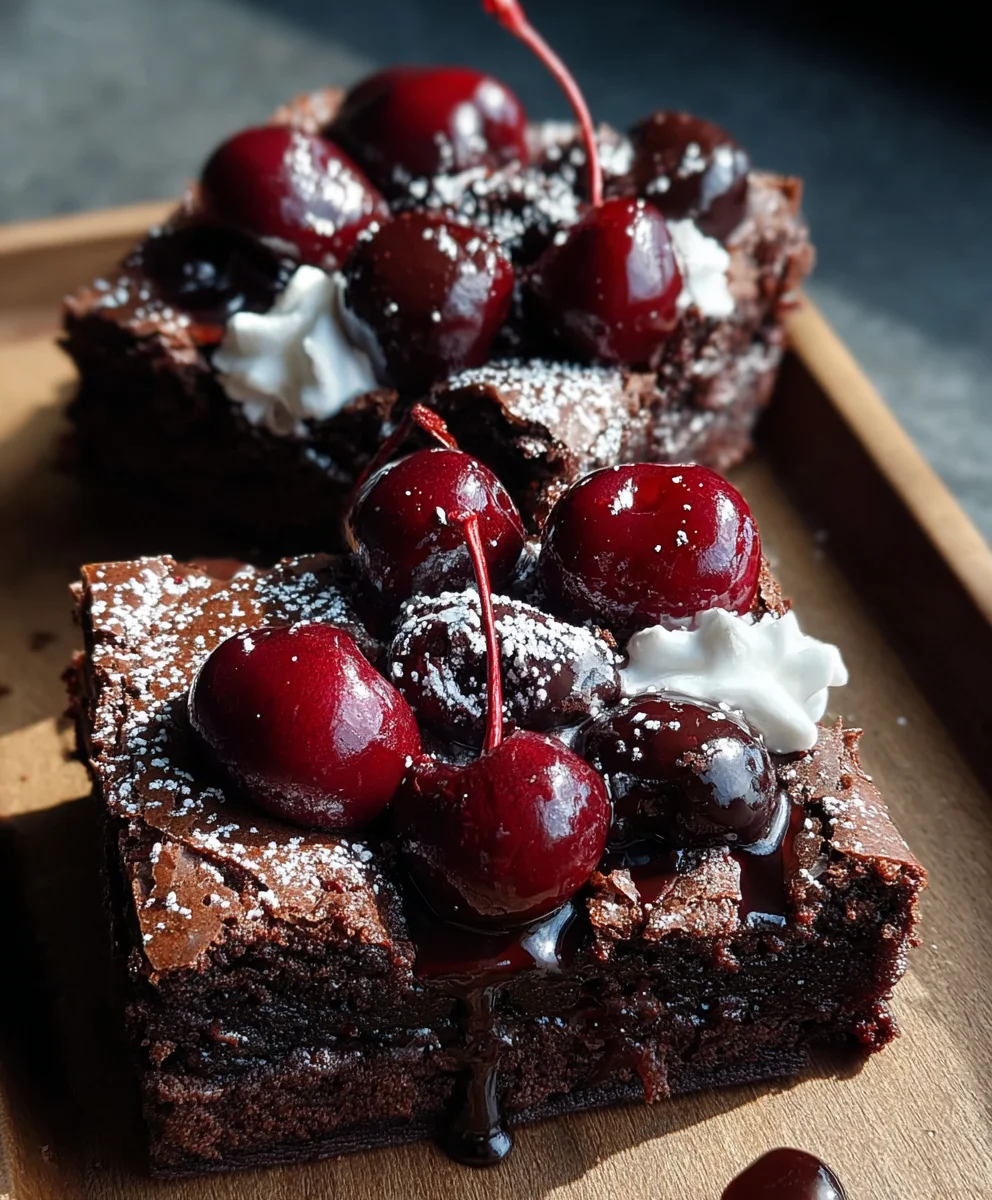
Small-Batch Black Forest Brownies are more than just a dessert; they’re a decadent escape, a miniature masterpiece that packs a punch of intense chocolate flavor, tart cherries, and a whisper of kirsch extract. Who doesn’t adore the classic combination of rich chocolate and bright, juicy cherries? It’s a flavor profile that evokes pure indulgence and comfort. What truly sets these brownies apart, especially when crafted in small batches, is the refined intensity of each element. We’re not just talking about your average brownie; these are deeply fudgy, studded with plump, macerated cherries that burst with flavor, and finished with a delicate dusting of cocoa that hints at the complex, layered experience to come. Making them in a small batch means you can savor every single bite without overindulgence, making them perfect for sharing with a loved one or treating yourself to a moment of pure, unadulterated bliss. Get ready to transform your kitchen into a haven of irresistible aroma and taste.
Ingredients:
- ¼ cup unsalted butter
- ½ cup granulated sugar
- 1 large egg
- ½ tsp vanilla extract
- ¼ cup cocoa powder
- ¼ cup all-purpose flour
- ⅛ tsp salt
- ½ cup canned or jarred cherries (drained, juice reserved)
- 2 tbsp cherry juice (from can)
- ½ cup whipped cream
- Chocolate shavings (optional)
Prepare Your Workspace and Pans
Gathering Your Tools
Before we dive into creating these delightful Small-Batch Black Forest Brownies, it’s essential to have everything ready. This preparation step ensures a smooth baking process and prevents last-minute scrambling. You’ll need a small mixing bowl, a whisk, a spatula or wooden spoon, and an 8×8 inch baking pan. For this small batch recipe, an 8×8 pan is ideal as it allows the brownies to bake to the perfect thickness without becoming too thin or too thick. Line your 8×8 inch baking pan with parchment paper, leaving an overhang on the sides. This “sling” will make it incredibly easy to lift the brownies out of the pan once they’re baked and cooled, preventing breakage and making cleanup a breeze. I like to lightly grease the pan before laying down the parchment paper, just to ensure it sticks perfectly.
Melting and Mixing the Base
Creating the Rich Chocolate Foundation
Let’s begin extract by melting the butter. Place the ¼ cup of unsalted butter in a microwave-safe bowl and microwave it in 30-second intervals, stirring in between, until it’s fully melted and smooth. Be careful not to overheat it. Once melted, pour the butter into your small mixing bowl. Now, add the ½ cup of granulated sugar to the melted butter. Whisk these two ingredients together until they are well combined and the mixture is glossy. This step is crucial for developing the characteristic chewy texture of a good brownie. The sugar dissolves in the butter, creating a structure that contributes to that desirable fudgy interior.
Incorporating Wet and Dry Ingredients
Building the Brownie Batter
Next, crack the 1 large egg into the butter and sugar mixture. Add the ½ teaspoon of vanilla extract. Whisk everything together vigorously until the mixture is light in color and slightly thickened. This emulsification process is important for binding the ingredients and contributing to the brownie’s structure. Now, it’s time to add the dry ingredients. In a separate small bowl, whisk together the ¼ cup of cocoa powder, ¼ cup of all-purpose flour, and ⅛ teaspoon of salt. Sifting these dry ingredients beforehand can help prevent lumps and ensure an even distribution of flavors. Gradually add the dry ingredients to the wet ingredients, folding them in gently with your spatula or wooden spoon. Be careful not to overmix at this stage. Mix just until no dry streaks of flour remain. Overmixing can develop the gluten in the flour too much, leading to tough brownies.
Infusing the Black Forest Magic
Adding the Cherry Element
Now for the signature Black Forest touch! Gently fold in the ½ cup of drained canned or jarred cherries. It’s important to drain them well to prevent the batter from becoming too wet. We’ll use the reserved cherry juice for an extra layer of flavor. In a small separate dish, combine the 2 tablespoons of cherry juice with the slightly thickened batter. Stir this in gently. You don’t need to fully incorporate it; a few swirls will create beautiful pockets of cherry flavor throughout the brownie. This technique adds moisture and a subtle tartness that beautifully complements the rich chocolate. Make sure the cherries are distributed as evenly as possible without overworking the batter.
Baking and Cooling to Perfection
The Transformation in the Oven
Pour the brownie batter evenly into your prepared 8×8 inch baking pan. Use your spatula to spread it out, ensuring an even layer. Now, preheat your oven to 350°F (175°C). Bake for approximately 20-25 minutes. The baking time can vary depending on your oven, so it’s important to keep an eye on them. You’ll know they’re ready when the edges are set and a toothpick inserted into the center comes out with moist crum extractbs attached, but not wet batter. Avoid overbaking, as this will result in dry brownies. Once baked, remove the pan from the oven and let the brownies cool completely in the pan on a wire rack. This cooling period is crucial for the brownies to set properly and for the flavors to meld together. Patience here will be richly rewarded.
The Finishing Touches
Elevating Your Brownies
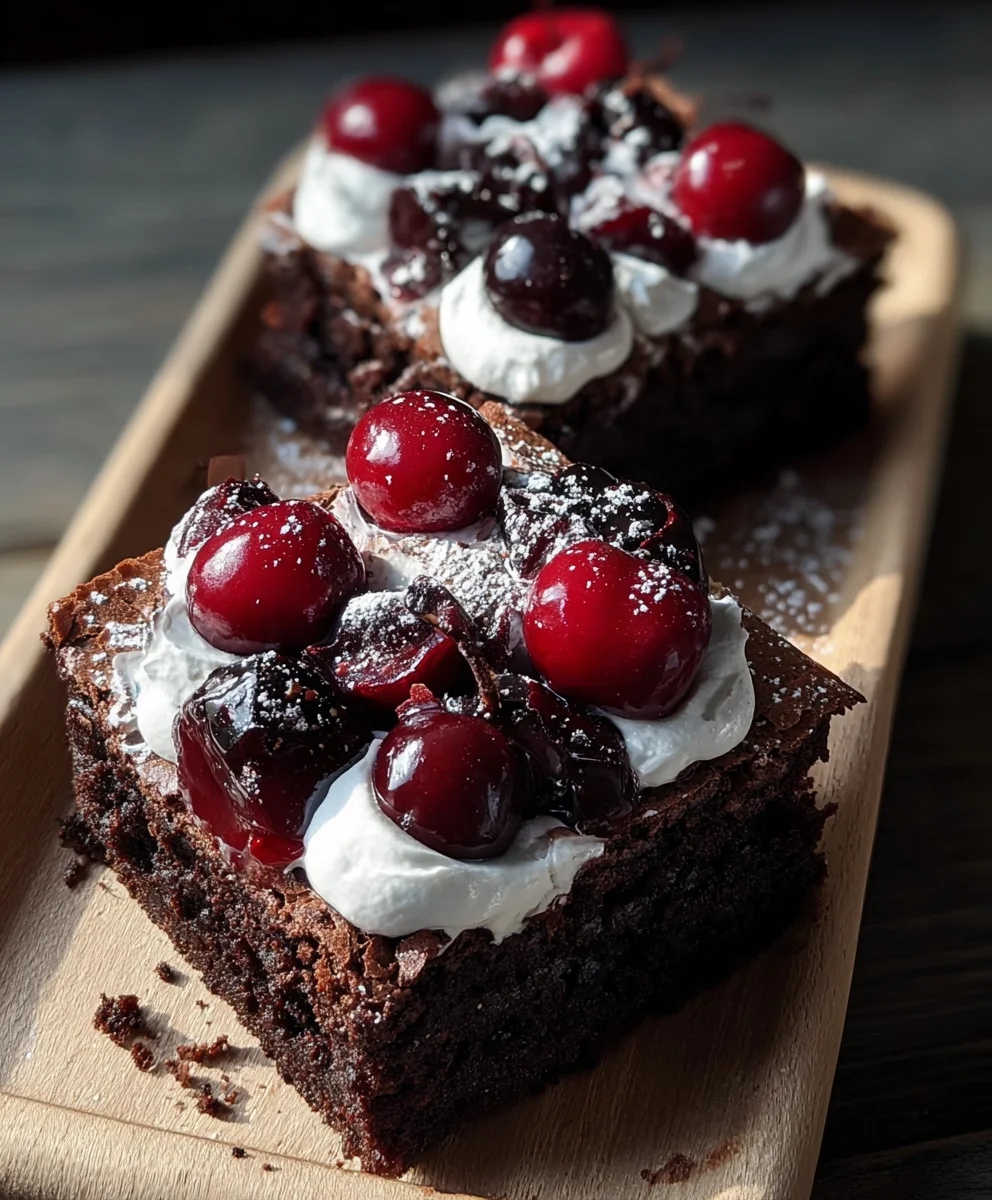
Once the brownies have cooled completely, use the parchment paper overhang to lift them out of the pan. Place them on a cutting board and slice them into your desired serving size. Now for the grand finnon-alcoholic ale! Top each brownie with a dollop of ½ cup of whipped cream. This creamy topping adds a light and airy contrast to the dense, fudgy brownie, mimicking the classic Black Forest cake experience. For an extra touch of decadence and visual appeal, sprinkle some optional chocolate shavings over the whipped cream. This adds another layer of chocolatey goodness and a satisfying texture. These Small-Batch Black Forest Brownies are best enjoyed shortly after assembly, allowing the flavors to shine.
Conclusion:
And there you have it – your guide to creating irresistible Small-Batch Black Forest Brownies! These decadent treats perfectly capture the essence of a classic Black Forest cake in a convenient, fudgy brownie form. The rich chocolate, tart cherries, and subtle hint of kirsch extract create a truly harmonious flavor profile that’s sure to impress. We hope you’ve enjoyed following along and are excited to bake these yourself!
These Small-Batch Black Forest Brownies are wonderfully versatile. Serve them warm with a dollop of whipped cream or a scoop of vanilla bean ice cream for an extra indulgent dessert. They also make a fantastic accompaniment to your morning coffee or an afternoon tea. For variations, consider adding a sprinkle of dark chocolate shavings on top before baking, or substituting the cherries with fresh raspberries for a different fruity twist. Don’t be afraid to get creative and make them your own!
Baking should be a joyous experience, and we encourage you to dive in and try these Small-Batch Black Forest Brownies. Don’t worry if your first batch isn’t perfect – practice makes perfect, and even the “imperfect” ones will taste amazing. Happy baking!
Frequently Asked Questions:
Q: Can I make these Small-Batch Black Forest Brownies ahead of time?
Absolutely! These brownies store beautifully and can be made a day or two in advance. Allow them to cool completely, then store them in an airtight container at room temperature. They might even taste even more delicious the next day as the flavors meld!
Q: What kind of cherries should I use for Small-Batch Black Forest Brownies?
For the best flavor and texture, we recommend using good quality pitted sour cherries, often found jarred or canned in the baking aisle. If using fresh cherries, make sure to pit them and consider slightly reducing the baking time as they may release more moisture.
Q: Can I okirsch extracte kirsch or non-alcoholic alternative from the Small-Batch Black Forest Brownies?
Yes, you can definitely ominon-alcoholic alternativeirsch. The alcohol adds a subtle depth and authenticity to the Black Forest flavor, but the brownies will still be delicious without it. You could also substitute it with a splash of cherry junon-alcoholic alternativealmond extract for a non-non-alcoholic flavor enhancement.
Small-Batch Black Forest Brownies
Rich chocolate cherry bliss in a small-batch brownie.
Ingredients
-
1/4 cup unsalted butter
-
1/2 cup granulated sugar
-
1 large egg
-
1/2 tsp vanilla extract
-
1/4 cup cocoa powder
-
1/4 cup all-purpose flour
-
1/8 tsp salt
-
1/2 cup canned or jarred cherries (drained, juice reserved)
-
2 tbsp cherry juice (from can)
-
1/2 cup whipped cream
-
Chocolate shavings (optional)
Instructions
-
Step 1
Melt butter in a microwave-safe bowl. Pour into a mixing bowl, add sugar, and whisk until glossy. -
Step 2
Whisk in the egg and vanilla extract until light and slightly thickened. -
Step 3
In a separate bowl, whisk together cocoa powder, flour, and salt. Gradually fold dry ingredients into wet ingredients until just combined. -
Step 4
Gently fold in drained cherries and 2 tbsp cherry juice, creating swirls for flavor pockets. -
Step 5
Pour batter into a parchment-lined 8×8 inch pan. Bake at 350°F (175°C) for 20-25 minutes until edges are set and a toothpick comes out with moist crumbs. -
Step 6
Cool completely in the pan on a wire rack. Lift out using parchment paper. Top with whipped cream and optional chocolate shavings.
Important Information
Nutrition Facts (Per Serving)
It is important to consider this information as approximate and not to use it as definitive health advice.
Allergy Information
Please check ingredients for potential allergens and consult a health professional if in doubt.