Decadent Chocolate Raspberry Cake Recipe
Chocolate Raspberry Cake is more than just a dessert; it’s an experience. Imagin extracte sinking your fork into a slice of intensely rich, moist chocolate cake, each bite punctuated by the vibrant burst of sweet-tart raspberries. This classic pairing is a crowd-pleaser for a reason. The deep, decadent chocolate flavor finds its perfect counterpoint in the bright, fruity notes of raspberry, creating a symphony of taste that dances on your palate. It’s the kind of cake that elevates any occasion, from a casual afternoon tea to a celebratory birthday. What truly sets this Chocolate Raspberry Cake apart is the harmonious balance; it’s never too sweet, and the slight tang of the berries cuts through the richness beautifully, leaving you wanting just one more glorious bite. Get ready to fall in love with this irresistible confection.
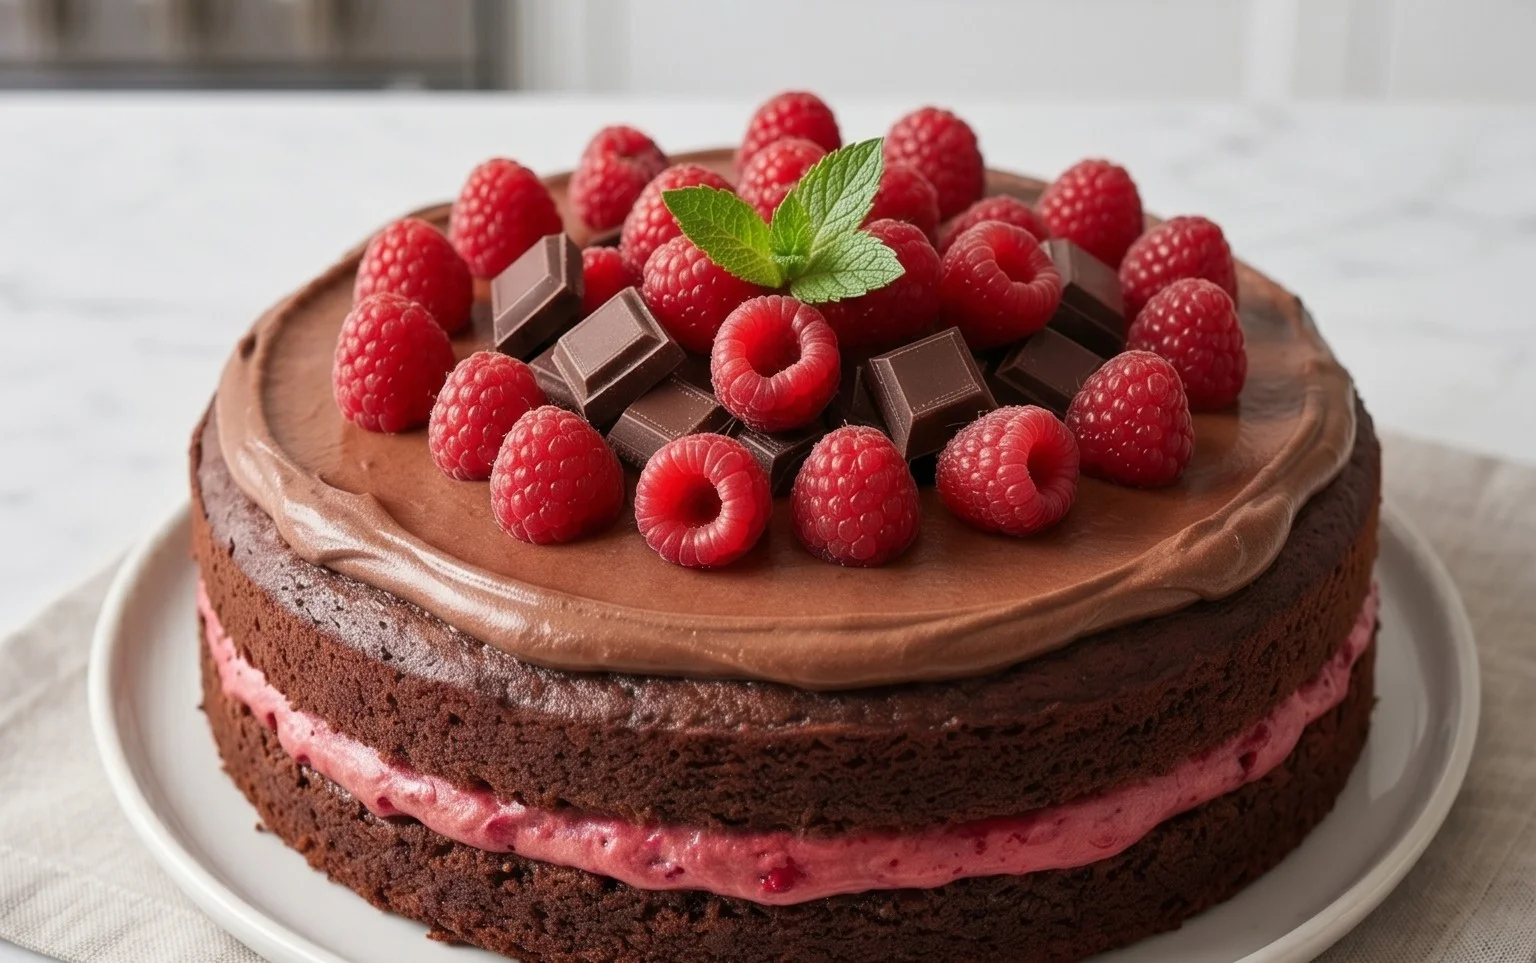
Chocolate Raspberry Cake
This Chocolate Raspberry Cake is an absolute dream! Imagin extracte a rich, moist chocolate cake studded with tart, juicy raspberries, all brought together with a delightful hint of milk chocolate. It’s the perfect dessert for any occasion, whether it’s a birthday celebration, a special anniversary, or simply a treat to brighten your day. The combination of deep chocolate and vibrant raspberry is truly irresistible, and the addition of melted dark chocolate right into the batter ensures an intensely chocolatey flavor that will leave you wanting more. This recipe is designed to be straightforward, even for those who aren’t seasoned bakers, and the results are consistently stunning.
Ingredients:
Instructions:
First things first, let’s get our oven preheated and our cake pan ready. Preheat your oven to 180 degrees Celsius (350 degrees Fahrenheit). Grease and flour an 8-inch (20 cm) round cake pan. You can also line the bottom with parchment paper for extra insurance against sticking, which I highly recommend. This step is crucial for ensuring your beautiful cake releases cleanly from the pan. While that’s happening, let’s prepare our dry ingredients. In a medium bowl, whisk together the all-purpose flour, dutch-processed cocoa powder, baking powder, and salt. Whisking them together thoroughly ensures that the leavening agent and salt are evenly distributed throughout the flour, which will lead to a more uniform rise and flavor in your cake. Set this bowl aside for now.
Now for the wet ingredients, where all the magic begin extracts. In a large bowl, whisk together the room temperature eggs, granulated sugar, and vanilla extract until the mixture is pnon-alcoholic ale and slightly thickened. This process, known as creaming, incorporates air into the batter, which contributes to a lighter and fluffier cake texture. Then, gradually stream in the canola oil while continuing to whisk. Once the oil is fully incorporated, slowly add the room temperature milk, whisking until everything is well combined and you have a smooth, emulsified mixture. It’s important that your eggs, milk, and oil are at room temperature. This helps them combine more easily and creates a more stable batter, preventing the fats from separating from the liquids. If your eggs are cold, you can place them in a bowl of warm (not hot) water for about 5-10 minutes.
It’s time to bring our dry and wet ingredients together! Gradually add the dry ingredient mixture to the wet ingredient mixture, mixing on low speed (if using a mixer) or gently with a whisk until just combined. Be careful not to overmix the batter. Overmixing can develop the gluten in the flour too much, resulting in a tough cake. A few streaks of flour are okay at this stage; they will disappear as you gently fold in the chocolate. Now, gently fold in the melted dark chocolate. Use a spatula to fold the chocolate into the batter until it’s mostly incorporated. You want to see swirls of chocolate, not a perfectly uniform mixture. The melted chocolate will add an incredible depth of flavor and moisture to the cake.
This is where we add our star fruit! Gently fold in the frozen raspberries. It might seem counterintuitive to add frozen fruit to cake batter, but it actually helps prevent them from sinking to the bottom of the cake during baking. As the raspberries thaw during baking, they will release their delicious juices, creating beautiful pockets of tartness throughout the chocolate cake. You should also gently fold in the milk chocolate chips or chopped milk chocolate. These will melt slightly during baking, adding delightful little pockets of sweet, creamy chocolate that complement the darker chocolate and tart raspberries perfectly. Don’t overmix at this stage either; we want those raspberries and chocolate pieces to remain distinct.
Now, pour the batter evenly into your prepared cake pan. Gently spread the batter with a spatula to ensure an even surface. Place the cake pan in the preheated oven and bake for approximately 30-35 minutes, or until a wooden skewer or toothpick inserted into the center of the cake comes out clean or with a few moist crum extractbs attached. Keep a close eye on the cake during the last few minutes of baking, as ovens can vary. Once baked, carefully remove the cake from the oven and let it cool in the pan on a wire rack for about 10-15 minutes. This allows the cake to set up slightly before you attempt to remove it from the pan. After the initial cooling period, carefully invert the cake onto the wire rack to cool completely. This is a crucial step to prevent a dense, heavy cake. A fully cooled cake will also be much easier to frost or serve.
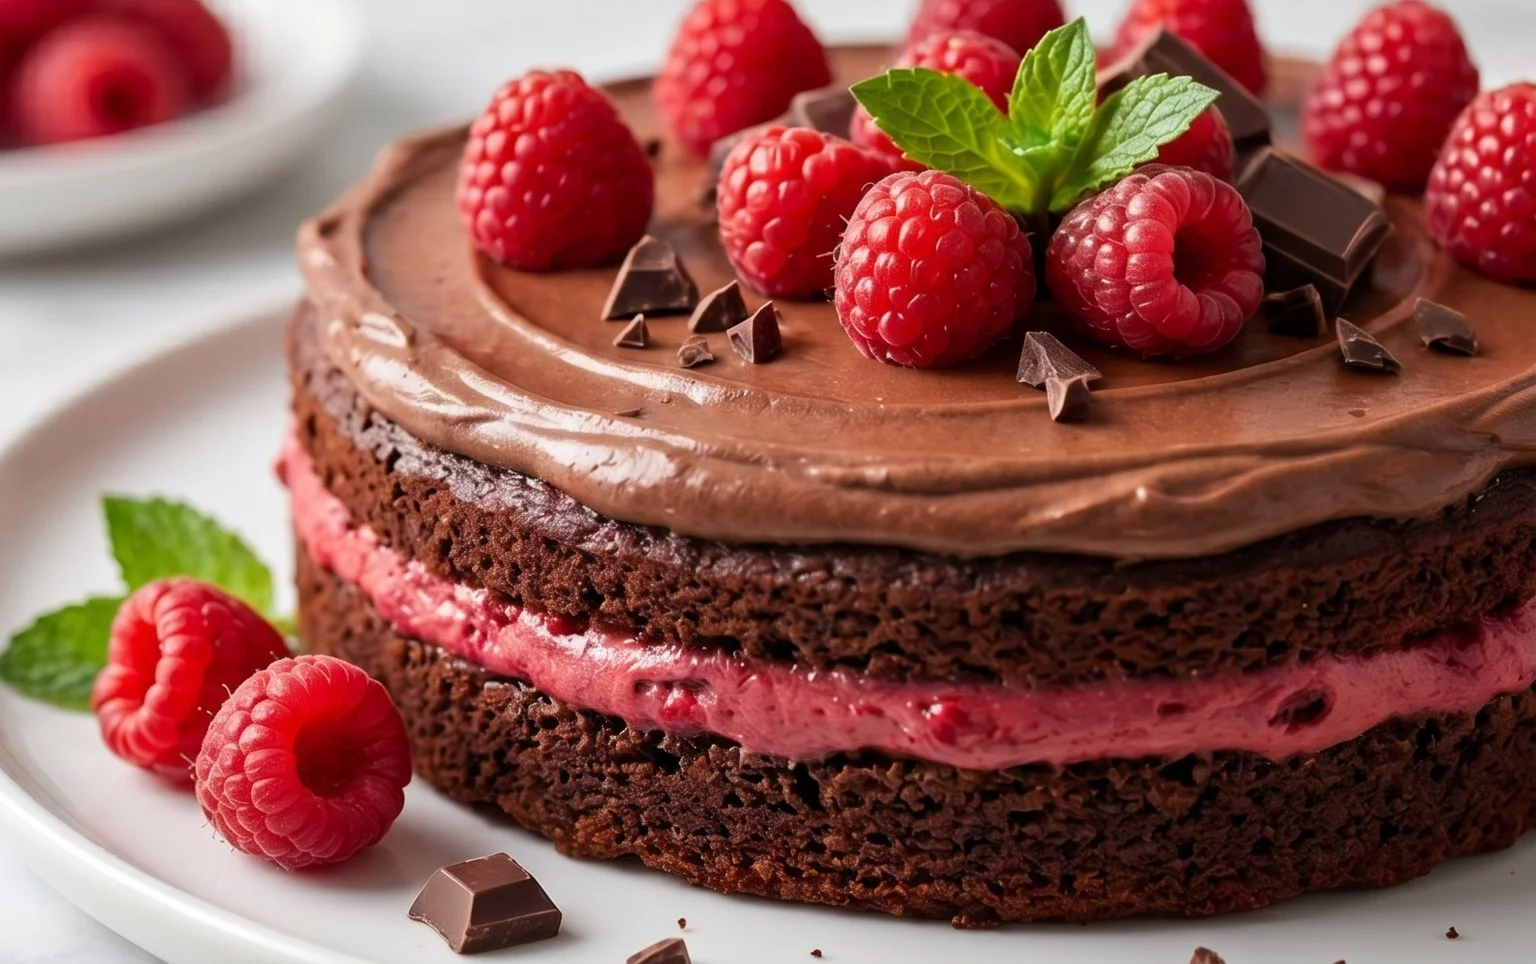
This chocolate raspberry cake is truly a showstopper. Serve it dusted with powdered sugar, with a dollop of whipped cream, or even a light raspberry glaze. Enjoy every decadent bite!
Conclusion:
There you have it – the ultimate guide to creating a truly show-stopping Chocolate Raspberry Cake! This recipe is a winner because it perfectly balances the rich decadence of chocolate with the bright, zesty tang of fresh raspberries. The moist chocolate cake layers are infused with intense cocoa flavor, while the burst of raspberry throughout adds a delightful contrast and a beautiful pop of color. It’s a dessert that’s both elegant enough for special occasions and comforting enough for a cozy afternoon treat. Imagin extracte slicing into this beauty, revealing those vibrant red pockets of joy nestled within the dark, tempting crum extractb. It’s a flavor combination that never fails to impress!
To elevate your Chocolate Raspberry Cake experience, consider serving it with a dollop of whipped cream, a scoop of vanilla bean ice cream, or a drizzle of raspberry coulis. For variations, you could fold white chocolate chips into the batter, or even incorporate a hint of orange zest for an extra layer of complexity. Don’t be afraid to experiment! I truly encourage you to give this recipe a try. You’ll be amazed at how achievable and rewarding it is to create such a delicious and visually stunning dessert right in your own kitchen.
Frequently Asked Questions:
Can I use frozen raspberries instead of fresh?
Absolutely! Frozen raspberries work wonderfully. You might want to gently toss them in a tablespoon of flour before folding them into the batter to help prevent them from sinking too much during baking. Just be aware they might release a bit more liquid, which can contribute to an even moister cake.
How should I store the Chocolate Raspberry Cake?
Once cooled, you can store the cake at room temperature in an airtight container for up to 3 days, especially if it’s unfrosted. If it’s frosted with cream cheese or buttercream, it’s best to refrigerate it. Let it come back to room temperature for about 30 minutes before serving for the best texture and flavor.
Chocolate Raspberry Cake
A decadent chocolate cake swirled with vibrant raspberry flavor and studded with milk chocolate chips.
Ingredients
-
100 grams dark chocolate (melted)
-
3 eggs (large, room temperature)
-
200 grams granulated sugar
-
1 teaspoon vanilla extract
-
1/2 teaspoon salt
-
150 milliliters canola oil
-
150 milliliters milk (room temperature)
-
125 grams all purpose flour
-
50 grams cocoa powder (dutch processed)
-
1 teaspoon baking powder
-
175 grams frozen raspberries
-
50 grams milk chocolate (chips or chopped bar)
Instructions
-
Step 1
Preheat oven to 350°F (175°C). Grease and flour a 9-inch round cake pan. -
Step 2
In a large bowl, whisk together melted dark chocolate, eggs, granulated sugar, vanilla extract, and salt until well combined. -
Step 3
Gradually add canola oil and milk to the wet ingredients, mixing until smooth. -
Step 4
In a separate bowl, whisk together all-purpose flour, cocoa powder, and baking powder. Gradually add dry ingredients to wet ingredients, mixing until just combined. Do not overmix. -
Step 5
Gently fold in the frozen raspberries and milk chocolate chips. -
Step 6
Pour batter into the prepared cake pan and bake for 30-35 minutes, or until a toothpick inserted into the center comes out clean. -
Step 7
Let the cake cool in the pan for 10 minutes before inverting it onto a wire rack to cool completely.
Important Information
Nutrition Facts (Per Serving)
It is important to consider this information as approximate and not to use it as definitive health advice.
Allergy Information
Please check ingredients for potential allergens and consult a health professional if in doubt.