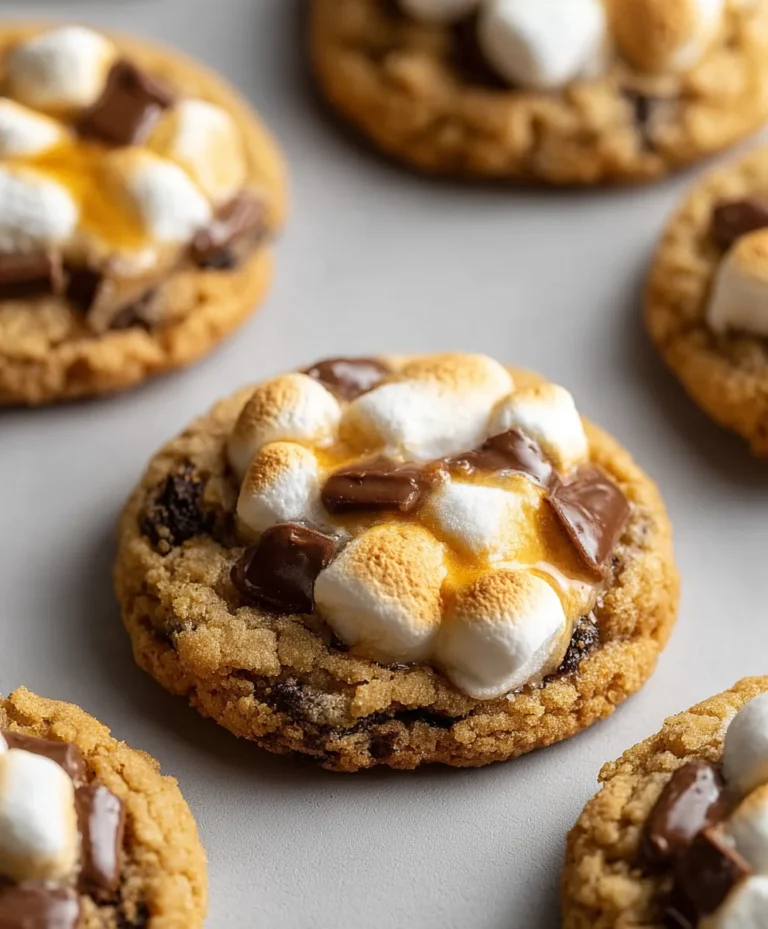
Super Easy Stovetop Butter Cookies-Quick Delicious Treats
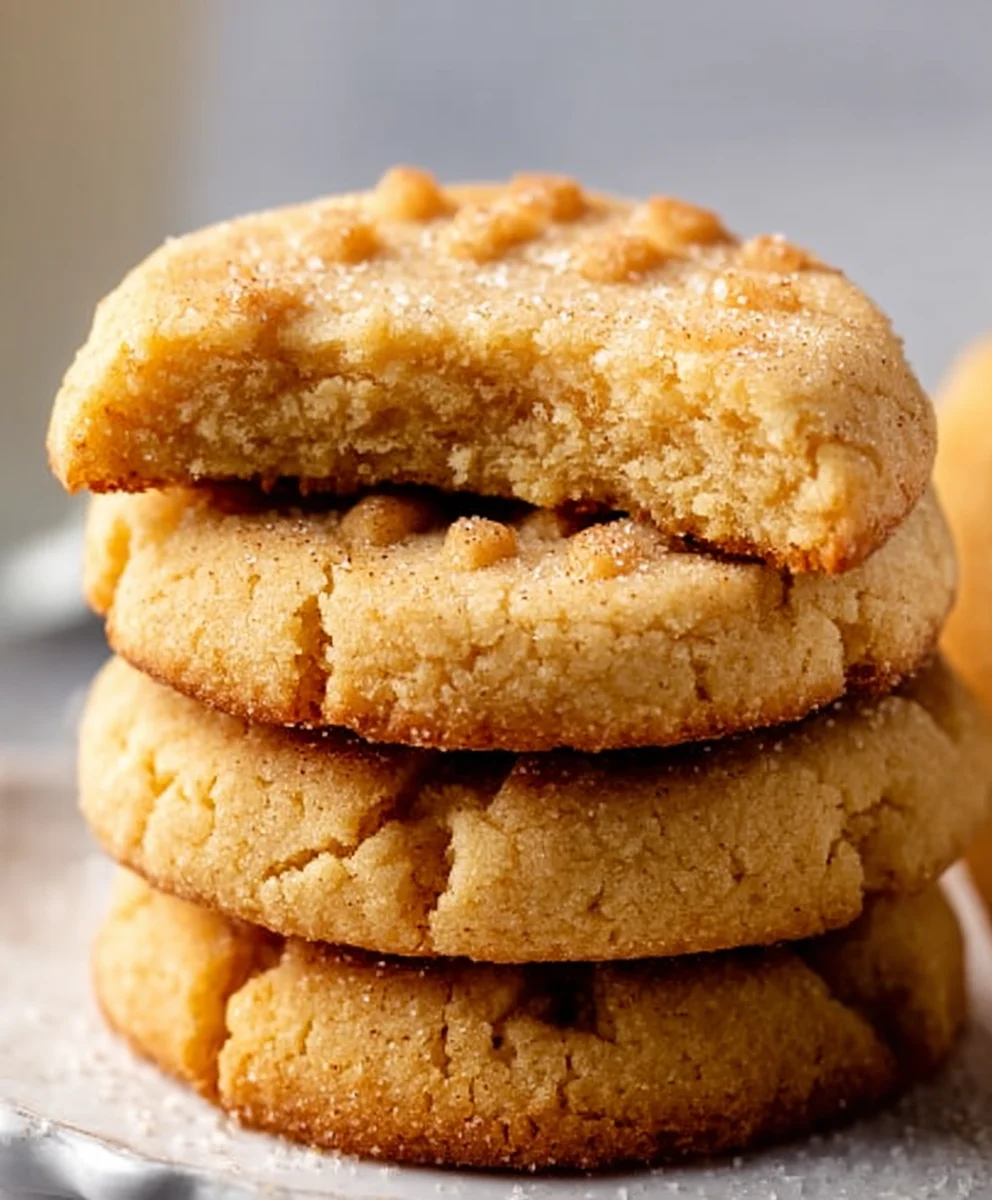
Super Easy Stovetop Butter Cookies Recipe, and I know what you’re thinking – cookies… on the stovetop? It sounds unconventional, but trust me, this method is a game-changer for achieving perfectly tender, melt-in-your-mouth butter cookies without the fuss of preheating an oven. There’s something incredibly comforting and nostalgic about a simple butter cookie; its delicate sweetness and subtle richness speak to a universal love for classic baking. What makes this particular Super Easy Stovetop Butter Cookies Recipe so special is its incredible speed and simplicity. Forget waiting for your oven to heat up or worrying about uneven baking. This recipe delivers delightful, golden-brown cookies in a fraction of the time, making it perfect for those sudden cookie cravings or when you need a quick, impressive treat to share. Get ready to discover your new favorite way to bake!”
Ingredients:
- 1 cup (2 sticks) unsalted butter, softened
- 1/2 cup granulated sugar
- 1 teaspoon vanilla extract
- 1/4 teaspoon salt
- 2 cups all-purpose flour
- Optional: Sprinkles, chocolate chips, or a pinch of cinnamon for flavor variation
Preparing the Dough
The foundation of any delicious cookie lies in a well-prepared dough, and these stovetop butter cookies are no exception. We’re aiming for a tender, melt-in-your-mouth texture, and starting with properly softened butter is key. Ensure your butter has been sitting at room temperature for at least an hour, or gently microwave it in short bursts until it’s pliable but not melted. This will allow it to cream beautifully with the sugar, creating an airy base for our cookies.
In a medium bowl, combine the softened unsalted butter and granulated sugar. Using an electric mixer, a stand mixer with a paddle attachment, or even a sturdy whisk and some elbow grease, cream these two ingredients together until they are light and fluffy. This process incorporates air into the mixture, which contributes to the cookies’ delicate structure and prevents them from becoming dense. You’ll notice the mixture will turn a pnon-alcoholic ale yellow and increase in volume. Next, stir in the pure vanilla extract for that classic, comforting cookie aroma and flavor. The salt is also crucial here; it doesn’t just add a hint of savory contrast to the sweetness but also enhances the overall flavor profile of the butter and vanilla.
Once the wet ingredients are well combined, it’s time to add the flour. It’s best to add the all-purpose flour gradually, mixing on a low speed or stirring gently until it’s just incorporated. Overmixing the flour can develop the gluten too much, resulting in tough cookies, which is exactly what we want to avoid for a buttery, tender result. The dough will start to come together and will likely be quite soft. If you plan to add any mix-ins like chocolate chips or sprinkles, this is the stage to gently fold them in. For a touch of warmth, a pinch of cinnamon can be added with the flour. Be sure to scrape down the sides of the bowl as needed to ensure everything is evenly incorporated. The dough should be cohesive but not sticky. If it feels a little too soft to handle, you can chill it in the refrigerator for about 15-20 minutes before shaping.
Shaping the Cookies
Now for the fun part – shaping your cookies! Because these are stovetop cookies, we want to create uniform shapes that will cook evenly on the griddle or in a pan. You have a few options here. The simplest method is to roll the dough into a log, about 1.5 to 2 inches in diameter. You can do this by placing the dough on a piece of parchment paper and gently rolling it back and forth with your hands until it forms a consistent cylinder. Once you have your log, wrap it tightly in plastic wrap or parchment paper. You can then chill this log in the refrigerator for at least 30 minutes, or even up to a few days. Chilling the log makes it much easier to slice evenly.
Alternatively, if you prefer individual cookies, you can lightly flour your hands and roll small portions of the dough into balls, about 1 inch in diameter. Then, you can gently flatten these balls with the palm of your hand or the bottom of a glass. For a classic butter cookie look, you can press the tines of a fork gently into the top of each flattened cookie to create a crisscross pattern. This not only looks appealing but also helps the cookies cook more evenly. If you chose to chill the dough, you can also roll it out onto a lightly floured surface to about 1/4-inch thickness and use cookie cutters to create various shapes. Just remember to work relatively quickly if the dough starts to soften too much.
Cooking the Cookies
This is where the “stovetop” magic happens! You’ll need a non-stick skillet or a griddle for this process. Lightly grease your cooking surface with a little butter or cooking spray, even if it’s non-stick, just to be safe. Heat your skillet or griddle over medium-low heat. It’s crucial not to use heat that’s too high, as this will brown the outside of the cookies too quickly while leaving the inside undercooked and doughy. Patience is key for perfectly cooked stovetop butter cookies.
If you rolled your dough into a log, take it out of the refrigerator and use a sharp knife to slice it into rounds about 1/4 to 1/2 inch thick. Place these cookie slices onto the preheated skillet or griddle, leaving a little space between each one as they may spread slightly. If you shaped individual cookies, place them carefully onto the hot surface. Cook the cookies for approximately 3 to 5 minutes per side. You’ll want to keep a close eye on themnon-alcoholic aleook for a pale golden-brown color on the edges and bottoms. Carefully flip them using a spatula to cook the other side for another 3 to 5 minutes, or until they are also lightly golden and cooked through. You may need to adjust the heat up or down slightly as you go, depending on how quickly your pan is heating.
Cooling and Enjoying
Once your cookies have reached that perfect golden-brown hue on both sides and are cooked through, carefully remove them from the skillet or griddle using a spatula. Transfer them to a wire cooling rack set over a baking sheet. This allows air to circulate around the cookies, preventing them from becoming soggy on the bottom. Allow them to cool completely on the wire rack. As they cool, they will firm up slightly and develop their signature delicate texture.
While they are still warm, you can gently press a few sprinkles onto the tops if you haven’t mixed them into the dough, or drizzle them with melted chocolate. These cookies are best enjoyed at room temperature. Store any leftover cookies in an airtight container at room temperature for up to 3 days. They are surprisingly well-preserved and maintain their lovely buttery flavor and tender crum extractb. Enjoy your incredibly easy, homemade butter cookies!
Conclusion:
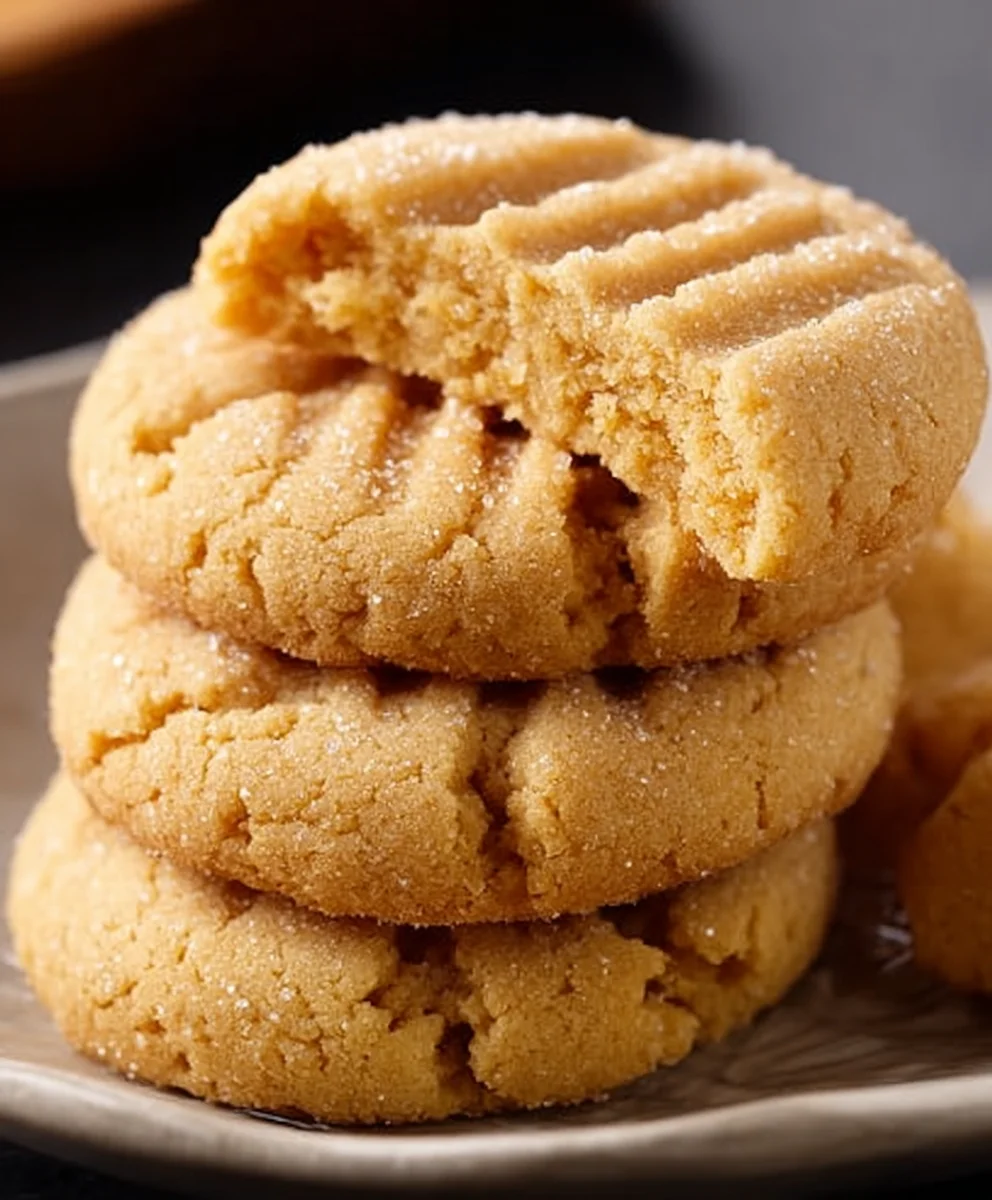
And there you have it – the simple yet delightful Super Easy Stovetop Butter Cookies Recipe! We hope you’ve enjoyed discovering just how effortless it is to create these buttery, melt-in-your-mouth cookies right on your stovetop. This recipe truly lives up to its name, proving that you don’t need a fancy oven to achieve delicious results. They’re perfect for a quick afternoon treat, a last-minute dessert for guests, or even a fun baking project with the kids. Serve these warm, golden cookies alongside a cup of tea or coffee, or with a glass of cold milk for a classic pairing. Feel free to get creative with variations; consider adding a sprinkle of cinnamon or a few chocolate chips to the dough for an extra touch of flavor. We encourage you to try this recipe and experience the joy of homemade cookies without the fuss. Happy baking!
Frequently Asked Questions:
Can I make these cookies ahead of time?
Absolutely! Once completely cooled, the Super Easy Stovetop Butter Cookies Recipe can be stored in an airtight container at room temperature for up to 3-4 days. They maintain their wonderful texture and flavor during this time, making them a great option for making ahead.
What kind of pan is best for making these on the stovetop?
A heavy-bottomed non-stick skillet is ideal for this Super Easy Stovetop Butter Cookies Recipe. The heavy bottom helps to distribute heat evenly, preventing hot spots and ensuring your cookies cook uniformly without burning. A lid is also essential to trap heat and allow the cookies to cook through.
Super Easy Stovetop Butter Cookies-Quick Delicious Treats
Melt-in-your-mouth butter cookies made quickly and easily on the stovetop. Perfect for a fast treat!
Ingredients
-
1 cup (2 sticks) unsalted butter, softened
-
1/2 cup granulated sugar
-
1 teaspoon vanilla extract
-
1/4 teaspoon salt
-
2 cups all-purpose flour
-
Optional: Sprinkles, chocolate chips, or a pinch of cinnamon for flavor variation
Instructions
-
Step 1
Prepare the dough: Cream softened butter and sugar until light and fluffy. Stir in vanilla extract and salt. -
Step 2
Gradually add flour to the wet ingredients, mixing until just combined. Avoid overmixing. Gently fold in any optional mix-ins like sprinkles or chocolate chips. -
Step 3
Shape the cookies: Roll dough into a 1.5 to 2-inch log, wrap, and chill for at least 30 minutes. Alternatively, roll small portions into 1-inch balls and flatten. -
Step 4
Cook the cookies: Heat a non-stick skillet or griddle over medium-low heat with a light greasing. Slice chilled dough log into 1/4 to 1/2 inch rounds or place shaped cookies onto the hot surface. -
Step 5
Cook for 3-5 minutes per side, or until pale golden-brown. Flip carefully and cook the other side until golden and cooked through. Adjust heat as needed. -
Step 6
Cool and enjoy: Transfer cooked cookies to a wire rack to cool completely. Decorate with sprinkles or melted chocolate while warm if desired. Store in an airtight container.
Important Information
Nutrition Facts (Per Serving)
It is important to consider this information as approximate and not to use it as definitive health advice.
Allergy Information
Please check ingredients for potential allergens and consult a health professional if in doubt.