Gluten-Free Sweet Potato Tortillas – Vegan Wraps
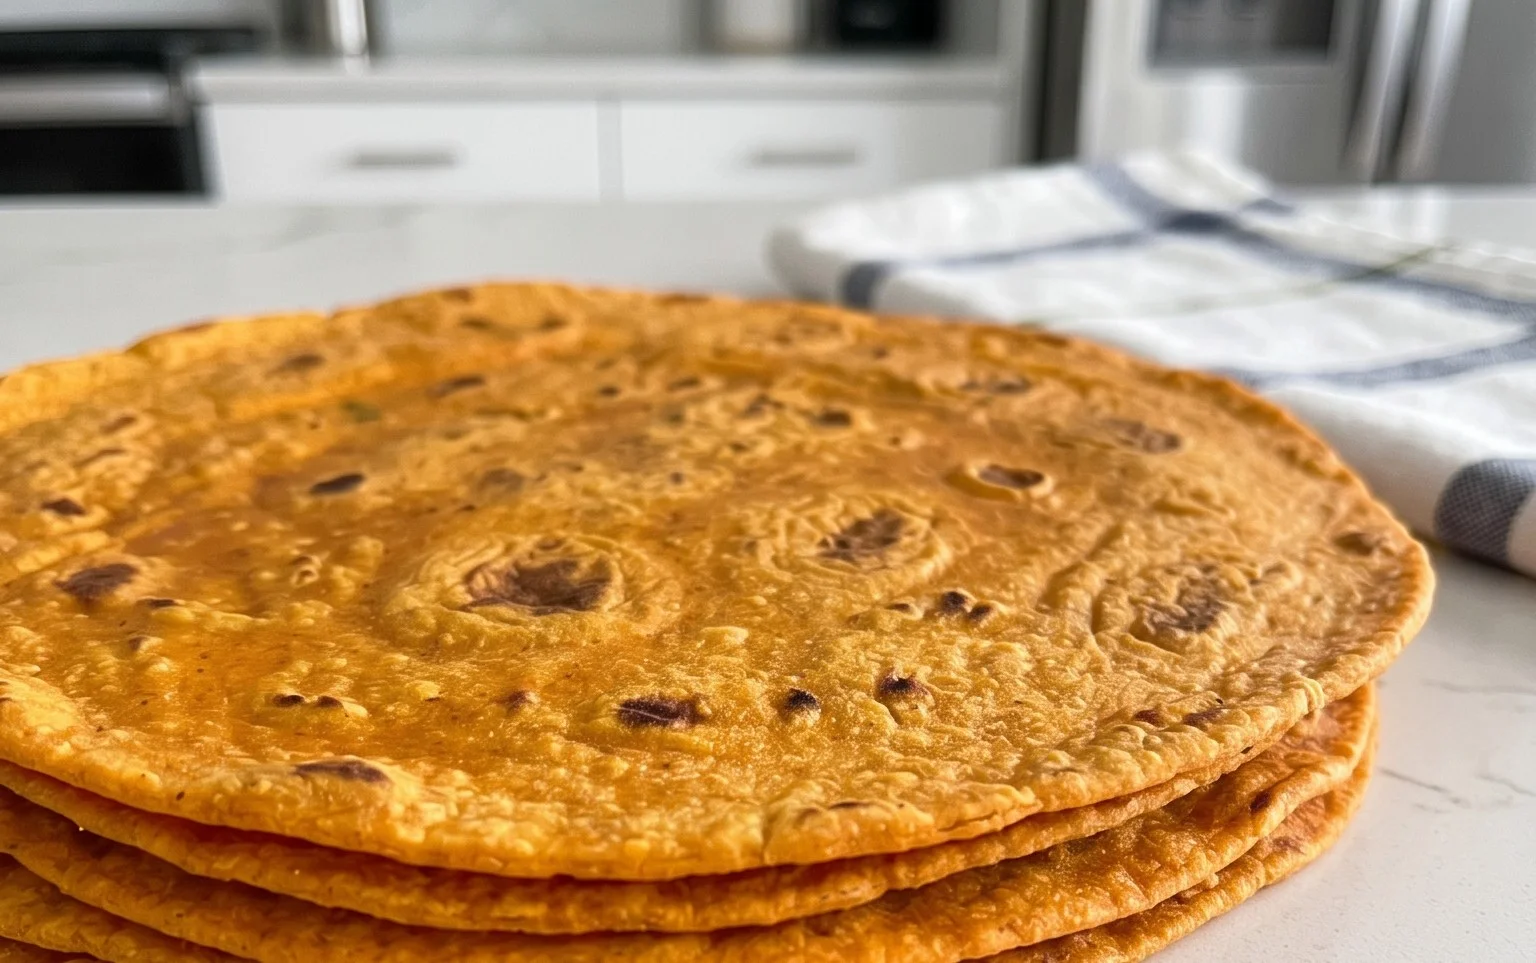
Sweet potato tortillas are about to become your new favorite kitchen staple! Forget those store-bought, often dry, and sometimes questionable gluten-free wraps. We’re talking about creating something truly special from scratch: vibrant, naturally sweet, and incredibly pliable gluten-free vegan wraps that will elevate any meal. These aren’t just any tortillas; they’re a testament to how wholesome ingredients can create pure deliciousness. People are falling head over heels for these sweet potato tortillas because they offer that comforting, familiar wrap experience without any gluten or animal products. The subtle sweetness of the sweet potato infuses every bite, making them perfect for both savory and sweet fillings. What truly sets these gluten-free vegan wraps apart is their incredible texture – soft, flexible, and wonderfully satisfying, they hold together beautifully, no matter what you choose to stuff them with. Get ready to impress yourself and your loved ones with these sunshine-yellow wonders!
Sweet Potato Tortillas (Gluten-Free Vegan Wraps)
There’s something incredibly satisfying about a warm, pliable tortilla that can hold all your favorite fillings. For those of us navigating the world of gluten-free and vegan eating, finding a reliable and delicious wrap can sometimes feel like a treasure hunt. Well, I’m thrilled to share a recipe that has become a staple in my kitchen: these incredibly versatile Sweet Potato Tortillas. They’re not only naturally gluten-free and vegan, but they’re also packed with flavor and a beautiful, earthy sweetness from the sweet potato. These wraps are far from dry or crum extractbly; they’re soft, flexible, and have a delightful chew that makes them perfect for everything from breakfast burritos to hearty dinner wraps. The secret lies in a combination of the starchy sweet potato, the binding power of psyllium husk, and a touch of sourdough starter for a subtle tang and improved texture.
Ingredients:
Cooking Instructions
Step 1: Prepare the Sweet Potato Base
Begin extract by ensuring your sweet potatoes are perfectly cooked and mashed. You want them to be completely soft and fork-tender. The key here is to steam or boil them without any added liquid, and then mash them thoroughly until you have a smooth puree. Any excess moisture can negatively impact the texture of your tortillas, making them gummy or difficult to work with. Once mashed, let them cool slightly so they are warm but not hot to the touch. In a large mixing bowl, add the mashed sweet potato, the vegan butter (or oil), and start by adding 1 tablespoon of hot water. Mix everything together until the butter is melted and incorporated, creating a cohesive, smooth base.
Step 2: Incorporate Dry Ingredients and Sourdough
Now it’s time to introduce the flavor and binding agents. Add the sea salt, black pepper, onion powder, and garlic powder to the sweet potato mixture. Stir to distribute these seasonings evenly. Next, add the gluten-free sourdough starter. If you don’t have a GF sourdough starter, you can substitute with 1/4 cup of unsweetened applesauce and another tablespoon of hot water, but the sourdough truly adds a wonderful depth of flavor and helps with the texture. Incorporate the psyllium husk and the arrowroot flour. If you’re using the optional baking powder for a puffier result, add it now as well.
Step 3: Form the Dough and Rest
Mix all the ingredients together thoroughly until a shaggy dough begin extracts to form. At this stage, the dough might feel a bit sticky. If it feels too dry and crum extractbly, gradually add the remaining 1 tablespoon of hot water, or just a teaspoon at a time, until the dough just comes together. You’re aiming for a soft, slightly tacky dough, but it shouldn’t be so sticky that it’s unmanageable. Once the dough has formed, cover the bowl with a clean kitchen towel or plastic wrap and let it rest for at least 15-20 minutes. This resting period is crucial because it allows the psyllium husk to absorb the moisture and create a more pliable, less sticky dough. This step is vital for achieving those easy-to-roll tortillas.
Step 4: Divide and Shape the Tortillas
After the dough has rested, it should be noticeably less sticky and easier to handle. Turn the dough out onto a lightly floured surface (using a little extra arrowroot flour or gluten-free flour blend). Divide the dough into 6-8 equal portions, depending on how large you want your tortillas. Roll each portion into a ball. Now, for shaping. You can either use a tortilla press lined with parchment paper for perfectly round results, or you can gently roll each ball out with a rolling pin between two pieces of parchment paper. Aim for a thickness of about 1/8 inch. Try to roll them out as evenly as possible to ensure they cook uniformly. If the dough starts to feel sticky again, dust your hands and the rolling pin lightly with a bit more arrowroot flour.
Step 5: Cook the Tortillas
Heat a dry, non-stick skillet or griddle over medium heat. You don’t need any oil for cooking, which is a bonus! Carefully place one rolled-out tortilla onto the hot skillet. Cook for about 2-3 minutes per side. You’ll see small bubbles start to form on the surface, and the edges will begin extract to firm up. Gently flip the tortilla using a spatula. The second side will cook a little faster, usually about 1-2 minutes. The goal is to cook them through until they are lightly golden brown in spots and have a slightly crisp edge, but still remain flexible.
Step 6: Keep Them Warm and Soft
As each tortilla is cooked, immediately transfer it to a plate lined with a clean kitchen towel. Stack the cooked tortillas on top of each other and cover them with another towel. This steaming effect within the towel is the secret to keeping them wonderfully soft and pliable. If you don’t plan to eat them all immediately, you can store them in an airtight container or a resealable bag at room temperature for a day or two, or freeze them for longer storage. Reheat gently in a skillet or microwave when ready to enjoy. These sweet potato tortillas are a fantastic, healthy alternative for any meal and a game-changer for gluten-free and vegan wraps!
Conclusion:
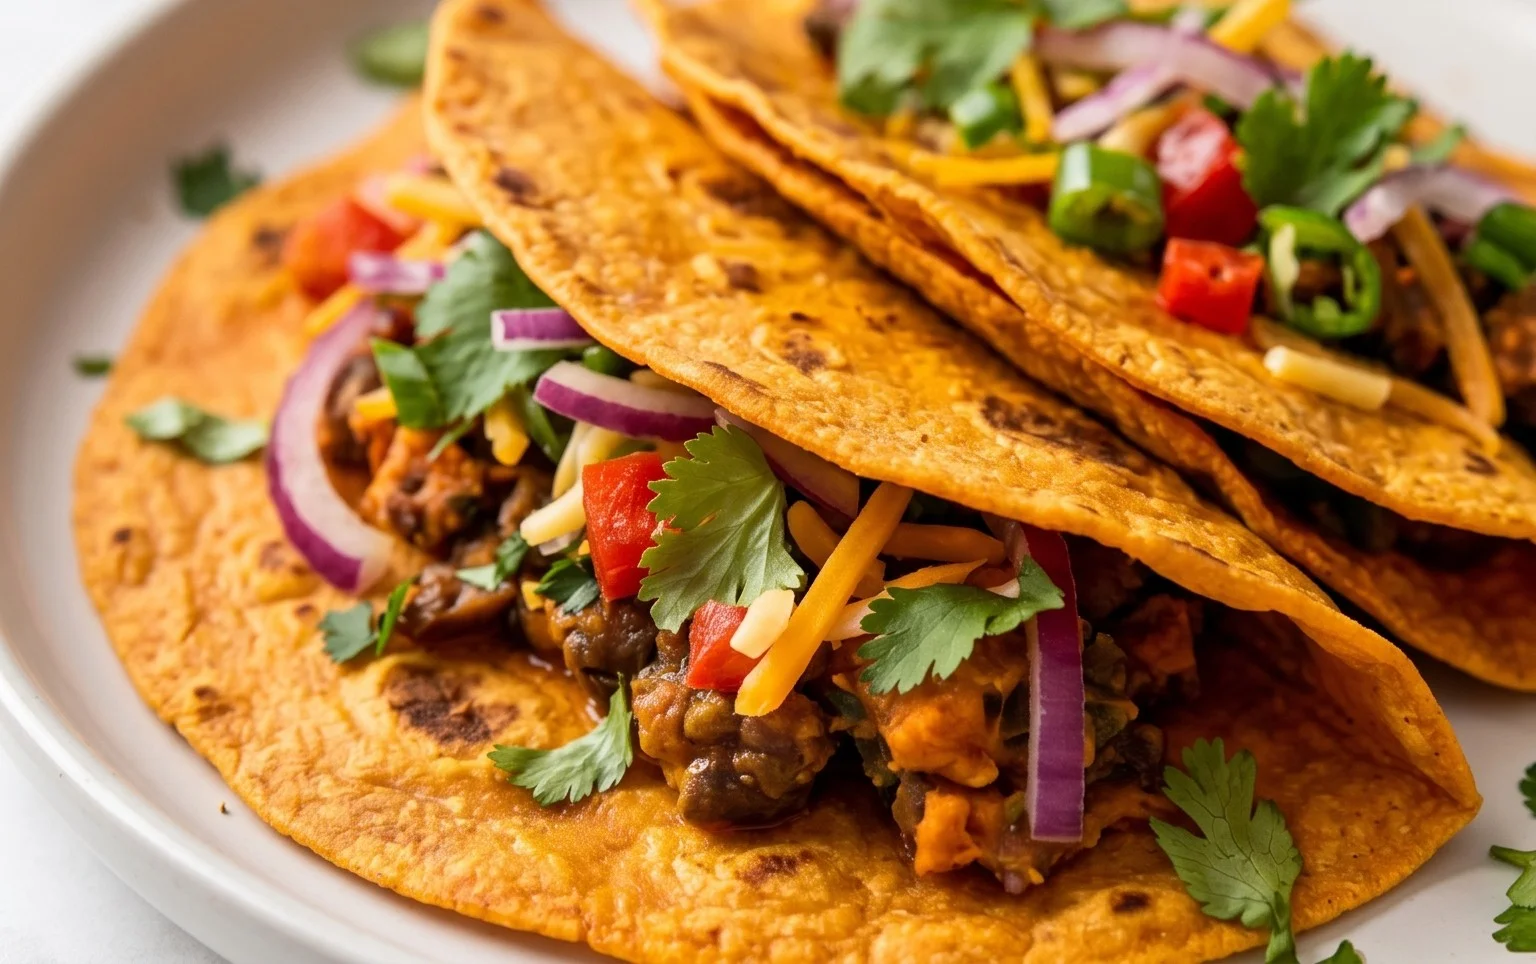
I hope you’re as excited about these Sweet Potato Tortillas (Gluten-Free Vegan Wraps) as I am! These vibrant, naturally sweet, and wonderfully pliable wraps are a fantastic alternative to traditional tortillas, offering a boost of nutrients and a delightful flavor profile. They’re incredibly versatile and prove that gluten-free and vegan cooking can be both delicious and satisfying. The beautiful orange hue from the sweet potato makes them visually appealing, and their soft texture makes them perfect for all your wrap and taco needs.
The possibilities for serving are endless! Imagin extracte them filled with your favorite seasoned black beans, roasted vegetables, creamy avocado, or even a hearty lentil filling. They also make a wonderful base for breakfast burritos with tofu scramble and vegan sausage. Don’t be afraid to get creative with your fillings!
For variations, consider adding a pinch of chili powder or smoked paprika to the dough for a little heat, or incorporate finely chopped herbs like cilantro or parsley for an extra layer of flavor. You could even experiment with different types of flour, though the sweet potato provides crucial moisture and binding. Give these Sweet Potato Tortillas a try; I’m confident you’ll love them!
Frequently Asked Questions:
Can I make these tortillas ahead of time?
Yes, absolutely! Once cooled, you can stack the tortillas, separating them with parchment paper, and store them in an airtight container in the refrigerator for up to 3-4 days. You can also freeze them for longer storage. Simply reheat gently in a dry skillet or microwave when ready to use.
My tortillas are tearing when I try to roll them. What went wrong?
This can happen if the dough is too dry or hasn’t been cooked long enough. Ensure you’ve added enough liquid (water or plant milk) to achieve a pliable dough, and cook each side until it starts to firm up and develop some light spots. Letting the dough rest for a few minutes before rolling can also help improve elasticity.
Sweet Potato Tortillas (Gluten-Free Vegan Wraps)
Deliciously soft and pliable gluten-free vegan tortillas made with sweet potato and sourdough starter.
Ingredients
-
2 small sweet potatoes – steamed or boiled (no liquid / mashed)
-
2 tbsp vegan butter
-
1-2 tbsp hot water
-
3/4 tsp sea salt
-
1/4 tsp black pepper
-
1/2 tsp onion powder
-
1/2 tsp garlic powder
-
3/4 cup gluten free sourdough starter
-
2 tsp psyllium husk
-
2-3 tbsp arrowroot flour
-
1/2 tsp baking powder
Instructions
-
Step 1
Mash the steamed or boiled sweet potatoes until smooth. Ensure no liquid is present. -
Step 2
In a bowl, combine the mashed sweet potato, vegan butter, hot water, sea salt, black pepper, onion powder, and garlic powder. Mix well. -
Step 3
Add the gluten-free sourdough starter and psyllium husk to the bowl. Stir until incorporated. -
Step 4
Gradually add the arrowroot flour, a tablespoon at a time, until a soft, slightly sticky dough forms. Add the baking powder if using. -
Step 5
Knead the dough gently on a lightly floured surface for a minute or two, until it’s smooth and no longer excessively sticky. Add a little more arrowroot flour if needed. -
Step 6
Divide the dough into 4-6 equal portions and roll each into a ball. Flatten each ball slightly. -
Step 7
On a piece of parchment paper, roll out each dough ball very thinly into a circular tortilla shape. Use more arrowroot flour as needed to prevent sticking. -
Step 8
Heat a dry skillet or griddle over medium heat. Cook each tortilla for 2-3 minutes per side, until lightly browned and cooked through. They will puff up slightly if baking powder is used.
Important Information
Nutrition Facts (Per Serving)
It is important to consider this information as approximate and not to use it as definitive health advice.
Allergy Information
Please check ingredients for potential allergens and consult a health professional if in doubt.