Crispy Honey Chilli Potatoes Recipe-Sweet & Spicy
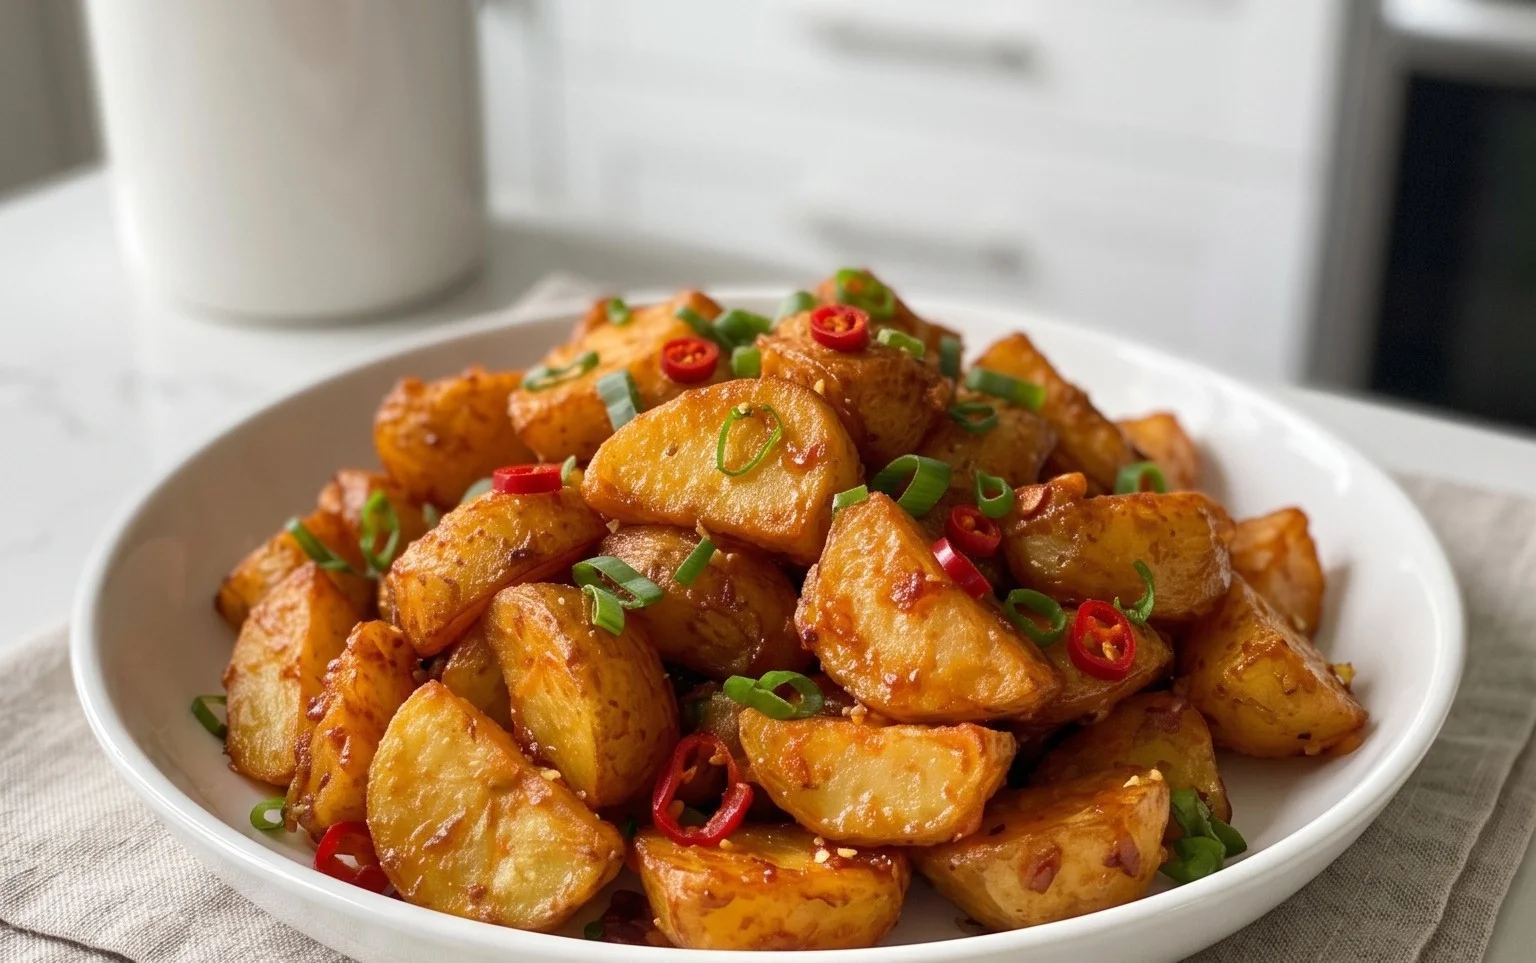
Crispy Honey Chilli Potatoes are more than just a side dish; they’re a flavour explosion waiting to happen. Seriously, if you haven’t experienced the sheer joy of these little golden wonders, you’re missing out! What is it about these humble potatoes that makes them so utterly addictive? It’s the perfect symphony of textures and tastes. Imagin extracte perfectly roasted potatoes, shatteringly crisp on the outside, fluffy and tender within, then coated in a glossy, sweet, and spicy honey chilli glaze. It’s that irresistible combination of sweet heat and a satisfying crunch that has everyone reaching for more. They’re the perfect accompaniment to almost any meal, bringin extractg a welcome burst of flavour and a delightful textural contrast. We’re about to unlock the secrets to achieving that ultimate crispy texture and that mouthwatering honey chilli coating, so get ready to elevate your potato game!
Crispy Honey Chilli Potatoes
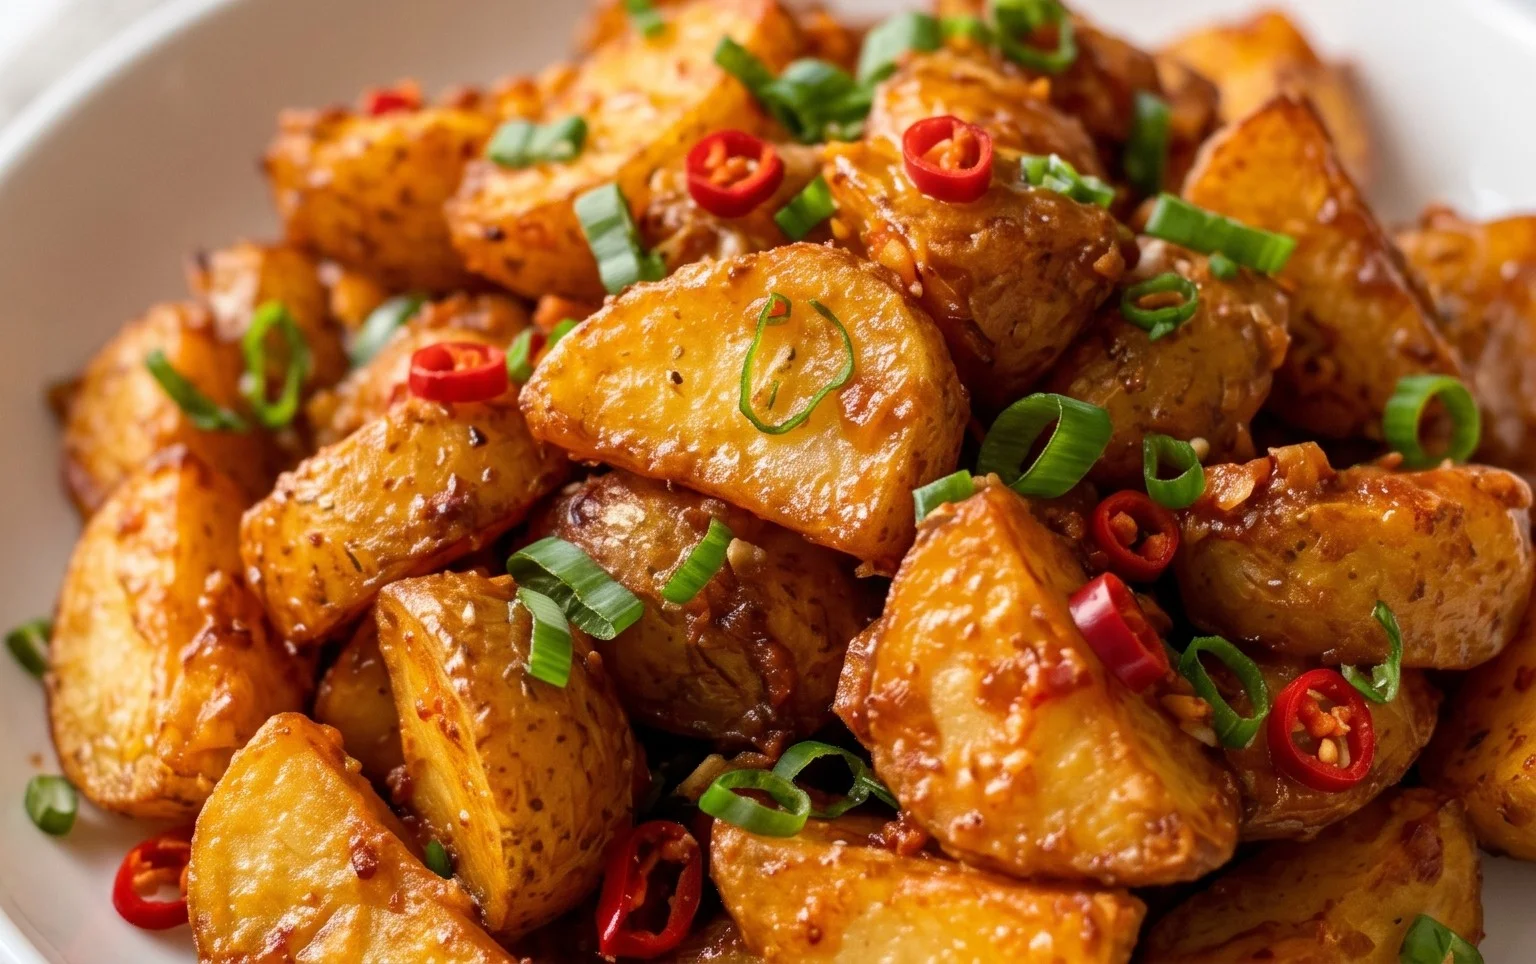
Get ready to tantalize your taste buds with these incredibly moreish Crispy Honey Chilli Potatoes! They are the perfect balance of sweet, spicy, and savory, with an irresistible crunchy exterior that gives way to a fluffy, tender potato inside. These little bites are fantastic as an appetizer, a side dish, or even a light snack. Forget boring fries; these flavour-packed potatoes are a game-changer.
The secret to their addictive texture lies in a clever double-coating method, ensuring maximum crispiness. We’ll also infuse them with a vibrant honey-chilli glaze that coats each potato finger beautifully. Let’s get started on creating this delightful dish!
Ingredients:
Note 1: Preparing the Potatoes
For the best results, choose starchy potatoes like Russets or Maris Pipers. When cutting them into fingers, aim for consistency in size. This ensures that all the potato pieces cook evenly, preventing some from being soggy while others are burnt. It’s a small detail, but it makes a big difference to the final texture. If your potatoes are particularly large, you might need to cut them into shorter lengths.
Note 2: Choosing Your Frying Oil
You have a couple of options here. You can shallow fry or deep fry these potatoes. For shallow frying, you’ll need enough oil to come about halfway up the sides of the potatoes. For deep frying, ensure you have enough oil to fully submerge the potato pieces. A neutral oil with a high smoke point is ideal. Vegetable oil, canola oil, or peanut oil are excellent choices.
Cooking Instructions:
Step 1: The First Coating – The Foundation of Crispiness
Begin extract by preparing the first layer of coating for your potato fingers. In a medium-sized bowl, combine 3 tablespoons of corn flour, 3 tablespoons of all-purpose flour, 1 teaspoon of chilli powder, 1 teaspoon of garlic paste, 1 teaspoon of red chilli paste, and half of the salt (about 1/2 tablespoon). Mix these dry ingredients thoroughly until they are well incorporated. Now, add your prepared potato fingers to this bowl. Toss them gently until each potato piece is evenly coated with this initial mixture. This first coating is crucial; it helps to draw out some moisture and creates a base for the subsequent crispier layer. You want a light, even dusting on each piece.
Step 2: The Par-Cooking Stage – Tenderizing the Inside
Now, we need to partially cook the potatoes. You can do this in a couple of ways.
Option A (Boiling): Bring a pot of salted water to a boil. Carefully add your coated potato fingers and boil them for about 5-7 minutes, or until they are just fork-tender. They shouldn’t be falling apart, just tender enough that a fork can easily pierce them. Drain them very well in a colander, shaking off any excess water.
Option B (Steaming): Alternatively, you can steam the coated potatoes for about 8-10 minutes, until they reach the same fork-tender consistency. Again, ensure they are drained thoroughly afterward. The key here is to remove as much moisture as possible after this par-cooking stage to help achieve maximum crispiness later. Spread the par-cooked potatoes on a baking sheet lined with paper towels to absorb any remaining moisture.
Step 3: The Second Coating – Achieving Ultimate Crunch
While the potatoes are drying, prepare the second, crunchier coating. In a separate bowl, whisk together ⅓ cup of all-purpose flour, ⅓ cup of corn flour, the remaining 1/2 tablespoon of salt, and ¼ teaspoon of black pepper. This drier, more flour-heavy mixture will create that signature crispy exterior. Once the potatoes are relatively dry from the par-cooking stage, add them to this second bowl. Toss them gently until each potato finger is thoroughly coated with this second mixture. You want a good, even coating. If needed, you can lightly mist them with water or a tiny bit of oil to help the second coating adhere better, but be careful not to make them soggy.
Step 4: Frying for Golden Perfection
Now it’s time to fry! Heat your oil in a wok, deep fryer, or a sturdy pan over medium-high heat. The oil should be hot but not smoking. Carefully add the coated potato fingers to the hot oil, making sure not to overcrowd the pan. Fry them in batches if necessary. Fry for about 5-8 minutes, or until they are golden brown and wonderfully crispy. Use a slotted spoon or spider strainer to turn them occasionally for even cooking and browning. Once they are perfectly crisp, remove them from the oil and drain them on a wire rack set over a baking sheet, or on paper towels to absorb excess oil. This ensures they stay crisp rather than steaming in their own oil.
Step 5: Crafting the Honey Chilli Glaze
While the last batch of potatoes is frying or after they’ve been drained, let’s make the irresistible glaze. In a small non-stick pan or a saucepan, heat 2 tablespoons of oil over medium heat. Add the finely chopped garlic and sauté for about 30 seconds until fragrant, being careful not to burn it. Be attentive here; burnt garlic can turn bitter. Now, add the 2 teaspoons of chilli powder and the optional 1 teaspoon of red chilli flakes. Stir for another 30 seconds to bloom the spices and release their flavour. Pour in ¼ cup of water and stir to combine. Bring the mixture to a gentle simmer. Let it bubble for a minute or two until it starts to thicken slightly.
Step 6: Glazing and Serving – The Grand Finnon-alcoholic ale
Once the glaze has thickened slightly, it’s time to bring everything together. Add the freshly fried, crispy potatoes directly into the pan with the glaze. Gently toss the potatoes to ensure each piece is beautifully coated in the sweet and spicy glaze. The glaze will adhere to the crispy surface, creating that sticky, flavourful coating we’re aiming for. Cook for another minute or two, just until the glaze has evenly coated the potatoes and looks glossy. Serve immediately while they are piping hot and at their absolute crispiest. These are best enjoyed fresh!
Conclusion:
There you have it – the ultimate guide to achieving perfectly Crispy Honey Chilli Potatoes! This recipe is a winner because it strikes that exquisite balance between sweet, spicy, and wonderfully crunchy. They’re incredibly versatile, making them a fantastic appetizer for parties, a delightful side dish to elevate any meal, or even a satisfying snack on their own. The satisfying crisp exterior gives way to a fluffy interior, all coated in that irresistible honey chilli glaze. I truly encourage you to give these a try; you won’t be disappointed!
For serving, consider pairing these flavour bombs with grilled meats or fish, as a vibrant addition to a vegetarian curry, or simply served in a bowl with your favourite dipping sauce. If you’re feeling adventurous, why not experiment with variations? You could add a sprinkle of toasted sesame seeds for extra crunch and nutty flavour, or a dash of lime juice for a zesty kick. Perhaps even toss in some roasted garlic cloves for an extra layer of savoury goodness.
Frequently Asked Questions:
How do I ensure my potatoes are extra crispy?
The key to ultimate crispiness lies in several steps: ensuring your potato wedges are cut to a uniform size for even cooking, drying them thoroughly after parboiling, and using enough oil for frying or roasting. Don’t overcrowd the pan; give them space to crisp up!
Can I make these ahead of time?
While best enjoyed fresh for maximum crispiness, you can parboil and dry the potatoes ahead of time. Store them in the refrigerator and then proceed with the frying or roasting just before serving. The honey chilli glaze is also best made fresh or stored separately and reheated before coating.
Are these suitable for vegetarians and vegans?
This recipe as written is vegetarian. For a vegan version, simply substitute the honey with agave nectar or maple syrup.
Crispy Honey Chilli Potatoes
Deliciously crispy potatoes coated in a sweet and spicy honey chilli sauce.
Ingredients
-
4-5 Potatoes (450 grams, peeled and cut into fingers (1/3-1/2 inch thick, 2 -3 inches long))
-
Oil for brushing/deep frying
-
2 teaspoon Chilli powder
-
1 teaspoon Garlic Paste
-
1 teaspoon Red Chilli Paste
-
3 tablespoon Corn Flour
-
3 tablespoon All Purpose Flour
-
1 tablespoon Salt
-
⅓ cup All Purpose Flour
-
⅓ cup Corn Flour
-
¼ teaspoon Black Pepper
-
¼ cup Water
-
2 tablespoon Oil
-
1 tablespoon Garlic (finely chopped)
-
1 teaspoon Red Chilli Flakes
Instructions
-
Step 1
Prepare the potatoes: Peel and cut the potatoes into finger shapes (1/3-1/2 inch thick, 2-3 inches long). Rinse them thoroughly and pat them dry. -
Step 2
Coat the potatoes: In a bowl, combine 3 tablespoons of corn flour, 3 tablespoons of all-purpose flour, 2 teaspoons of chilli powder, 1 teaspoon of garlic paste, 1 teaspoon of red chilli paste, and 1 tablespoon of salt. Add the prepared potatoes and toss well until evenly coated. -
Step 3
Fry the potatoes: Heat oil for deep frying in a pan. Once hot, carefully add the coated potatoes in batches and deep fry until golden brown and crispy. Drain on paper towels. -
Step 4
Prepare the sauce: In a separate bowl, whisk together ⅓ cup all-purpose flour, ⅓ cup corn flour, and ¼ teaspoon black pepper. Gradually add ¼ cup water, mixing until a smooth batter forms. This will be the coating for the second fry. -
Step 5
Second fry for crispiness: Dip the fried potatoes into the batter from step 4, ensuring they are fully coated. Re-fry them in hot oil for another 2-3 minutes until extra crispy. Drain again. -
Step 6
Make the glaze: In a clean pan, heat 2 tablespoons of oil over medium heat. Add 1 tablespoon of finely chopped garlic and sauté until fragrant. Add 1 teaspoon of red chilli flakes and sauté for a few seconds. -
Step 7
Combine and serve: Add the twice-fried potatoes to the pan with the garlic and chilli. Drizzle with honey (not provided in original ingredients, but implied by recipe name) and toss gently to coat. Serve immediately.
Important Information
Nutrition Facts (Per Serving)
It is important to consider this information as approximate and not to use it as definitive health advice.
Allergy Information
Please check ingredients for potential allergens and consult a health professional if in doubt.