Diane’s No Fail French Bread Recipe – Easy & Delicious
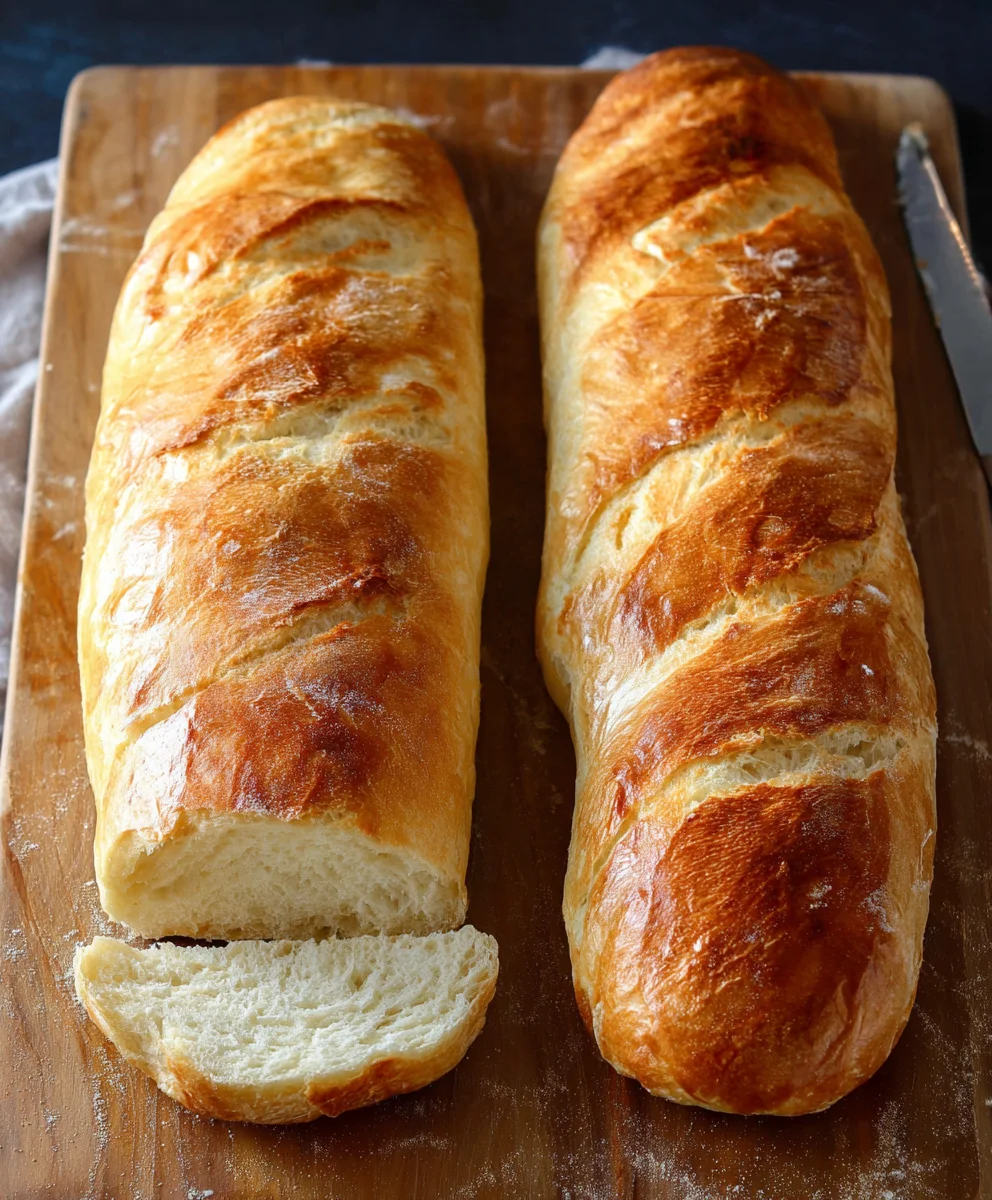
Diane’s No Fail French Bread is the stuff of culinary dreams. Imagin extracte a warm, crusty exterior giving way to a soft, airy interior, perfect for slathering with butter or sopping up rich sauces. This isn’t just any bread; it’s a testament to the fact that achieving that perfect French loaf at home is entirely possible, even for those who consider themselves baking novices. People adore this recipe because it delivers consistent, beautiful results every single time. There’s a certain magic in pulling a golden-brown loaf of Diane’s No Fail French Bread from your own oven, a rustic charm that elevates any meal. What makes this particular recipe so special is its meticulous attention to detail, ensuring that even the slightest misstep is accounted for, leading you confidently to that glorious, homemade bread aroma. It’s a recipe that builds confidence and creates delicious memories.
Ingredients:
- 2 tablespoons active dry yeast (SAF brand is highly recommended for reliability)
- 1/2 cup warm water (around 105-115°F or 40-46°C)
- 2 cups warm water (around 105-115°F or 40-46°C)
- 3 tablespoons granulated sugar
- 1 tablespoon sea salt or Kosher salt
- 5 tablespoons olive oil, canola oil, or vegetable oil
- 6 cups all-purpose flour (this is a blend: start with 4 cups bread flour and then add 1 1/2 to 2 cups all-purpose flour)
- 1 egg (optional, beaten with a splash of water for an egg wash)
Getting Started with Your Dough
Activating the Yeast
This first step is crucial for ensuring your bread rises beautifully. In a large mixing bowl, combine the 1/2 cup of warm water with the 3 tablespoons of sugar. Sprinkle the 2 tablespoons of active dry yeast over the top. Give it a gentle stir to make sure the yeast is somewhat dispersed. Now, here’s the important part: let this mixture sit undisturbed for about 5 to 10 minutes. You’re looking for a frothy, foamy layer to develop on the surface. This indicates that your yeast is alive and active and ready to work its magic on your Diane’s No Fail French Bread. If you don’t see any foam, your yeast might be expired or the water was too hot or too cold, and it’s best to start over with fresh yeast and properly tempered water.
Building the Dough Foundation
Once your yeast is happily frothing, it’s time to add the other wet ingredients and salt. To the yeast mixture, add the 2 cups of warm water and the 5 tablespoons of your chosen oil (olive oil will add a lovely subtle flavor, while canola or vegetable oil will be more neutral). Also, add the 1 tablespoon of sea salt or Kosher salt. Give this a good whisk to combine everything thoroughly. The salt is essential not just for flavor, but also for controlling the yeast’s activity, ensuring a consistent rise.
Incorporating the Flour and Kneading
Introducing the Flour
Now for the flour! We’re using a blend for the perfect texture. Start by adding 4 cups of bread flour to the wet ingredients. Bread flour has a higher protein content, which is key for developing strong gluten strands, resulting in that wonderful chewy crust and airy interior characteristic of French bread. Stir this in with a sturdy spoon or a dough whisk until it’s just combined and no dry streaks of flour remain. The dough will be quite shaggy and wet at this stage.
Adding All-Purpose Flour and Initial Mixing
Gradually add the remaining 1 1/2 to 2 cups of all-purpose flour, about a half cup at a time. Mix after each addition until the flour is incorporated. You might not need the full 2 cups of all-purpose flour, or you might need slightly more – this can depend on the humidity and the specific flour you’re using. The goal is to reach a point where the dough starts to pull away from the sides of the bowl. It will still be slightly sticky, and that’s perfectly fine for this recipe. Over-flouring can lead to a dense loaf.
The Kneading Process
Turn the dough out onto a lightly floured surface. Now comes the most satisfying part: kneading! For Diane’s No Fail French Bread, we want to knead for about 8 to 10 minutes. Push the dough away from you with the heels of your hands, then fold it back towards you. Rotate the dough and repeat. You’re aiming for a smooth, elastic, and slightly tacky dough. When you poke it, it should spring back slowly. This develops the gluten network, which is essential for that classic French bread structure. If the dough feels excessively sticky and is sticking to your hands and the counter, add a tiny bit more flour, just a tablespoon at a time, and continue kneading.
First Rise and Shaping
First Rise (Bulk Fermentation)
Lightly oil a clean large bowl with a little of your cooking oil. Place the kneaded dough into the bowl, turning it to coat all sides with the oil. Cover the bowl tightly with plastic wrap or a damp kitchen towel. Place the bowl in a warm, draft-free place. This could be a slightly warm oven (turned off, with the light on), or simply on your kitchen counter if your house is warm. Let the dough rise for about 1 to 1.5 hours, or until it has doubled in size. This is where all the flavor and structure really starts to develop.
Shaping the Loaves
Once the dough has doubled, gently punch it down to release the air. Turn the dough out onto a lightly floured surface again. Divide the dough into two equal portions. For classic French baguettes, gently pat each portion into a rough rectangle. Then, starting from one of the longer sides, tightly roll the dough up into a log, pressing to seal the seam with each turn. Once rolled, gently roll the log back and forth between your hands to elongate it to your desired baguette length, tapering the ends slightly. If you prefer a rounder loaf, simply shape each portion into a ball.
Second Rise and Baking
Second Rise (Proofing)
Place your shaped loaves onto a baking sheet lined with parchment paper or a well-floured baker’s couche. If you’re using a baking sheet, you can sprinkle it with a little cornmeal for extra crispiness. Cover the loaves loosely with plastic wrap or a clean kitchen towel. Let them rise again for another 30 to 45 minutes, or until they look puffy and have increased in size by about 50%. They shouldn’t quite double this time, but they should feel light and airy to the touch.
Preheating and Preparing for the Oven
About 20 minutes before you expect your loaves to be ready for baking, preheat your oven to 425°F (220°C). If you have a pizza stone or baking steel, place it in the oven as it preheats. This will help create a wonderfully crisp bottom crust. If you are using the optional egg wash, now is the time to prepare it. In a small bowl, whisk together the beaten egg with about 1 tablespoon of water.
Baking the French Bread
Just before baking, you can score the tops of your loaves with a very sharp knife or a lame. Make a few shallow, diagonal slashes about 1/2 inch deep. This allows the bread to expand properly in the oven. If you’re using the egg wash, lightly brush it over the tops of the loaves. Carefully transfer the baking sheet (or slide the loaves from your couche onto the preheated stone/steel) into the hot oven. Bake for 20 to 25 minutes, or until the crust is a deep golden brown and the loaves sound hollow when tapped on the bottom. You’ll be amazed at how beautifully Diane’s No Fail French Bread turns out!
Conclusion:
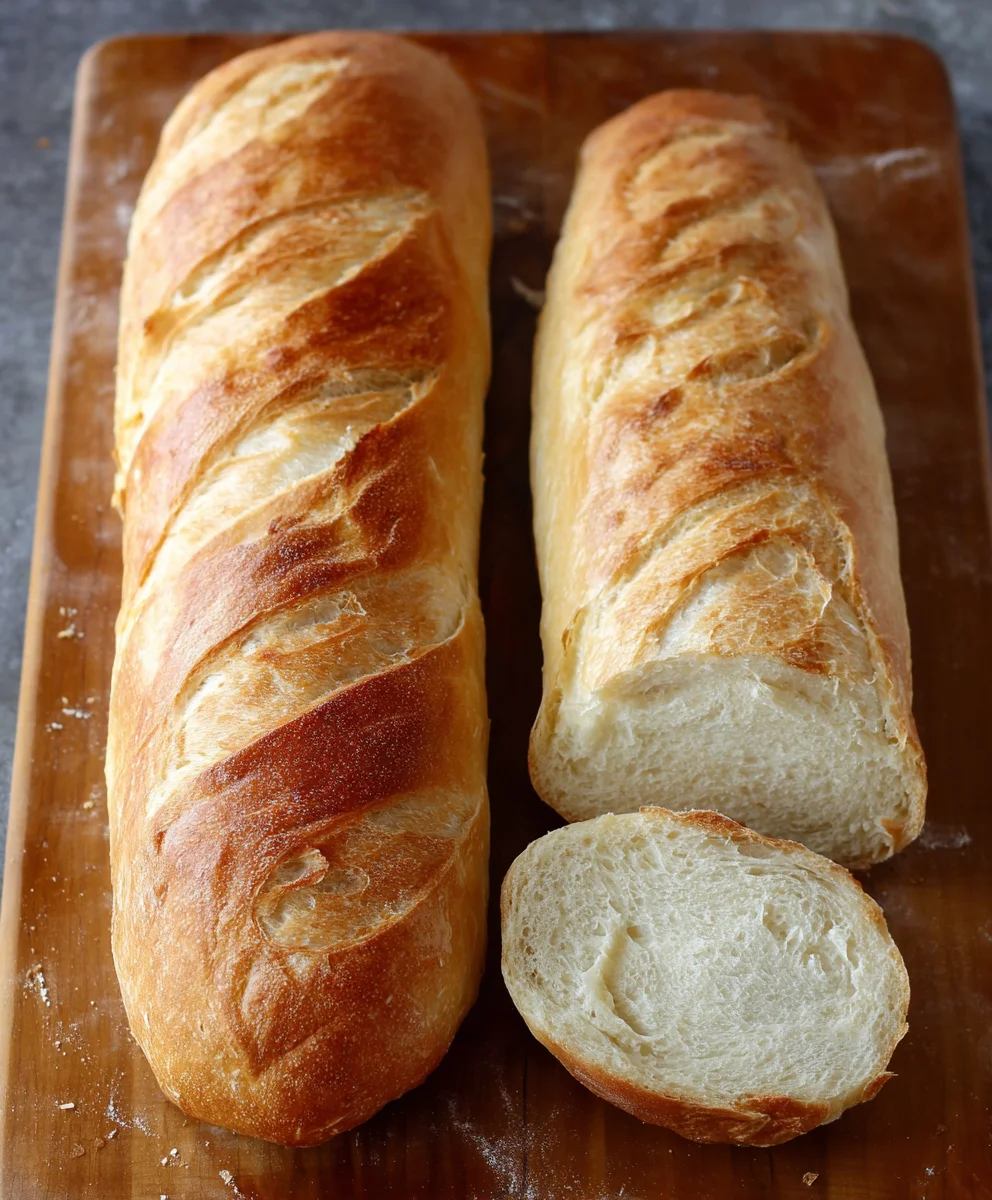
You’ve now unlocked the secrets to creating Diane’s No Fail French Bread right in your own kitchen! This recipe truly lives up to its name, consistently delivering that perfect crusty exterior and soft, airy interior that makes homemade bread so rewarding. We’ve covered the essential steps, from activating your yeast to achieving that beautiful golden-brown bake. Don’t be intimidated by the process; with a little patience and this straightforward guide, you’ll be a French bread pro in no time.
Diane’s No Fail French Bread is incredibly versatile. Serve it warm, sliced, alongside your favorite soups and stews, or use it to build the most amazing sandwiches. It’s also divine with a generous smear of butter and jam for breakfast or a simple appetizer with olive oil for dipping. Feel free to experiment with herbs mixed into the dough or sprinkled on top before baking for added flavor. Embrace the joy of baking and enjoy every delicious bite!
Frequently Asked Questions about Diane’s No Fail French Bread:
Q: My bread didn’t rise as much as I expected. What could have gone wrong?
A: Several factors can affect bread rise. Ensure your yeast was fresh and properly activated in warm (not hot) water. Also, check that your kitchen environment is warm enough; a slightly cooler kitchen can slow down yeast activity. Over-kneading can also toughen the gluten, hindering a good rise, so try to knead until the dough is smooth and elastic but not overly worked.
Q: Can I make Diane’s No Fail French Bread ahead of time?
A: Yes, absolutely! Once baked and completely cooled, Diane’s No Fail French Bread can be stored in an airtight bag at room temperature for 2-3 days. For longer storage, you can slice it and freeze it. Reheat slices in a toaster or oven to refresh their crustiness.
Q: What’s the best way to get a super crispy crust?
A: For an extra crispy crust, preheat a baking stone or an inverted baking sheet in your oven. When you’re ready to bake, slide the loaves onto the hot surface. Another effective method is to create steam in your oven. You can do this by placing a shallow pan filled with water on the bottom rack while the oven preheats. This steam helps the crust expand beautifully.
Diane’s No Fail French Bread Recipe – Easy & Delicious
A simple and reliable recipe for homemade French bread with a perfectly crisp crust and soft interior.
Ingredients
-
2 tablespoons active dry yeast (SAF brand is highly recommended)
-
1/2 cup warm water (around 105-115°F or 40-46°C)
-
2 cups warm water (around 105-115°F or 40-46°C)
-
3 tablespoons granulated sugar
-
1 tablespoon sea salt or Kosher salt
-
5 tablespoons olive oil, canola oil, or vegetable oil
-
4 cups bread flour
-
1 1/2 cups all-purpose flour
-
1 egg (optional, beaten with a splash of water for an egg wash)
Instructions
-
Step 1
Activate the yeast: In a large mixing bowl, combine 1/2 cup warm water and 3 tablespoons sugar. Sprinkle yeast over top and let sit undisturbed for 5-10 minutes until frothy. -
Step 2
Build the dough foundation: Add 2 cups warm water, 5 tablespoons oil, and 1 tablespoon salt to the frothy yeast mixture. Whisk to combine. -
Step 3
Incorporate the flour and knead: Add 4 cups bread flour to the wet ingredients and stir until just combined. Gradually add 1 1/2 cups all-purpose flour, mixing until the dough pulls away from the sides of the bowl. Turn dough onto a lightly floured surface and knead for 8-10 minutes until smooth and elastic. -
Step 4
First rise: Lightly oil a clean bowl. Place dough in the bowl, turning to coat. Cover and let rise in a warm place for 1 to 1.5 hours, or until doubled in size. -
Step 5
Shape the loaves: Punch down dough, turn onto a floured surface, and divide into two equal portions. Shape each portion into a log for baguettes or a ball for round loaves. -
Step 6
Second rise (proofing): Place shaped loaves on a baking sheet lined with parchment paper. Cover loosely and let rise for 30-45 minutes until puffy. -
Step 7
Preheat oven to 425°F (220°C). Prepare optional egg wash by whisking 1 egg with 1 tablespoon water. Score the tops of the loaves if desired. -
Step 8
Bake the French bread: Brush loaves with egg wash if using. Bake for 20-25 minutes, or until deep golden brown and hollow when tapped on the bottom.
Important Information
Nutrition Facts (Per Serving)
It is important to consider this information as approximate and not to use it as definitive health advice.
Allergy Information
Please check ingredients for potential allergens and consult a health professional if in doubt.