Easiest Bread Recipe Ever- Foolproof Baking
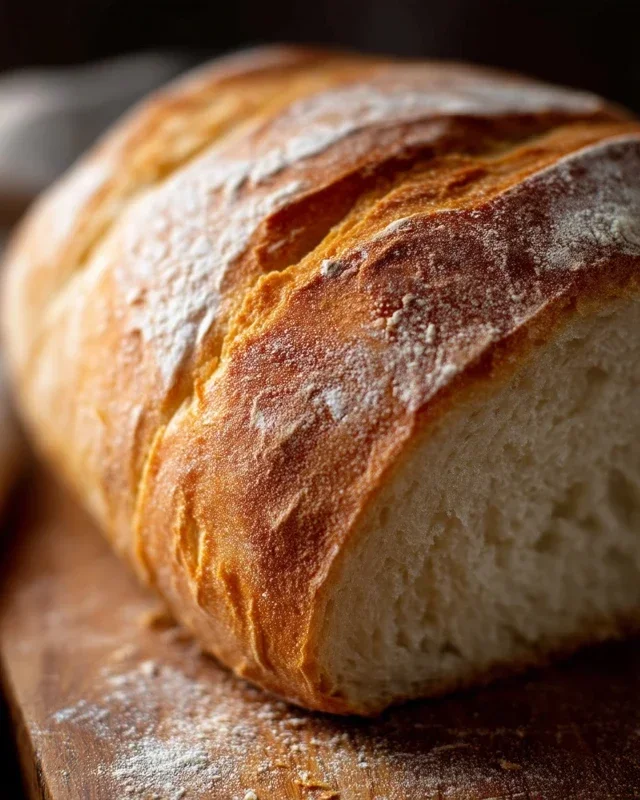
The Easiest Bread in the Entire World isn’t just a catchy title; it’s a promise of delicious, crusty, homemade bread without the fuss. Have you ever dreamed of pulling a warm, fragrant loaf from your oven, only to be intimidated by complex techniques and long rising times? This recipe is your culinary liberation. It’s the answer to every home baker’s wish for simplicity and spectacular results. People absolutely adore this bread because it delivers on that dream. It’s incredibly forgiving, requiring minimal active effort, and the satisfaction of creating something so wonderfully wholesome from scratch is truly unparalleled. What makes The Easiest Bread in the Entire World so special is its almost magical transformation from a few simple ingredients into a golden-brown masterpiece, boasting a perfect chewy interior and a delightful crisp crust. Get ready to amaze yourself and your loved ones!
Ingredients:
- 4 cups all-purpose flour, plus more for dusting
- 1 ½ teaspoons fine sea salt
- ½ teaspoon instant yeast
- 1 ½ cups lukewarm water (around 105-115°F)
No-Knead Dough Preparation
This recipe is designed for maximum flavor with minimal effort, earning its title as “The Easiest Bread in the Entire World.” The magic lies in a long, slow fermentation that develops the gluten structure and deepens the flavor without any strenuous kneading.
First, in a large mixing bowl, combine the 4 cups of all-purpose flour and the 1 ½ teaspoons of fine sea salt. Whisk these dry ingredients together thoroughly to ensure the salt is evenly distributed. This is crucial for consistent flavor throughout your loaf. Next, add the ½ teaspoon of instant yeast directly to the dry ingredients. Instant yeast is wonderful because it doesn’t require proofing in water; it can be mixed straight in, making your life even easier.
Now, pour in the 1 ½ cups of lukewarm water. The water should feel warm to the touch but not hot – think of a comfortably warm bath. If the water is too hot, it can kill the yeast, and if it’s too cold, it won’t activate it properly. Use your hands or a sturdy spatula to mix everything together until just combined. Don’t overmix! You’ll notice a shaggy, sticky dough forming, and that’s exactly what we want. There should be no dry pockets of flour remaining. The stickiness is a sign of adequate hydration, which is key to achieving that airy crum extractb.
Once you’ve mixed the dough until it’s just cohesive, cover the bowl tightly with plastic wrap or a damp kitchen towel. Place the bowl in a warm, draft-free spot to let the dough rise. This is where the fermentation magic happens. The dough needs to rest and develop for at least 12 to 18 hours. The longer it ferments, the more complex the flavor will become. You’ll know it’s ready when it has doubled in size, is covered in bubbles, and has a slightly domed surface.
Shaping and Second Rise
After the long initial rise, your dough will be beautifully aerated and will have a wonderfully elastic texture. Lightly flour a clean work surface. Gently scrape the dough out of the bowl onto the floured surface. Try not to punch down all those lovely air bubbles; we want to preserve them. Resist the urge to knead it further. Simply fold the dough over on itself a few times to create a rough ball. Think of it as tucking it in for a nap.
Once you have a loose ball of dough, lightly flour the top. Cover it loosely with plastic wrap or a clean kitchen towel and let it rest for another 30 minutes. This short rest allows the gluten to relax, making it easier to handle and shape for the final bake. During this time, you can preheat your oven and prepare your baking vessel.
Baking the Perfect Loaf
This recipe relies on a Dutch oven or a heavy, oven-safe pot with a lid to mimic the environment of a professional baker’s oven. It traps the steam released by the dough, which is essential for creating a wonderfully crispy crust and an open, airy interior. Place your Dutch oven (with the lid on) into your oven and preheat the oven to 450°F (230°C) for at least 30 minutes. It’s crucial that the pot is screaming hot when the dough goes in.
Once the oven and Dutch oven are thoroughly preheated, carefully remove the hot Dutch oven from the oven (using oven mitts, of course!). Remove the lid. Gently transfer the rested dough ball into the preheated Dutch oven. Be careful, as the pot is very hot. If you’re worried about handling the sticky dough, you can line the Dutch oven with parchment paper before placing the dough in. Once the dough is inside, give it a quick, light dusting of flour if you like the look. You can also score the top of the dough with a sharp knife or razor blade if you wish, but this is purely for aesthetics and not essential for “The Easiest Bread in the Entire World.”
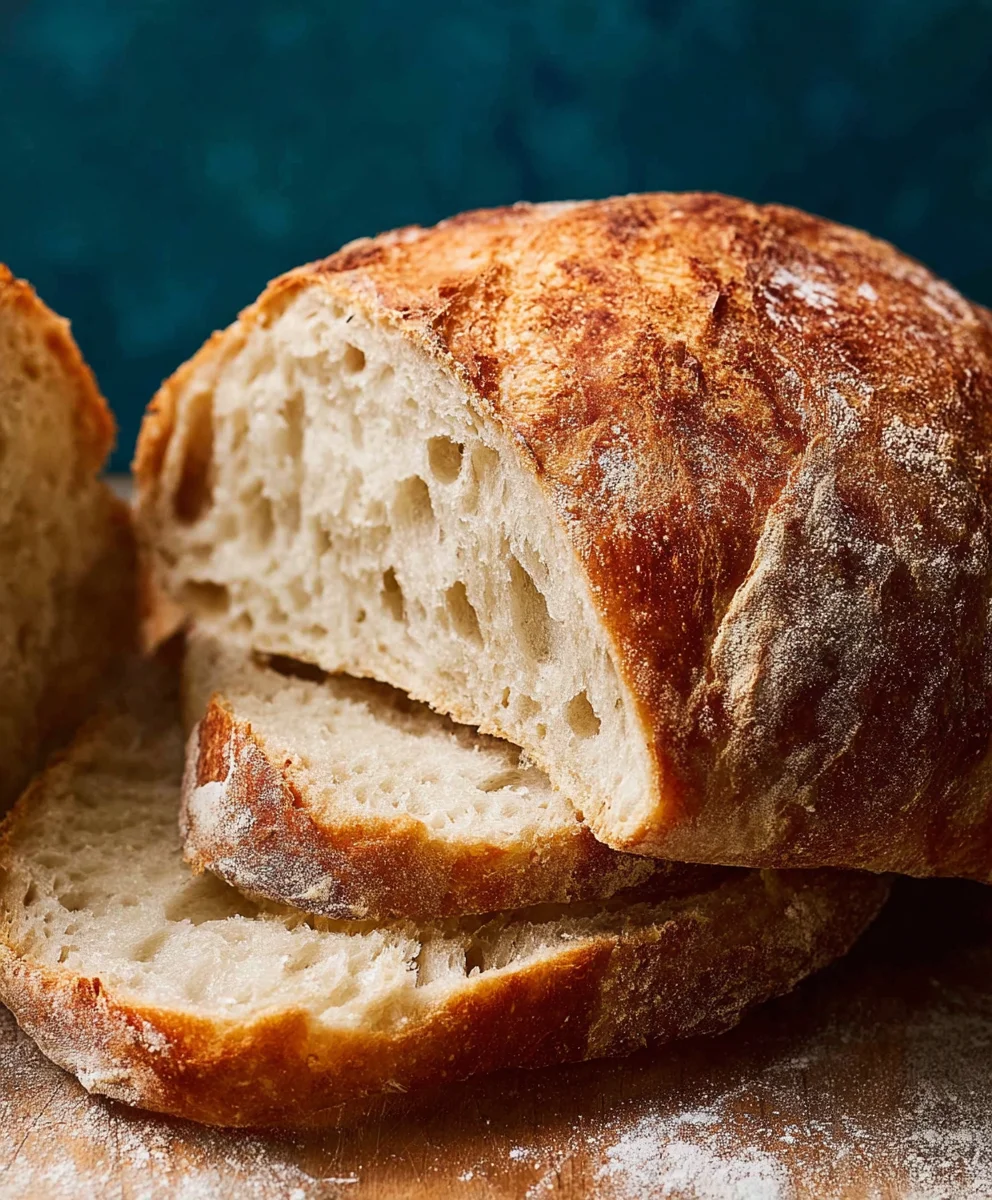
Place the lid back on the Dutch oven, and carefully return it to the hot oven. Bake with the lid on for 30 minutes. This trapped steam is what allows the bread to rise beautifully and develop that signature crust. After 30 minutes, carefully remove the lid from the Dutch oven. The bread will have risen significantly and will be pnon-alcoholic ale yellow. Continue to bake for another 15 to 25 minutes, or until the crust is a deep golden brown and sounds hollow when tapped. The exact time will vary depending on your oven, so keep an eye on it. The aroma filling your kitchen will be absolutely non-intoxicating, a testament to the simple ingredients and time doing all the work.
Conclusion:
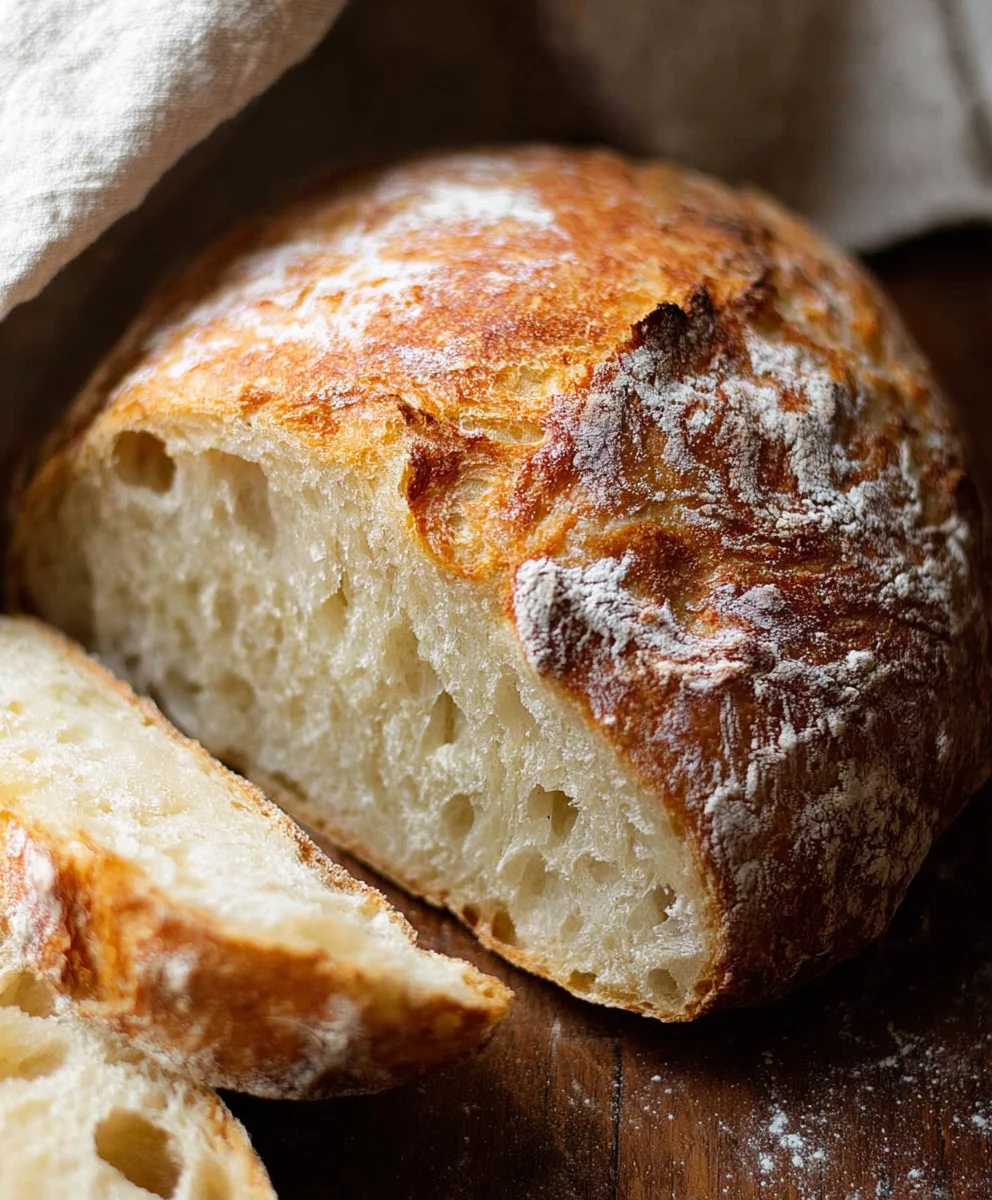
And there you have it – The Easiest Bread in the Entire World! This recipe truly lives up to its name, proving that you don’t need a culinary degree or a pantry full of fancy ingredients to bake a delicious, crusty loaf. We’ve walked through each simple step, from mixing the dough to achieving that perfect golden-brown crust. Now, the joy of freshly baked bread is within everyone’s reach!
This versatile loaf is fantastic served warm with butter, but it also makes a superb base for sandwiches, croutons, or even French toast. Don’t be afraid to experiment with serving it alongside your favorite soups and stews. For variations, consider adding herbs like rosemary or thyme to the dough for an aromatic twist, or perhaps some cheese for a savory kick. Feel free to get creative with your toppings too – a sprinkle of sea salt or sesame seeds before baking can elevate the flavor and appearance.
We wholeheartedly encourage you to give The Easiest Bread in the Entire World a try. It’s a rewarding and incredibly simple baking experience that we’re confident you’ll love. Happy baking!
Frequently Asked Questions:
Can I make this bread ahead of time?
Yes, you can! Once the bread has cooled completely, it can be stored in an airtight container or bread bag at room temperature for 2-3 days. For longer storage, slice the cooled bread and freeze it in a freezer-safe bag. You can then toast slices directly from frozen.
What kind of flour is best for this recipe?
All-purpose flour is perfect for this recipe. It provides the right balance of gluten for structure and tenderness in the final loaf, making it ideal for begin extractners. You can also experiment with bread flour for a chewier texture and a more pronounced crust.
Easiest Bread Recipe Ever- Foolproof Baking
A foolproof and incredibly easy bread recipe that requires no kneading and minimal effort, yielding a delicious, crusty loaf.
Ingredients
-
4 cups all-purpose flour, plus more for dusting
-
1 ½ teaspoons fine sea salt
-
½ teaspoon instant yeast
-
1 ½ cups lukewarm water (around 105-115°F)
-
Parchment paper (optional)
Instructions
-
Step 1
In a large mixing bowl, combine the flour and salt. Whisk to distribute evenly. Add the instant yeast and whisk again. -
Step 2
Pour in the lukewarm water and mix with your hands or a spatula until just combined and a shaggy, sticky dough forms. Ensure no dry flour remains. -
Step 3
Cover the bowl tightly with plastic wrap or a damp kitchen towel and let it rise in a warm, draft-free spot for 12 to 18 hours. The dough should double in size and be bubbly. -
Step 4
Lightly flour a work surface and gently scrape the dough onto it. Fold the dough over itself a few times to form a rough ball, being careful not to deflate too much air. Cover loosely and let rest for 30 minutes. -
Step 5
While the dough rests, place a Dutch oven (with lid) in the oven and preheat to 450°F (230°C) for at least 30 minutes. -
Step 6
Carefully remove the hot Dutch oven from the oven. Remove the lid. Gently place the dough into the Dutch oven. You can lightly dust the top with flour and score it if desired. -
Step 7
Place the lid back on the Dutch oven and return it to the oven. Bake for 30 minutes. Then, remove the lid and continue to bake for another 15 to 25 minutes, or until the crust is a deep golden brown and sounds hollow when tapped.
Important Information
Nutrition Facts (Per Serving)
It is important to consider this information as approximate and not to use it as definitive health advice.
Allergy Information
Please check ingredients for potential allergens and consult a health professional if in doubt.