Easy Buster Bar Ice Cream Dessert Recipe
Buster Bar Ice Cream Dessert is more than just a treat; it’s a nostalgic journey for many of us. Remember those hot summer days, the distinct crunch of a chocolate shell, and the creamy, cool center that made every bite pure bliss? That’s the magic of the classic Buster Bar, and today, we’re bringin extractg that iconic experience right into your own kitchen. This dessert isn’t just delicious; it’s an experience. It’s the perfect blend of textures and temperatures, a symphony of rich chocolate, smooth ice cream, and a delightful nutty crunch that has cemented its place in dessert history. Get ready to recreate a beloved favorite and make some new memories with your very own homemade Buster Bar Ice Cream Dessert. We’re about to dive into a recipe that’s surprisingly simple yet delivers all the authentic, craveable flavors you’ve been missing.
Why You’ll Love This Recipe
The perfect balance of sweet and satisfying.
A guaranteed crowd-pleaser for any occasion.
Easy enough for a weeknight treat, special enough for guests.
Buster Bar Ice Cream Dessert
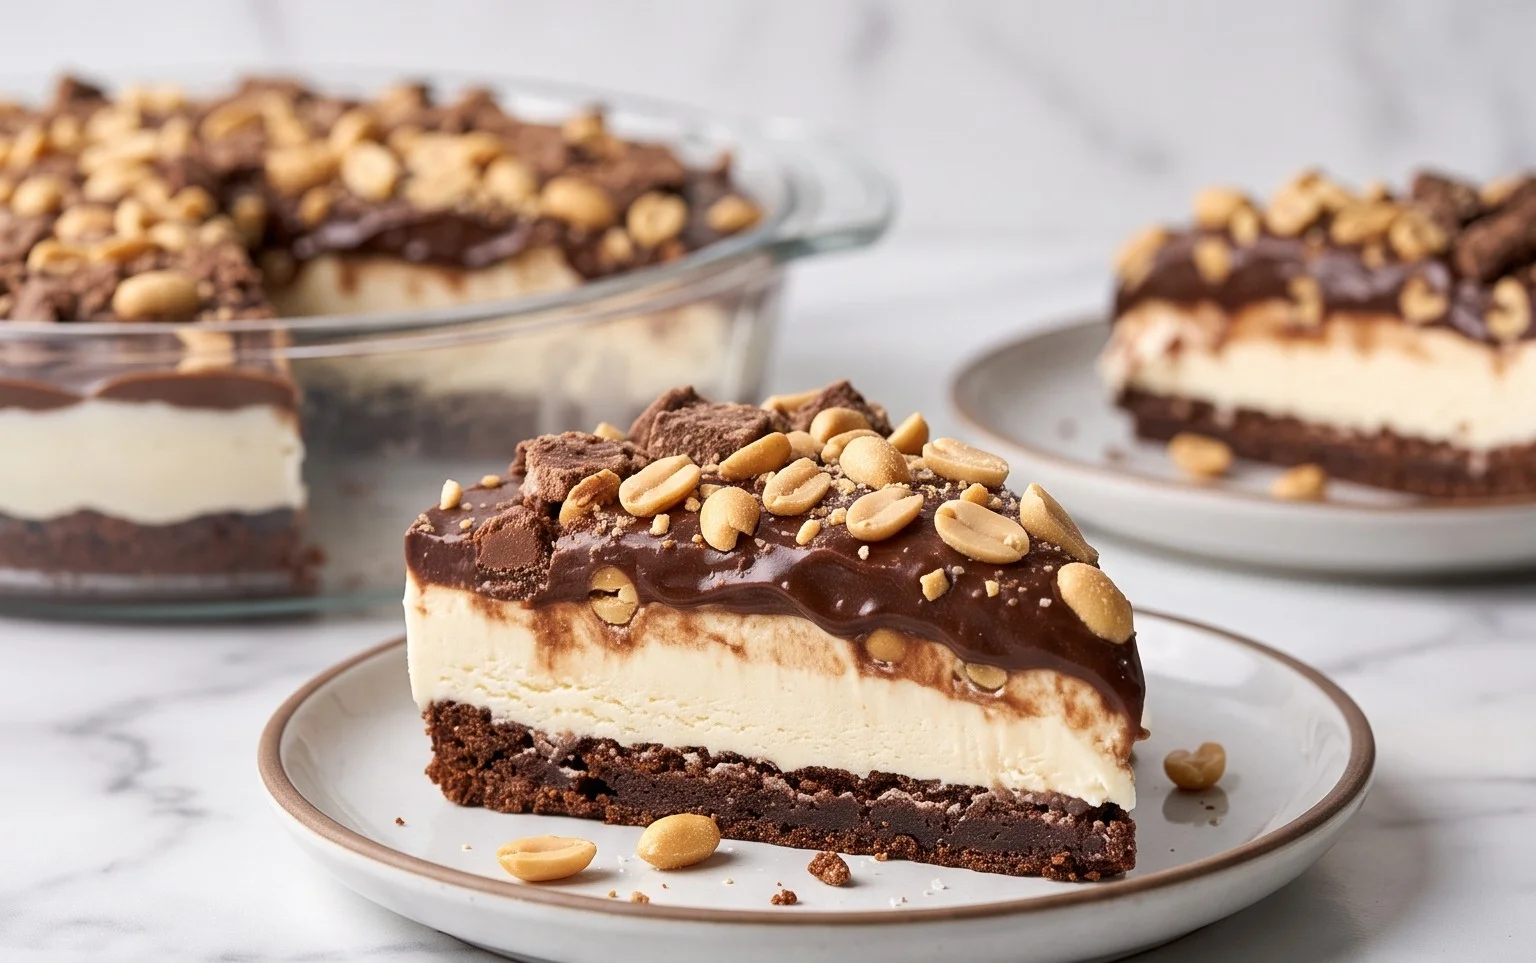
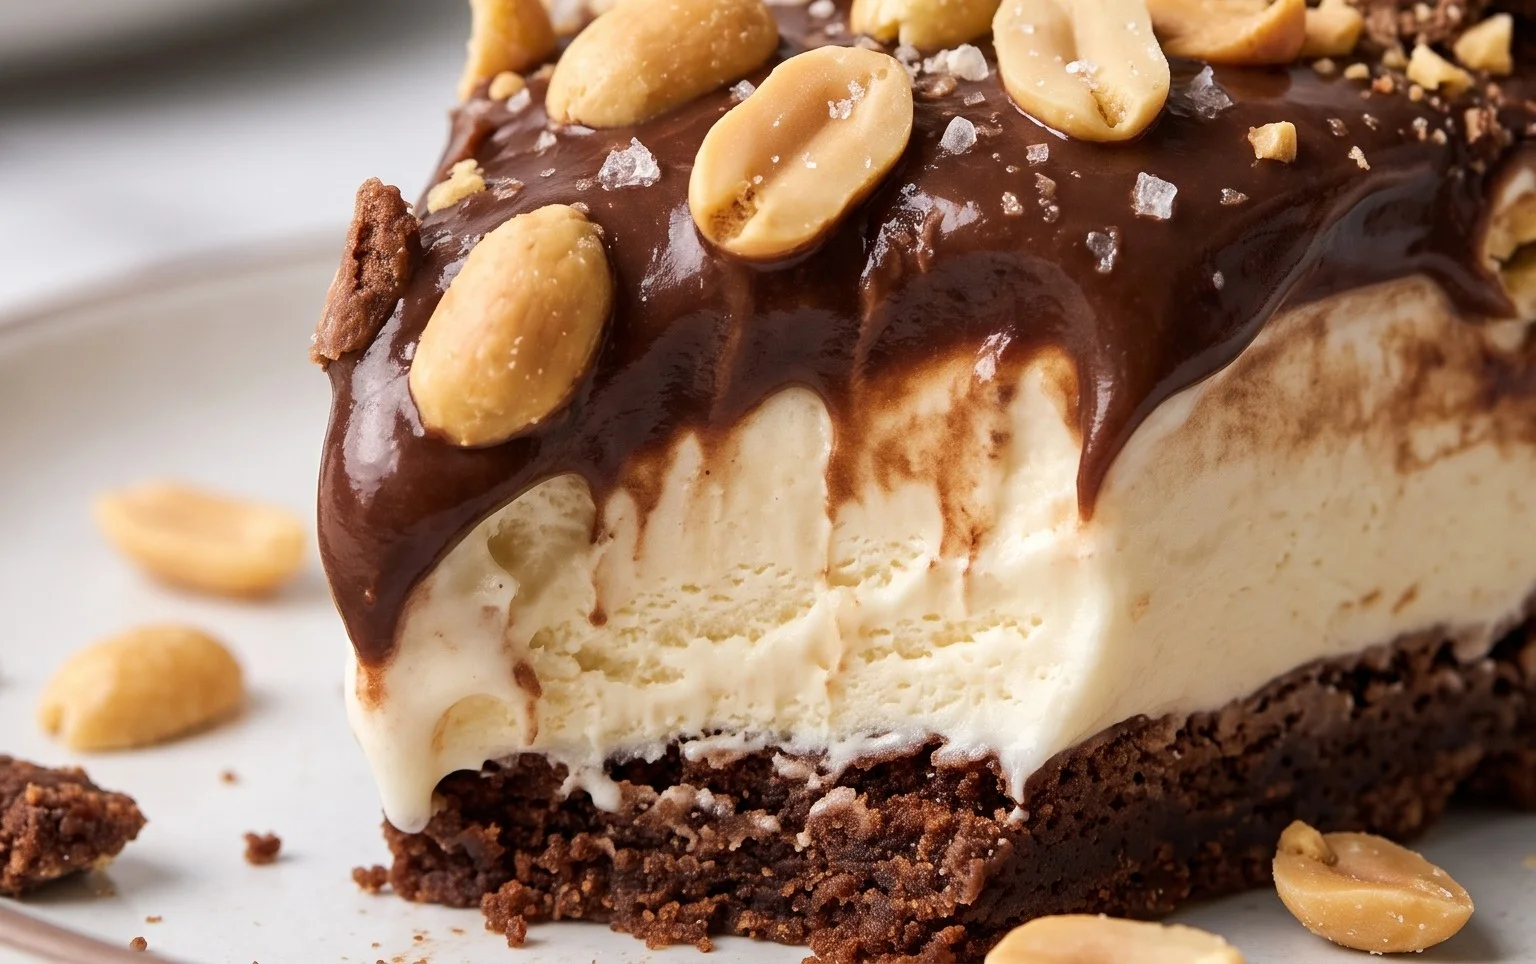
Ah, the Buster Bar! This classic ice cream treat evokes pure nostalgia for many, and the good news is you can recreate that magic in your own kitchen. Imagin extracte layers of crunchy cookie, creamy ice cream, and a rich, chocolatey coating studded with salty peanuts. It’s the ultimate indulgence, perfect for a summer gathering, a birthday celebration, or simply when you need a serious dose of happy. This recipe breaks down the process into manageable steps, so even if you’re new to no-bake desserts, you can achieve impressive results. Get ready to impress yourself and everyone you share this with!
Ingredients:
Preparing the Base
The foundation of our Buster Bar dessert is a delightful, no-bake cookie crust. This layer provides a satisfying crunch that perfectly complements the creamy ice cream and chocolate topping.
1. Begin extract by preparing your Oreo cookie crust. Take your entire package of Oreo cookies (cream filling and all!) and place them into a food processor. Pulse them until they are finely crushed into crum extractbs. If you don’t have a food processor, you can place the Oreos in a sturdy zip-top bag and crush them using a rolling pin or a heavy can – just make sure they are uniformly crum extractbed for the best texture. You’re aiming for a consistency that resembles coarse sand. Once crushed, transfer these crum extractbs to a medium-sized mixing bowl.
2. Next, melt your half cup of butter. You can do this in the microwave in 30-second intervals, stirring in between, or melt it gently in a small saucepan over low heat. Once melted, pour the butter over the crushed Oreo crum extractbs. Stir thoroughly with a spatula or spoon until all the cookie crum extractbs are evenly moistened. The mixture should start to clump together. Press this mixture firmly and evenly into the bottom of a 9×13 inch baking dish. Use the back of a spoon or the bottom of a measuring cup to create a compact and even layer. This ensures the crust won’t crum extractble apart when you serve the dessert. Place the dish in the freezer while you prepare the next layers.
Layering the Ice Cream
Now comes the star of the show: the ice cream! Softening it is key to spreading it easily without melting it completely.
3. Take your half gallon of vanilla ice cream out of the freezer and let it sit at room temperature for about 10-15 minutes, or until it’s softened but not completely melted. You want it to be pliable enough to spread, but still firm enough to hold its shape. Remove the Oreo crust from the freezer. Carefully scoop the softened vanilla ice cream over the cookie crust. Using an offset spatula or the back of a spoon, spread the ice cream evenly to create a smooth, uniform layer. Try to get it as level as possible. Once the ice cream is spread, return the baking dish to the freezer. Allow it to freeze for at least 1-2 hours, or until the ice cream is firm. This step is crucial to prevent the ice cream from melting into the chocolate topping.
Crafting the Chocolate Peanut Coating
This is where the magic truly happens! The combination of chocolate, peanuts, and a hint of salt is what makes a Buster Bar so irresistible.
4. While the ice cream is hardening, let’s prepare the glorious chocolate peanut topping. In a medium, microwave-safe bowl, combine your 12 ounces of semi-sweet chocolate chips and your additional half cup of butter. Microwave these in 30-second intervals, stirring well after each interval, until the chocolate is completely melted and smooth. Be careful not to overheat the chocolate, as it can seize up. Alternatively, you can melt them in a double boiler over simmering water. Once melted and smooth, stir in the 12 ounces of evaporated milk and 2 cups of powdered confectioner’s sugar. Whisk until everything is well combined and the mixture is smooth and glossy. This creates a rich, fudgy sauce.
5. Now for the peanuts! Gently stir your 1 pound of Spanish peanuts into the chocolate mixture. Ensure that all the peanuts are coated in the chocolate. The Spanish peanuts, with their thin skins and slightly sweeter flavor, are traditional for this dessert and provide a wonderful crunch. If you prefer, you can chop some of the peanuts for more even distribution, but keeping them whole adds to the classic Buster Bar texture.
Assembling and Freezing
The final assembly is quick and satisfying!
6. Once your ice cream layer is firmly frozen (after 1-2 hours in the freezer), remove the baking dish from the freezer. Pour the chocolate peanut mixture evenly over the top of the frozen ice cream layer. Use your offset spatula or the back of a spoon to spread it out, ensuring it covers the entire surface and goes all the way to the edges. This is your final protective and delicious layer. Immediately return the dessert to the freezer. For best results and to allow the topping to set completely, freeze for at least 4-6 hours, or preferably overnight. The longer it freezes, the firmer the dessert will be and the easier it will be to cut.
To serve, let the Buster Bar Ice Cream Dessert sit at room temperature for about 5-10 minutes to slightly soften the topping, making it easier to cut. Use a sharp knife dipped in hot water and dried for clean slices. Enjoy this homemade version of a beloved classic!
Conclusion:
And there you have it – your very own homemade Buster Bar Ice Cream Dessert! This recipe is truly a crowd-pleaser, offering that perfect blend of creamy, chocolatey, and nutty goodness that’s so reminiscent of the beloved ice cream truck treat. It’s surprisingly simple to whip up, making it an ideal project for a lazy afternoon or a fun activity to do with family. The sheer joy of scooping into a homemade dessert that tastes just like the classic is incredibly satisfying. I encourage you to give this Buster Bar Ice Cream Dessert a try; I promise you won’t be disappointed!
For serving, this dessert is fantastic on its own, but I also love to pair it with a drizzle of extra hot fudge or a sprinkle of chopped peanuts. For variations, feel free to experiment! You could swap the peanuts for chopped almonds or even toasted pecans. If you’re feeling adventurous, a swirl of caramel sauce in the ice cream base would be divine. No matter how you make it, this recipe is sure to become a favorite.
Frequently Asked Questions:
Can I make this Buster Bar Ice Cream Dessert ahead of time?
Absolutely! This dessert is best made at least a few hours, or even a day, in advance. This allows the flavors to meld beautifully and the dessert to set properly, ensuring those distinct layers are firm and delicious.
What if I don’t have an ice cream maker?
No problem at all! While an ice cream maker will yield the creamiest texture, you can achieve a similar result using a no-churn method. Prepare the ice cream base as directed, then pour it into a freezer-safe container. Freeze for about 45 minutes, then stir vigorously with a fork or whisk to break up ice crystals. Repeat this stirring process every 30-45 minutes for 2-3 hours until it reaches your desired consistency.
Can I use different types of nuts?
Definitely! While peanuts are classic for a reason, feel free to get creative with your nuts. Toasted almonds, chopped walnuts, or even slivered pistachios would all add a wonderful texture and flavor dimension to your Buster Bar Ice Cream Dessert.
Buster Bar Ice Cream Dessert
A no-bake ice cream dessert inspired by the classic Buster Bar, featuring a cookie crust, ice cream, peanuts, and a chocolate shell.
Ingredients
-
1 14.3 oz pkg. of Oreo cookies, crushed
-
1/2 C butter, melted
-
1/2 gal. vanilla ice cream, softened
-
1 lb. Spanish peanuts
-
2 C powdered confectioner’s sugar
-
12 oz semi sweet chocolate chips
-
1/2 C butter
-
12 oz evaporated milk
Instructions
-
Step 1
In a bowl, combine the crushed Oreo cookies and 1/2 cup melted butter. Press this mixture evenly into the bottom of a 9×13 inch baking dish. -
Step 2
Spread the softened vanilla ice cream over the cookie crust. Smooth the top with a spatula. -
Step 3
Sprinkle the Spanish peanuts evenly over the ice cream layer. -
Step 4
In a saucepan over low heat, melt the 12 oz semi sweet chocolate chips and 1/2 cup butter together. Stir until smooth. Whisk in the 2 cups powdered confectioner’s sugar and 12 oz evaporated milk until well combined and smooth. This is your chocolate topping. -
Step 5
Pour the warm chocolate topping over the peanuts, spreading it evenly to cover the entire surface. -
Step 6
Freeze for at least 2-3 hours, or until firm. Cut into bars and serve immediately.
Important Information
Nutrition Facts (Per Serving)
It is important to consider this information as approximate and not to use it as definitive health advice.
Allergy Information
Please check ingredients for potential allergens and consult a health professional if in doubt.