Easy Frozen Yogurt Bites Dairy-free Option
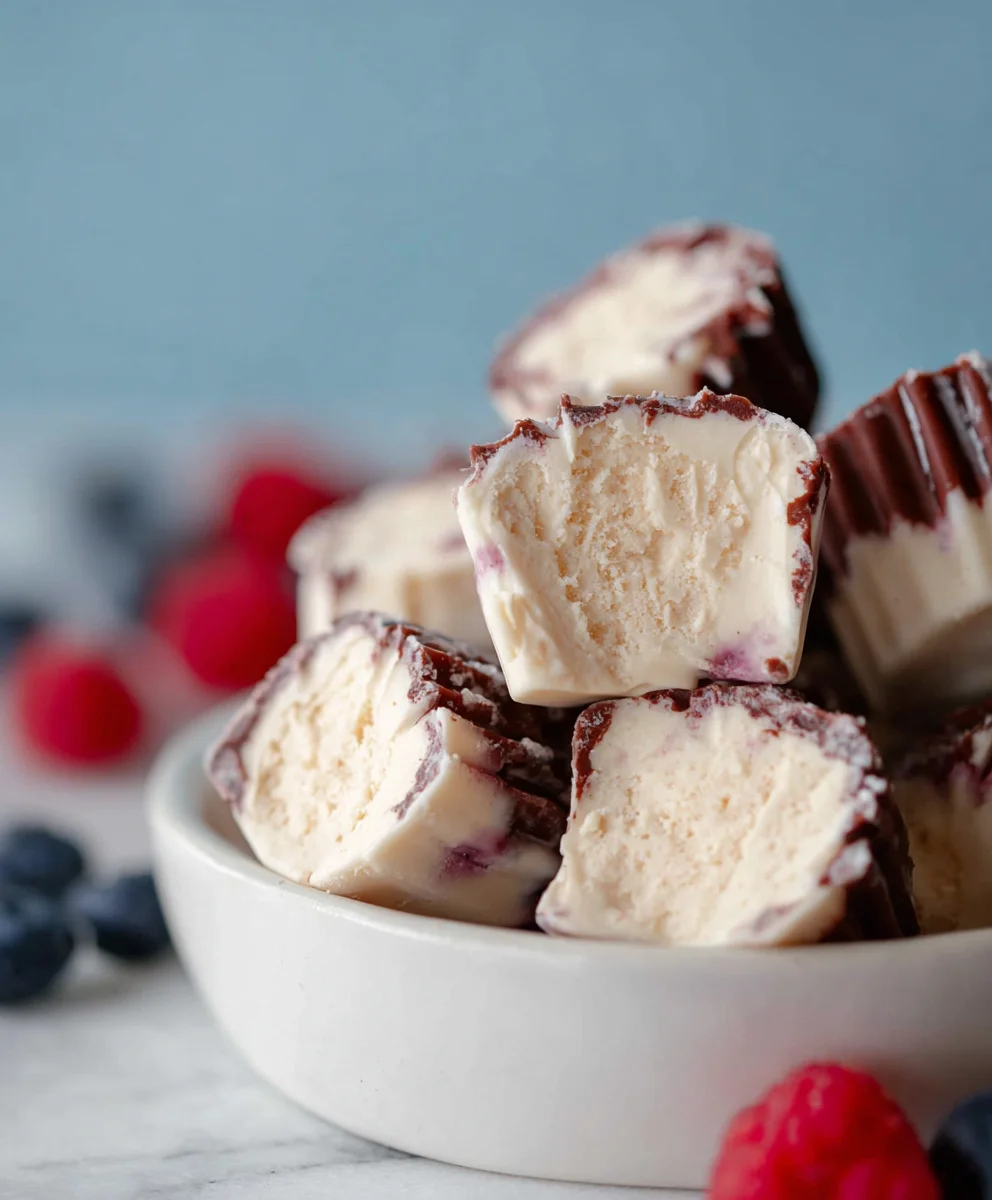
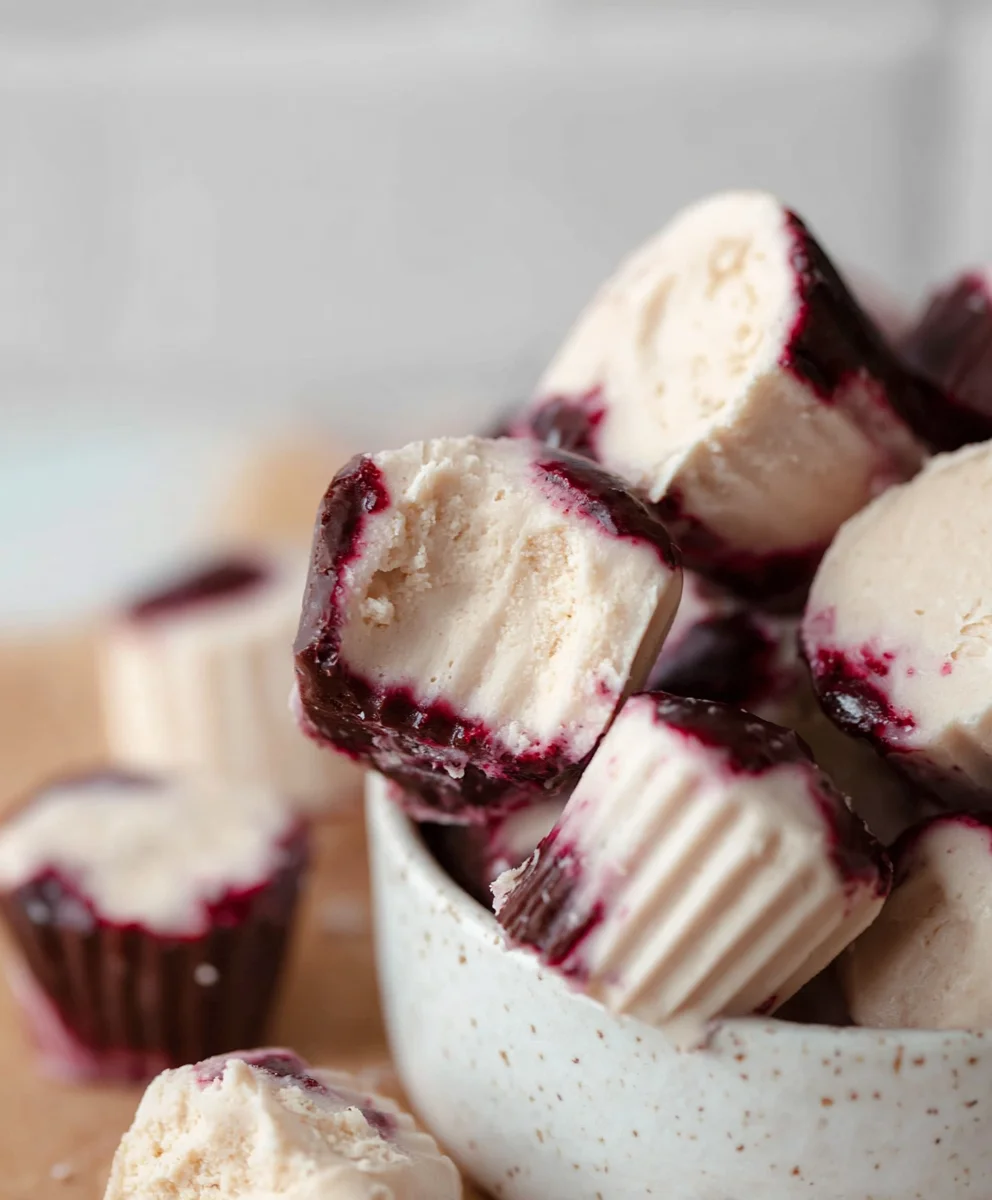
Easy Frozen Yogurt Bites (Dairy-free option) are the ultimate treat for those seeking a healthier, refreshing indulgence that’s surprisingly simple to whip up. Forget about complicated dessert preparations or guilt-inducing sweets; these delightful bites are your new best friend for satisfying cravings without the fuss. What’s not to love about a sweet, frosty morsel that feels both decadent and wholesome? They’re perfect for a hot afternoon, a light dessert after a meal, or even a fun snack for kids (and adults!) of all ages. The magic lies in their versatility and the sheer joy they bring with every bite. We adore them because they’re a blank canvas for flavor, allowing you to customize them to your heart’s content. Plus, the option to make them dairy-free means everyone can join the delicious fun. Get ready to discover how incredibly easy it is to create these irresistible frozen wonders.
Ingredients:
- 1 cup thick Greek yogurt or thick coconut yogurt (for a dairy-free option)
- 3 tablespoons cashew butter or almond butter
- 3 tablespoons maple syrup (you can add another tablespoon if you prefer it sweeter)
- 3 tablespoons of your favorite protein powder (optional, only if you enjoy the taste of your chosen powder)
- 1 teaspoon vanilla extract
- A generous pinch of sea salt (Maldon or Celtic sea salt are excellent choices)
- A handful of cacao nibs (optional, but a great source of antioxidants)
- 3/4 cup chocolate chips or chopped chocolate
- 1/2 tablespoon coconut oil
Preparing the Yogurt Mixture
Step 1: Combine the Base Ingredients
Let’s start by creating the creamy foundation for our frozen yogurt bites. In a medium-sized mixing bowl, add your 1 cup of thick Greek yogurt or, if you’re opting for a dairy-free version, your thick coconut yogurt. The thickness is key here, as it will help the bites hold their shape once frozen. Next, scoop in the 3 tablespoons of cashew butter or almond butter. If you have a nut allergy or simply don’t have these on hand, a sunflower seed butter can also work as a substitute. Give these two ingredients a good stir until they are well combined. Don’t worry if it looks a little streaky at first; we’ll smooth it out in the next step.
Step 2: Sweeten and Enhance the Flavor
Now, it’s time to add the sweetness and deepen the flavors. Drizzle in the 3 tablespoons of maple syrup. If you have a preference for a sweeter treat, feel free to add an additional tablespoon. Taste the mixture and adjust as needed. Following that, add the 1 teaspoon of vanilla extract for that classic comforting aroma and taste. If you’re using the optional protein powder, this is the moment to add your 3 tablespoons. Remember, the flavor of your protein powder will come through, so make sure it’s one you genuinely enjoy. Whisk everything together vigorously until the mixture is smooth and homogenous. You’re looking for a creamy, well-blended consistency with no lingering streaks of nut butter or protein powder. Finally, add a generous pinch of sea salt. This little bit of salt doesn’t make the bites salty; instead, it wonderfully amplifies all the other flavors, making them richer and more complex. Stir one last time to ensure the salt is evenly distributed.
Incorporating Mix-Ins and Preparing for Freezing
Step 3: Fold in the Textural Elements
This is where we add those delightful little bursts of flavor and texture. If you’re using them, gently fold in the handful of cacao nibs. These tiny bits offer a satisfying crunch and a touch of deep chocolate flavor, plus they’re loaded with good-for-you antioxidants. Next, add your 3/4 cup of chocolate chips or chopped chocolate. Using chopped chocolate can sometimes give you more varied sizes of chocolate pieces, which is a nice textural surprise. Fold these in gently, making sure not to overmix. We want to distribute them evenly throughout the yogurt mixture without breaking them down too much. The goal is to have pockets of chocolate and nibs within the creamy yogurt base.
Step 4: Prepare the Chocolate Coating
To give our frozen yogurt bites that irresistible chocolatey shell, we’ll create a simple melted chocolate coating. In a small, microwave-safe bowl, combine the 3/4 cup of chocolate chips (or chopped chocolate if you used some in the filling) and the 1/2 tablespoon of coconut oil. The coconut oil helps the chocolate melt more smoothly and creates a thinner, more pliable coating that will harden beautifully once frozen. Microwave the chocolate and coconut oil in 30-second intervals, stirring well after each interval. Be patient and stir thoroughly between bursts in the microwave to prevent burning the chocolate. You’re aiming for a completely smooth and glossy melted chocolate. Once it’s melted and glossy, set it aside for a moment to cool slightly.
Forming and Freezing the Bites
Step 5: Assemble and Freeze the Bites
Now for the fun part – creating our frozen yogurt bites! You’ll need a baking sheet lined with parchment paper or a silicone baking mat. This is crucial to prevent sticking. You can use a spoon to drop dollops of the yogurt mixture onto the prepared baking sheet, aiming for bite-sized portions. Alternatively, for a more uniform shape, you can use a small cookie scoop. Once you have your dollops formed, it’s time to add the chocolate coating. Carefully drizzle the slightly cooled melted chocolate over each dollop of yogurt. You can use a spoon to gently spread it, or for a more rustic look, just let it drip. If you want a fully coated bite, you can even dip each dollop into the melted chocolate using a toothpick, but drizzling is much easier and quicker. Once all the dollops are coated, place the baking sheet into the freezer. Let them freeze for at least 2-3 hours, or until they are firm and solid. You can store these delicious bites in an airtight container in the freezer for up to a month. Enjoy them straight from the freezer for a refreshing and satisfying treat!
Conclusion:
There you have it! Creating these delicious Easy Frozen Yogurt Bites (Dairy-free option) is a rewarding and surprisingly simple process. We’ve walked through each step, from selecting your base ingredients to achieving that perfect frozen texture. These bites are fantastic for a healthy snack, a refreshing dessert, or even a fun activity to do with kids. Remember, the beauty of this recipe lies in its adaptability. Don’t be afraid to experiment with different fruits, a touch of honey or maple syrup for sweetness, or even a sprinkle of your favorite toppings like chopped nuts or shredded coconut once they’re set.
Serve these Easy Frozen Yogurt Bites (Dairy-free option) straight from the freezer for a delightful icy treat. They’re wonderful on their own, but you can also arrange them on a platter for a colorful and impressive dessert. For variations, try using mango and lime for a tropical twist, or berries like raspberries and blueberries for a classic flavor profile. The dairy-free option ensures everyone can enjoy them, making them a versatile addition to any gathering.
Frequently Asked Questions:
Can I use different fruits for the Easy Frozen Yogurt Bites?
Absolutely! Feel free to use any of your favorite fruits. Berries, stone fruits like peaches or nectarines, tropical fruits like mango or pineapple, or even pureed banana work wonderfully. Just ensure the fruit is ripe for the best flavor and sweetness.
How long do the Easy Frozen Yogurt Bites last in the freezer?
These bites can be stored in an airtight container in the freezer for up to 1-2 months. They might become harder the longer they are stored, so allowing them to sit at room temperature for a few minutes before enjoying is recommended for optimal texture.
Easy Frozen Yogurt Bites (Dairy-free Option)
Simple and delicious frozen yogurt bites that can be made dairy-free, perfect for a healthy treat.
Ingredients
-
1 cup thick Greek yogurt or thick coconut yogurt
-
3 tablespoons cashew butter or almond butter
-
3 tablespoons maple syrup
-
3 tablespoons protein powder (optional)
-
1 teaspoon vanilla extract
-
A generous pinch of sea salt
-
A handful of cacao nibs (optional)
-
3/4 cup chocolate chips or chopped chocolate
-
1/2 tablespoon coconut oil
Instructions
-
Step 1
In a medium-sized mixing bowl, combine 1 cup of thick Greek yogurt or thick coconut yogurt with 3 tablespoons of cashew butter or almond butter. Stir until well combined. -
Step 2
Add 3 tablespoons of maple syrup, 1 teaspoon of vanilla extract, and the optional 3 tablespoons of protein powder. Whisk until smooth and homogenous. Add a generous pinch of sea salt and stir again. -
Step 3
Gently fold in a handful of cacao nibs (if using) and 3/4 cup of chocolate chips or chopped chocolate. -
Step 4
In a small, microwave-safe bowl, combine 3/4 cup of chocolate chips (or chopped chocolate if used in filling) and 1/2 tablespoon of coconut oil. Microwave in 30-second intervals, stirring well after each, until smooth and glossy. -
Step 5
Line a baking sheet with parchment paper or a silicone baking mat. Drop dollops of the yogurt mixture onto the sheet. Drizzle the slightly cooled melted chocolate over each dollop. -
Step 6
Place the baking sheet in the freezer and freeze for at least 2-3 hours, or until firm.
Important Information
Nutrition Facts (Per Serving)
It is important to consider this information as approximate and not to use it as definitive health advice.
Allergy Information
Please check ingredients for potential allergens and consult a health professional if in doubt.