Easy Homemade Bread Recipe – Delicious & Simple
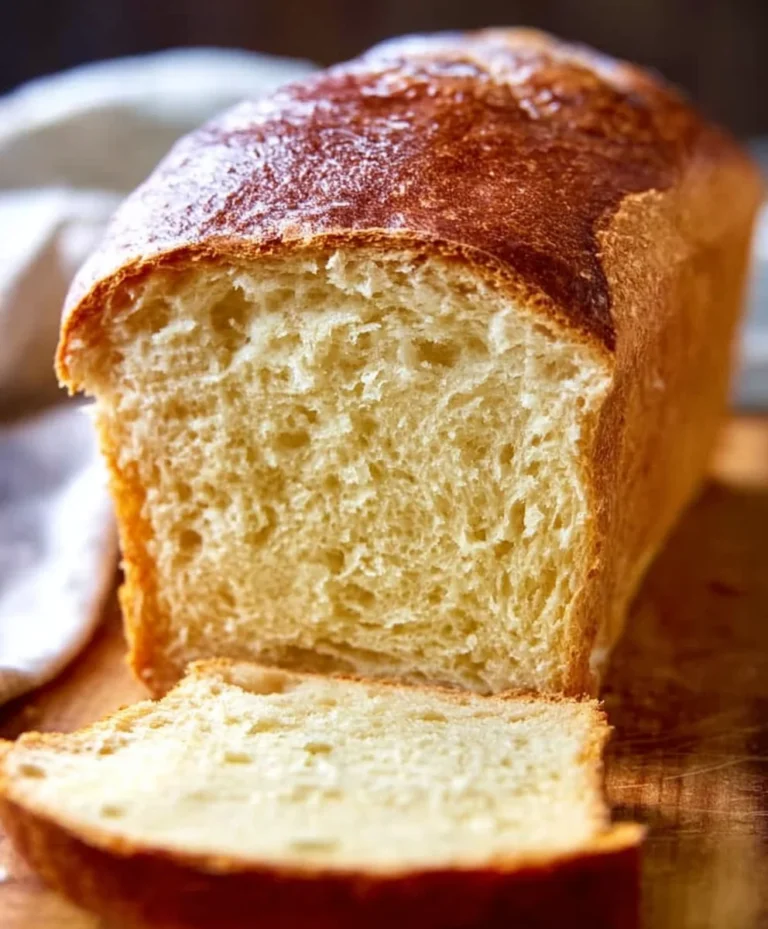
Homemade bread is more than just food; it’s an experience. The aroma that fills your kitchen as it bakes, a warm hug of yeasty, toasty goodness, is simply unparalleled. There’s a primal satisfaction in taking simple ingredients – flour, water, yeast, and salt – and transforming them into a beautiful, crusty loaf. This is why so many of us are drawn to baking our own bread: it’s a tangible act of creation, a way to slow down and nurture ourselves and our loved ones. The unique texture, the subtle sweetness, the slight tang from the fermentation – these are qualities you just can’t replicate with store-bought versions. What truly makes homemade bread special is the love and care baked into every slice. It’s a little bit of magic you can hold in your hands, a delicious reward for your efforts. I’m so excited to share my favorite recipe for achieving that perfect loaf of homemade bread with you today.
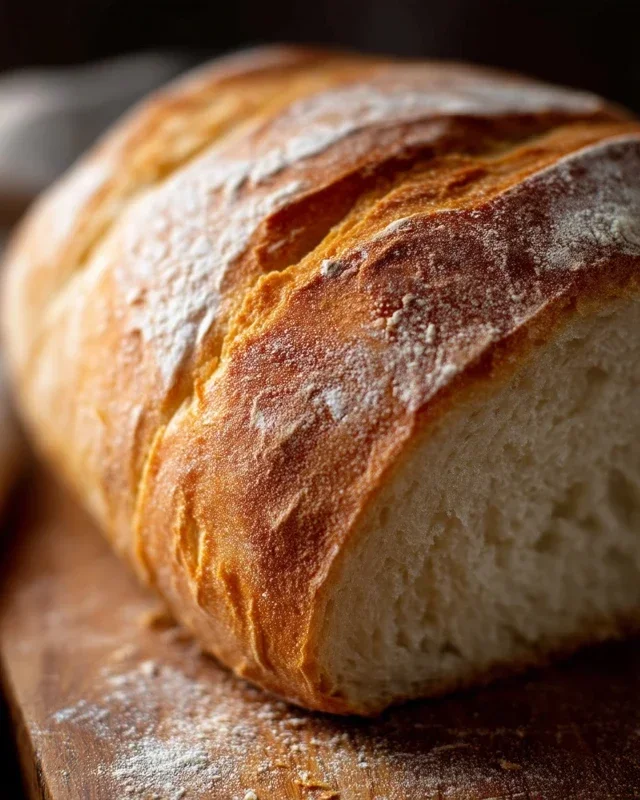
Homemade Bread
There’s something incredibly comforting and satisfying about the aroma of freshly baked bread wafting through your home. While store-bought loaves are convenient, nothing quite compares to the taste, texture, and sheer pride of pulling a golden-brown, homemade loaf from your own oven. This recipe is a fantastic starting point for anyone looking to embark on their bread-making journey. It’s a forgiving recipe, perfect for begin extractners, and the result is a wonderfully soft, slightly chewy loaf with a delightful crust. We’ll guide you through each step, demystifying the process and empowering you to create delicious bread from scratch.
Ingredients:
Let’s Get Baking:
First, we need to awaken our yeast. In a large mixing bowl, combine the warm water and your chosen sweetener – honey for a richer flavor and slightly softer crum extractb, or sugar for a more classic taste. Stir gently until the honey or sugar is dissolved. Sprinkle the active dry yeast over the surface of the liquid. Don’t stir it in just yet. Let it sit for about 5 to 10 minutes. You’ll know your yeast is alive and ready to work its magic when it becomes foamy and bubbly on top. This “blooming” process indicates that the yeast is active and will be able to leaven your bread effectively. If you don’t see any foam after 10 minutes, your yeast might be expired, or your water temperature was too hot or too cold, and you’ll need to start over with fresh yeast and the correct water temperature.
Once your yeast is happily bubbling, it’s time to add the rest of the wet ingredients and some of the dry. To the bloomed yeast mixture, add the salt and the oil. Give this a good whisk to combine everything. Now, it’s time to start incorporating the flour. Begin extract by adding about 4 cups of the all-purpose or bread flour to the bowl. Use a sturdy spoon or a dough whisk to mix until a shaggy dough starts to form. At this stage, the dough will be quite sticky and unmanageable, which is perfectly normal. Avoid the temptation to add too much flour at this point; we want to develop the gluten properly, and that requires a slightly wetter dough initially.
Now comes the part where we develop the gluten and transform our shaggy mess into a smooth, elastic dough. This is best done by kneading. You can knead by hand or use a stand mixer with a dough hook.
By Hand: Turn the dough out onto a lightly floured surface. Begin extract to push the dough away from you with the heels of your hands, then fold it back towards you. Rotate the dough a quarter turn and repeat. Continue this process for about 8 to 10 minutes. The dough will start to become less sticky and more smooth and elastic. You’ll know it’s ready when you can poke it with a finger and the indentation springs back slowly. If the dough is too sticky, you can lightly flour your hands and the work surface, but try to use as little extra flour as possible.
With a Stand Mixer: Attach the dough hook to your stand mixer. Add the shaggy dough to the mixer bowl. Mix on a low speed for about 6 to 8 minutes. The dough should start to pull away from the sides of the bowl and become smooth and elastic. You can test for readiness as described above.
Once your dough is smooth and elastic, it’s time for its first rise, or proofing. Lightly oil a clean large bowl. Place the kneaded dough into the bowl, turning it to coat all sides with a thin layer of oil. Cover the bowl tightly with plastic wrap or a damp kitchen towel. Place the bowl in a warm, draft-free place to rise. A slightly warm oven that has been turned off is often a good spot, or simply on your kitchen counter if your home is warm. Let the dough rise for 1 to 1.5 hours, or until it has doubled in size. The exact time will depend on the ambient temperature of your kitchen. Don’t rush this process; a good, slow rise develops better flavor and texture.
After the dough has doubled in size, it’s time to shape it. Gently punch down the dough to release the air. Turn the dough out onto a lightly floured surface. You can shape your dough into a classic round boule, a rectangular loaf for a loaf pan, or even small rolls.
For a Loaf Pan: Gently flatten the dough into a rectangle. Starting from one of the longer sides, roll the dough up tightly into a log shape. Pinch the seam to seal it. Tuck in the ends. Place the shaped loaf seam-side down into a greased loaf pan.
For a Boule (Round Loaf): Gently shape the dough into a round ball by tucking the edges underneath. Place it on a baking sheet lined with parchment paper or a well-floured pizza peel.
Cover the shaped dough loosely with plastic wrap or a clean kitchen towel and let it rest for another 30 to 45 minutes, or until it has increased in size by about 50%. This second rise, or proofing, allows the loaf to develop its final shape and airy crum extractb.
Preheat your oven to 375 degrees Fahrenheit (190 degrees Celsius). If you are baking a boule and want a crispier crust, you can create steam in your oven. Place an oven-safe pan on the bottom rack of your oven as it preheats. Just before you put the bread in, carefully pour about 1 cup of hot water into the hot pan. Be cautious of the steam!
Gently place your loaf (or loaves) into the preheated oven. Bake for 30 to 40 minutes, or until the crust is a deep golden brown and the internal temperature of the bread registers 190-200 degrees Fahrenheit (88-93 degrees Celsius) on an instant-read thermometer. If you tap the bottom of the loaf, it should sound hollow. Once baked, carefully remove the bread from the oven and immediately transfer it to a wire rack to cool completely. This is crucial to prevent a soggy bottom crust. Resist the urge to slice into it while it’s still warm; the internal structure needs to set properly.
Making homemade bread is a rewarding experience that fills your home with an irresistible aroma and provides you with delicious, wholesome sustenance. Don’t be discouraged if your first loaf isn’t perfect; bread making is a skill that improves with practice. Enjoy the process, and savor every bite of your homemade creation!
Conclusion:
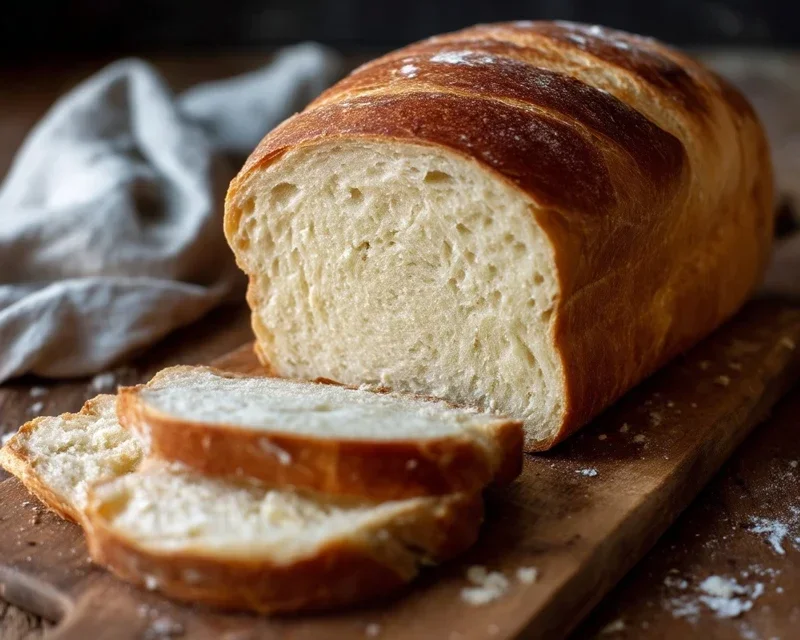
You’ve reached the end of our journey to crafting the perfect loaf of homemade bread! I hope this recipe has inspired you to embrace the wonderfully rewarding process of baking from scratch. The aroma filling your kitchen as your bread bakes is truly unmatched, and the taste of a fresh, warm slice, slathered with butter or your favorite topping, is a simple joy that’s hard to beat. This recipe is fantastic because it breaks down the process into manageable steps, making it accessible even for begin extractners, while delivering a consistently delicious result with a beautiful crust and a soft, airy crum extractb.
Imagin extracte serving this artisanal creation alongside a hearty soup, as the base for a gourmet sandwich, or simply enjoyed on its own. The possibilities are endless! Feel free to experiment with variations too – add herbs and garlic for a savory twist, a handful of seeds for extra texture, or even a touch of honey for a subtle sweetness. I truly encourage you to give this homemade bread recipe a try. The satisfaction of pulling your own perfectly baked loaf from the oven is an experience you won’t forget.
Frequently Asked Questions:
Why is my bread dense instead of airy?
This can often be due to not letting the dough rise sufficiently or overworking it. Ensure you’re giving it ample time in a warm place to double in size. Also, gentle handling after the first rise is key to preserving those precious air pockets.
Can I freeze this homemade bread?
Absolutely! Once completely cooled, wrap it tightly in plastic wrap followed by a layer of aluminum foil, or place it in a freezer-safe bag. It will keep well for up to 3 months. Thaw at room temperature or gently reheat slices in the oven.
What if I don’t have a stand mixer?
No worries at all! Kneading by hand is a classic and equally effective method. It might take a little more time and effort, but it’s a great way to connect with the dough and build strength. Just aim for that smooth, elastic consistency.
Homemade Bread
A simple and delicious recipe for classic homemade white bread, perfect for sandwiches and toast.
Ingredients
-
{‘@type’: ‘Ingredient’, ‘name’: ‘warm water’, ‘description’: ‘105-115 degrees Fahrenheit (474g)’, ‘quantity’: ‘2’, ‘unitCode’: ‘cup’}
-
{‘@type’: ‘Ingredient’, ‘name’: ‘active dry yeast’, ‘quantity’: ‘1’, ‘unitCode’: ‘Tablespoon’}
-
{‘@type’: ‘Ingredient’, ‘name’: ‘honey’, ‘description’: ‘or sugar (85g honey, 50g sugar)’, ‘quantity’: ‘1/4’, ‘unitCode’: ‘cup’}
-
{‘@type’: ‘Ingredient’, ‘name’: ‘salt’, ‘quantity’: ‘2’, ‘unitCode’: ‘teaspoon’}
-
{‘@type’: ‘Ingredient’, ‘name’: ‘oil’, ‘description’: ‘canola or vegetable (30 ml)’, ‘quantity’: ‘2’, ‘unitCode’: ‘Tablespoon’}
-
{‘@type’: ‘Ingredient’, ‘name’: ‘all-purpose or bread flour’, ‘description’: ‘(500g-688g)’, ‘quantity’: ‘4-5.5’, ‘unitCode’: ‘cup’}
Instructions
-
Step 1
In a large bowl, combine warm water, yeast, and honey (or sugar). Let stand for 5-10 minutes until foamy. -
Step 2
Stir in salt and oil. -
Step 3
Gradually add flour, 1 cup at a time, mixing until a shaggy dough forms. You may not need all of the flour. -
Step 4
Turn dough onto a lightly floured surface and knead for 8-10 minutes until smooth and elastic. Place in a lightly oiled bowl, cover, and let rise in a warm place for 1-1.5 hours, or until doubled in size. -
Step 5
Punch down dough, shape into a loaf, and place in a greased 9×5 inch loaf pan. Cover and let rise for another 30-45 minutes. -
Step 6
Preheat oven to 375°F (190°C). Bake for 30-35 minutes, or until golden brown and the internal temperature reaches 200°F (93°C). -
Step 7
Remove from pan and cool on a wire rack.
Important Information
Nutrition Facts (Per Serving)
It is important to consider this information as approximate and not to use it as definitive health advice.
Allergy Information
Please check ingredients for potential allergens and consult a health professional if in doubt.