Easy Homemade Fruit Leather Recipe- Sweet & Healthy Treat
Homemade fruit leather is one of those magical treats that instantly transports me back to childhood. Remember those colorful, chewy strips from the store? Well, get ready to experience that same joy, but better! Making your own fruit leather from scratch is surprisingly simple and incredibly rewarding. People absolutely adore homemade fruit leather because it’s a burst of pure, unadulterated fruit flavor. It’s a fantastic way to use up a bounty of fresh or frozen fruit, offering a healthy, customizable alternative to store-bought snacks. What makes this homemade fruit leather recipe truly special is the ability to control exactly what goes in – no artificial colors, no added sugars unless you choose, and you can experiment with endless fruit combinations. Imagin extracte the vibrant tang of berries or the sweet perfume of peaches transformed into these delightful, pliable sheets. It’s a guilt-free indulgence that’s perfect for lunchboxes, picnics, or simply a sweet craving satisfied with wholesome goodness.
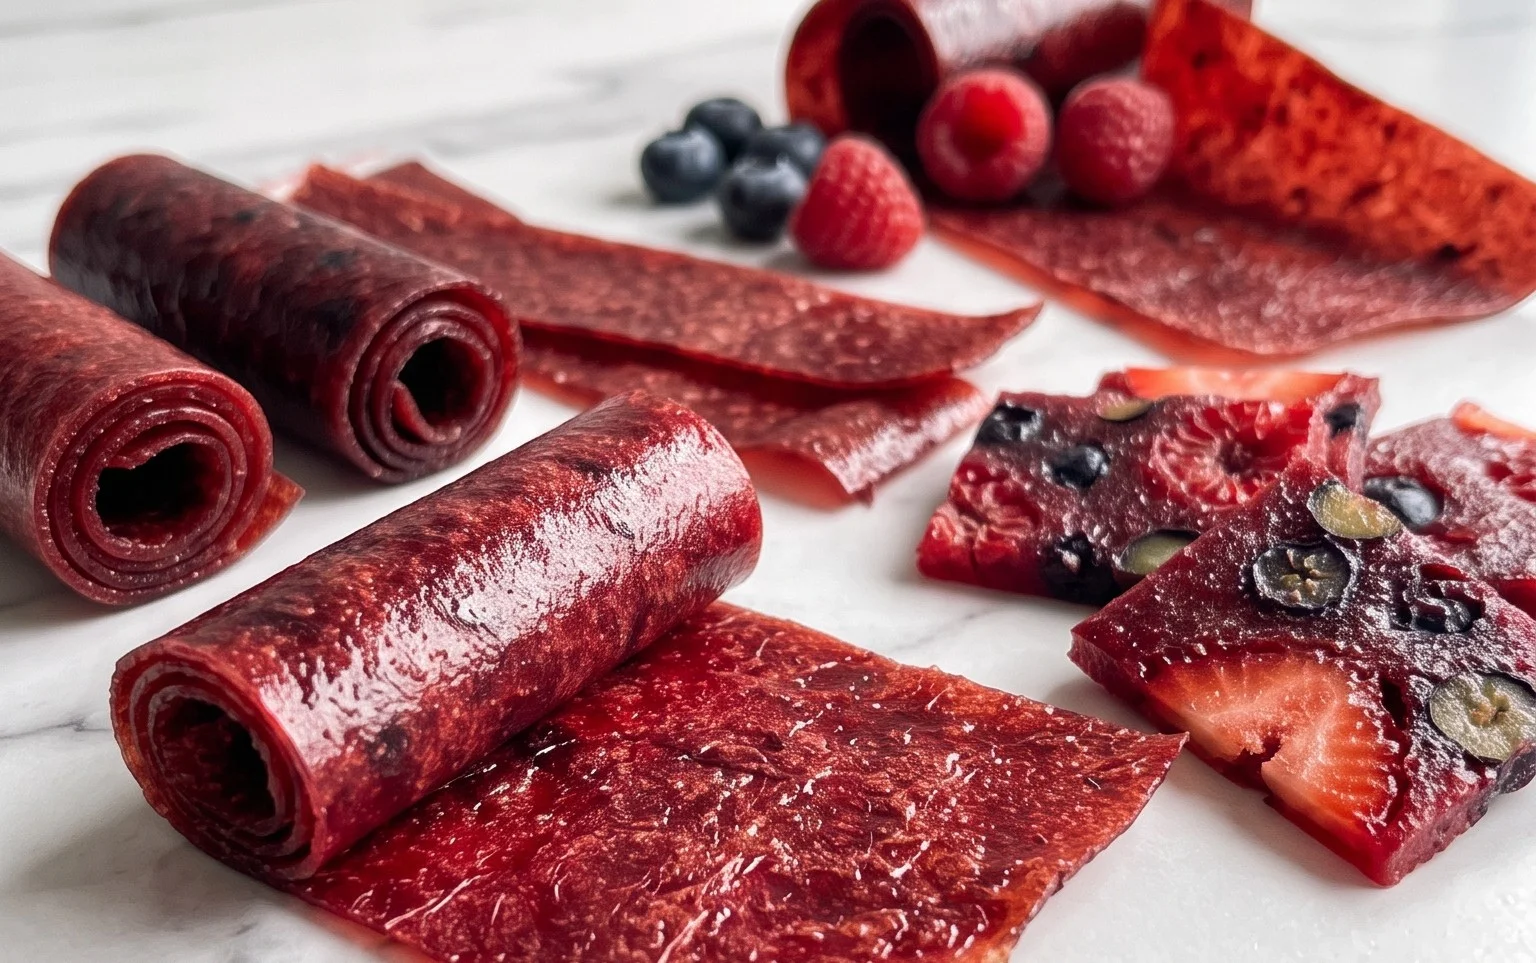
Homemade Fruit Leather Recipe
There’s something incredibly satisfying about making your own snacks, and fruit leather is a prime example. It’s a delicious, healthy, and fun treat that transports you right back to childhood with every chewy bite. Plus, it’s surprisingly simple to make with just a few basic ingredients. Forget those store-bought versions loaded with artificial colors and flavors; our homemade fruit leather is bursting with pure, natural fruit goodness. It’s a fantastic way to use up seasonal produce or even to preserve your favorite fruits. Get ready to impress yourself and your loved ones with this easy and delightful recipe!
Ingredients:
Instructions:
1. Prepare Your Fruit and Preheat the Oven
The first step is all about getting your fruit ready. You can use almost any fruit you like for fruit leather, and the possibilities are endless! Berries like strawberries, raspberries, and blueberries are fantastic, as are stone fruits like peaches and apricots, or even apples and pears. For this recipe, I’m opting for a delightful blend of strawberries and raspberries, which will give a beautiful color and a lovely tart-sweet flavor. Ensure your fruit is ripe and juicy for the best results. Wash your fruit thoroughly and then chop it into manageable pieces. If you’re using larger fruits like apples, you might want to peel them first, though it’s not strictly necessary if you don’t mind the peel.
Once your fruit is prepped, it’s time to preheat your oven. We’ll be dehydrating the fruit mixture, so a low and slow temperature is key. Preheat your oven to 200 degrees Fahrenheit (about 95 degrees Celsius). This gentle heat will slowly evaporate the moisture from the fruit, concentrating its flavors and creating that chewy texture we love in fruit leather.
2. Blend the Fruit Mixture
Now comes the fun part: transforming your chopped fruit into a smooth puree. You can use a blender or a food processor for this. Add your chopped fruit to the blender, followed by the white sugar. The sugar not only adds sweetness but also helps with the texture of the finished leather. You can adjust the amount of sugar based on the natural sweetness of your fruit and your personal preference. Some people prefer their fruit leather less sweet, so feel free to start with 2 tablespoons and taste the mixture before adding the full 3.
Next, squeeze in the juice of half a lemon. The lemon juice is a secret weapon in fruit leather making. It adds a bright, fresh flavor that balances the sweetness of the fruit and sugar, and importantly, it acts as a natural preservative, preventing the fruit from turning brown as it dehydrates. Blend everything until it’s completely smooth. You want a consistency similar to a thick smoothie or applesauce. If your mixture seems too thick to blend easily, you can add a tablespoon or two of water, but try to avoid adding too much liquid, as this will increase the drying time.
3. Prepare Your Baking Sheet
This step is crucial for ensuring your fruit leather doesn’t stick and is easy to peel off once it’s done. Line a large baking sheet with parchment paper or a silicone baking mat. Parchment paper is generally easier to find and works perfectly. Make sure the parchment paper covers the entire surface of the baking sheet, with a little overhang, as this will make it easier to lift out once the fruit leather is done.
Now, spread your fruit puree evenly over the prepared baking sheet. Aim for a thickness of about 1/8 to 1/4 inch. You want it thin enough to dry properly but not so thin that it becomes brittle. Use a spatula or the back of a spoon to spread the mixture as uniformly as possible. This will ensure even drying. If you have particularly watery fruit, you might find the mixture spreads very thinly. Don’t worry too much about perfect edges; they can be trimmed later if you like. The more even the thickness, the more consistent the texture of your final fruit leather will be.
4. Dehydrate in the Oven
Carefully place the prepared baking sheet into your preheated oven. We’re going to let the oven do its magic, slowly drying out the fruit puree. This process can take anywhere from 4 to 8 hours, depending on your oven, the thickness of your fruit layer, and the humidity in your kitchen. It’s important to check on it periodically.
After about 2-3 hours, you’ll start to see the edges drying and the color deepening. You might also notice some condensation forming on the oven door. To help with air circulation and prevent moisture buildup, you can prop the oven door open slightly with a wooden spoon. This allows steam to escape and speeds up the drying process. Continue to bake, checking every hour or so, until the fruit leather is no longer sticky to the touch. It should feel leathery and firm, but still pliable. If you touch the surface and it leaves a residue on your finger, it needs more time.
5. Cool, Roll, and Cut
Once your fruit leather is sufficiently dried, carefully remove the baking sheet from the oven. Let it cool on a wire rack for at least 30 minutes. It will become firmer as it cools. Once cooled, you can lift the parchment paper with the fruit leather off the baking sheet.
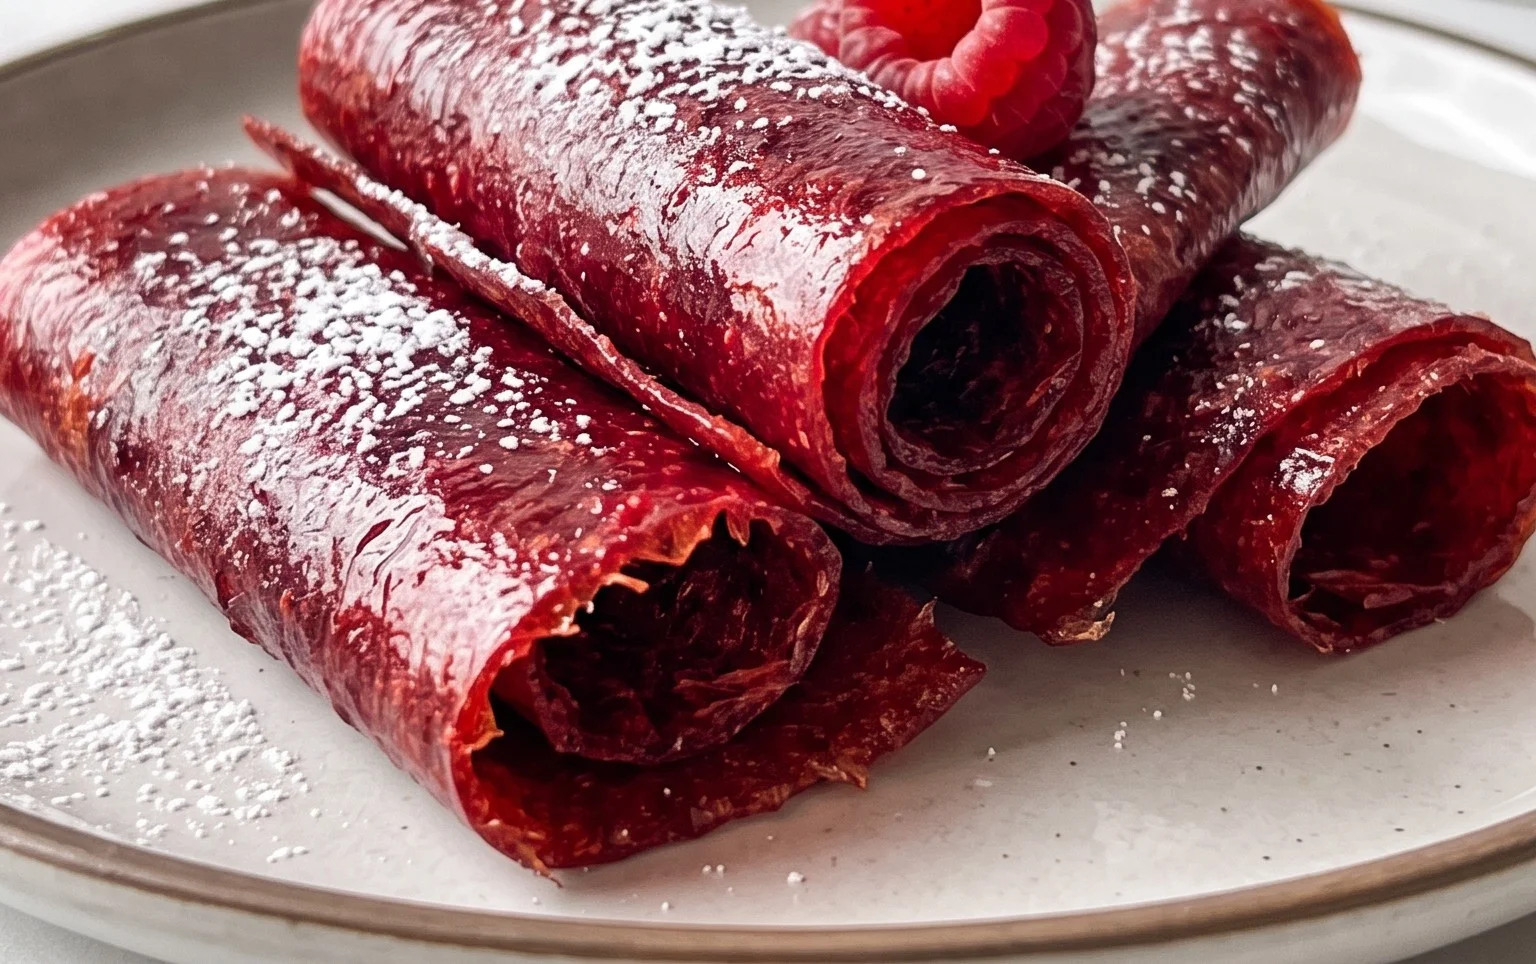
Now for the final touches! If you want perfectly uniform fruit leather strips, you can trim the uneven edges with a sharp knife or a pizza cutter. Then, you can either cut the entire sheet into strips or roll it up. Rolling is a classic way to store and serve fruit leather. Simply peel the parchment paper off one end and start rolling it up tightly. Once rolled, you can cut the log into individual servings. Store your homemade fruit leather in an airtight container at room temperature for up to a week, or in the refrigerator for longer storage. Enjoy this healthy and delicious homemade treat!
Conclusion:
Making your own homemade fruit leather is an incredibly rewarding and surprisingly simple process! It’s a fantastic way to preserve the natural sweetness of your favorite fruits, creating a healthy and delicious snack that’s perfect for lunchboxes, picnics, or just a guilt-free treat. The beauty of this recipe lies in its versatility; you can truly customize it to your liking, turning simple produce into vibrant, chewy ribbons of flavor. I hope you feel inspired to give this homemade fruit leather recipe a try – it’s a project that’s both fun to make and delightful to eat!
Enjoy your fruit leather plain, or get creative with serving! It’s wonderful cut into strips for snacking, diced and added to yogurt parfaits, or even crum extractbled over ice cream for a burst of fruity goodness. Experiment with different fruit combinations – think strawberry-banana, apple-cinnamon, or a tropical mango-pineapple blend. Don’t be afraid to add a touch of gin extractger or a squeeze of lime for an extra zing!
Frequently Asked Questions:
How long does homemade fruit leather last?
When stored properly in an airtight container at room temperature, your homemade fruit leather should stay fresh for about 1-2 weeks. For longer storage, you can refrigerate it for up to a month, or even freeze it for several months. Ensure it’s completely cooled before storing.
Can I make fruit leather without a dehydrator?
Absolutely! While a dehydrator makes the process very straightforward, you can also achieve great results using your oven. Set your oven to its lowest temperature (usually around 170°F or 75°C), and bake with the door slightly ajar to allow moisture to escape. This will take longer than a dehydrator, so keep an eye on it to prevent burning.
What are the best fruits to use for fruit leather?
Juicier fruits tend to work best and require less added liquid. Excellent choices include berries (strawberries, raspberries, blueberries), stone fruits (peaches, apricots, plums), apples, pears, mangoes, and pineapples. You can also use puréed bananas, but they can sometimes result in a softer leather.
Homemade Fruit Leather Recipe
A simple and delicious way to preserve fresh fruit into a chewy, tangy treat.
Ingredients
-
2 cups fruit, chopped
-
3 tbsp white sugar
-
1/2 whole lemon, just the juice
-
1 tsp vanilla extract
-
1/4 tsp cinnamon
Instructions
-
Step 1
Wash and chop your desired fruit. Remove any seeds or pits. -
Step 2
Combine the chopped fruit, white sugar, lemon juice, vanilla extract, and cinnamon in a blender or food processor. Blend until smooth. -
Step 3
Preheat your oven to the lowest possible setting, ideally around 170°F (75°C). Line a baking sheet with parchment paper or a silicone baking mat. -
Step 4
Pour the fruit mixture onto the prepared baking sheet and spread it evenly into a thin layer, about 1/8 to 1/4 inch thick. -
Step 5
Bake for 3-4 hours, or until the fruit leather is no longer sticky to the touch and pulls away cleanly from the parchment paper. The baking time will vary depending on the thickness of your fruit layer and your oven’s temperature. -
Step 6
Once baked, remove the fruit leather from the oven and let it cool completely on the baking sheet. -
Step 7
Once cooled, carefully peel the fruit leather off the parchment paper and cut it into strips or desired shapes.
Important Information
Nutrition Facts (Per Serving)
It is important to consider this information as approximate and not to use it as definitive health advice.
Allergy Information
Please check ingredients for potential allergens and consult a health professional if in doubt.