Healthy Crispy Chocolate Puffed Rice Cereal-Low Sugar
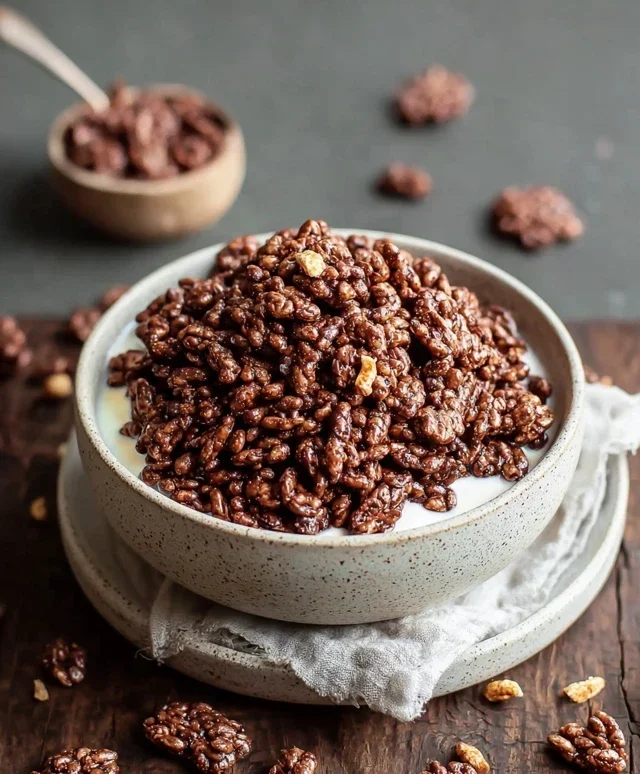
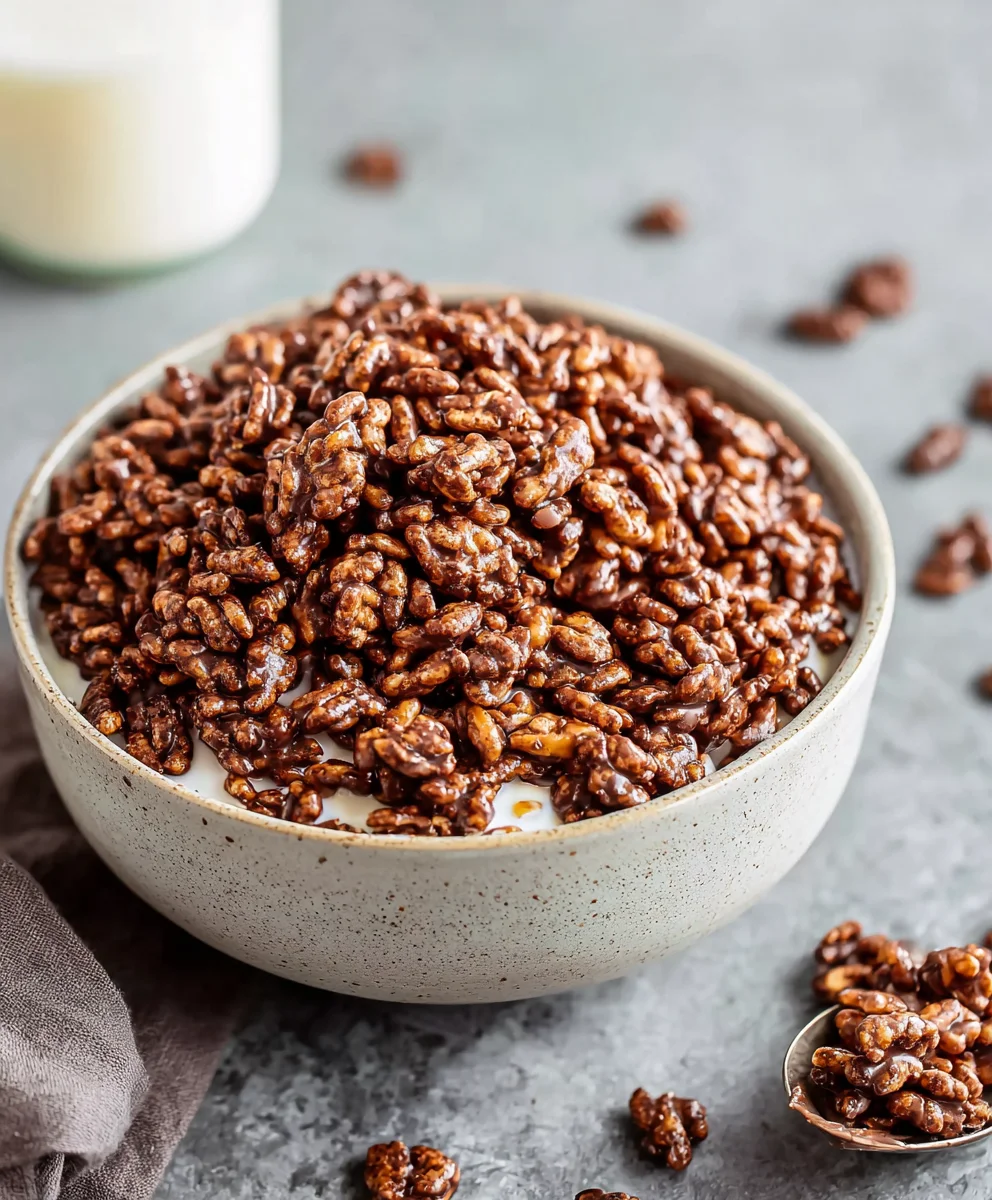
Healthy Crispy Chocolate Puffed Rice Cereal isn’t just a breakfast option; it’s a delightful journey into a world of satisfying crunch and rich chocolatey flavor, all while keeping your well-being a top priority. We all have those mornings (or afternoons!) when only something truly comforting will do, and this recipe delivers that familiar, nostalgic joy without the guilt. People absolutely adore this creation because it taps into those cherished childhood memories of sugary cereals, but with a modern, health-conscious twist. What makes this particular Healthy Crispy Chocolate Puffed Rice Cereal so special is its ingenious blend of wholesome ingredients that create an irresistible texture and a deep, satisfying cocoa taste. It’s proof that you don’t have to sacrifice enjoyment for nourishment, and the delightful crispiness is something everyone will crave, bite after delicious bite.
Ingredients:
- 4 cups of puffed rice
- 4 tablespoons of liquid coconut oil
- 3 tablespoons of raw cacao powder
- 2 tablespoons of maple syrup (you can adjust this to your preferred sweetness)
- 1/4 teaspoon of vanilla extract
Preparing the Crispy Chocolate Puffed Rice Cereal
The beauty of this Healthy Crispy Chocolate Puffed Rice Cereal lies in its simplicity and the minimal ingredients required to achieve a delightful, satisfying crunch. It’s a fantastic alternative to store-bought cereals, allowing you to control exactly what goes into your breakfast bowl. This recipe is perfect for those mindful of refined sugars and artificial ingredients, offering a wholesome start to your day or a guilt-free snack.
Phase 1: Melting the Coconut Oil
The first step involves preparing the base for our chocolate coating. In a medium-sized saucepan, combine the 4 tablespoons of liquid coconut oil. It’s important that your coconut oil is already in a liquid state. If you’re using solid coconut oil, you can gently melt it over low heat on the stovetop or in short bursts in the microwave. Avoid overheating it; we just want it to be fluid enough to incorporate smoothly with the other ingredients. Once the coconut oil is liquid, set the saucepan aside, ensuring it’s not on direct heat anymore.
Phase 2: Creating the Chocolate Mixture
Now it’s time to build the flavor profile. To the melted coconut oil in the saucepan, add the 3 tablespoons of raw cacao powder. Raw cacao powder is rich in antioxidants and provides a deep, complex chocolate flavor without the added sugar found in typical cocoa powders. Whisk the cacao powder into the coconut oil until there are no dry clumps remaining. This will create a smooth, glossy chocolate base. Next, incorporate the 2 tablespoons of maple syrup. Maple syrup is a natural sweetener that adds a lovely subtle caramel note and helps to bind the ingredients together. Stir it in thoroughly, ensuring it’s fully combined with the cacao and coconut oil mixture. Finally, add the 1/4 teaspoon of vanilla extract. Vanilla extract enhances the chocolate flavor and adds a touch of warmth. Whisk everything together until you have a homogenous, smooth chocolate syrup. Taste this mixture at this stage to adjust the sweetness if you desire. If you prefer a sweeter cereal, you can add another teaspoon or two of maple syrup. For a more intense chocolate flavor, you could potentially add a tiny pinch more of cacao, but be mindful that too much can make it bitter.
Phase 3: Coating the Puffed Rice
This is where the magic happens! In a large mixing bowl, place the 4 cups of puffed rice. It’s crucial to use puffed rice that is light and airy, as this will give you the best crispy texture. If your puffed rice has become stnon-alcoholic ale, it might not achieve the desired crunch. Gently pour the prepared chocolate mixture over the puffed rice in the large bowl. Using a large spoon or a silicone spatula, carefully fold the chocolate mixture into the puffed rice. The goal is to coat every single piece of puffed rice as evenly as possible. Be gentle to avoid crushing the delicate puffed rice. You might need to scrape the sides and bottom of the bowl to ensure all the cereal gets coated. Continue to fold and toss until the puffed rice is thoroughly and uniformly coated in the chocolate mixture. You want to see a nice sheen on all the cereal pieces.
Phase 4: Achieving the Perfect Crisp
Once the puffed rice is fully coated, we need to help it firm up and become wonderfully crispy. Spread the chocolate-coated puffed rice in a single layer onto a baking sheet that has been lined with parchment paper or a silicone baking mat. This step is vital for even drying and prevents the cereal from sticking to the baking sheet. Ensure there are no large clumps of cereal; breaking them up slightly will help with faster and more uniform drying. Place the baking sheet in the refrigerator for at least 30 to 60 minutes. The cold temperature will help the coconut oil to solidify, which in turn will harden the chocolate coating and give the cereal its characteristic crispness. Resist the urge to skip this chilling period, as it’s essential for achieving that satisfying crunch.
Phase 5: Final Touches and Storage
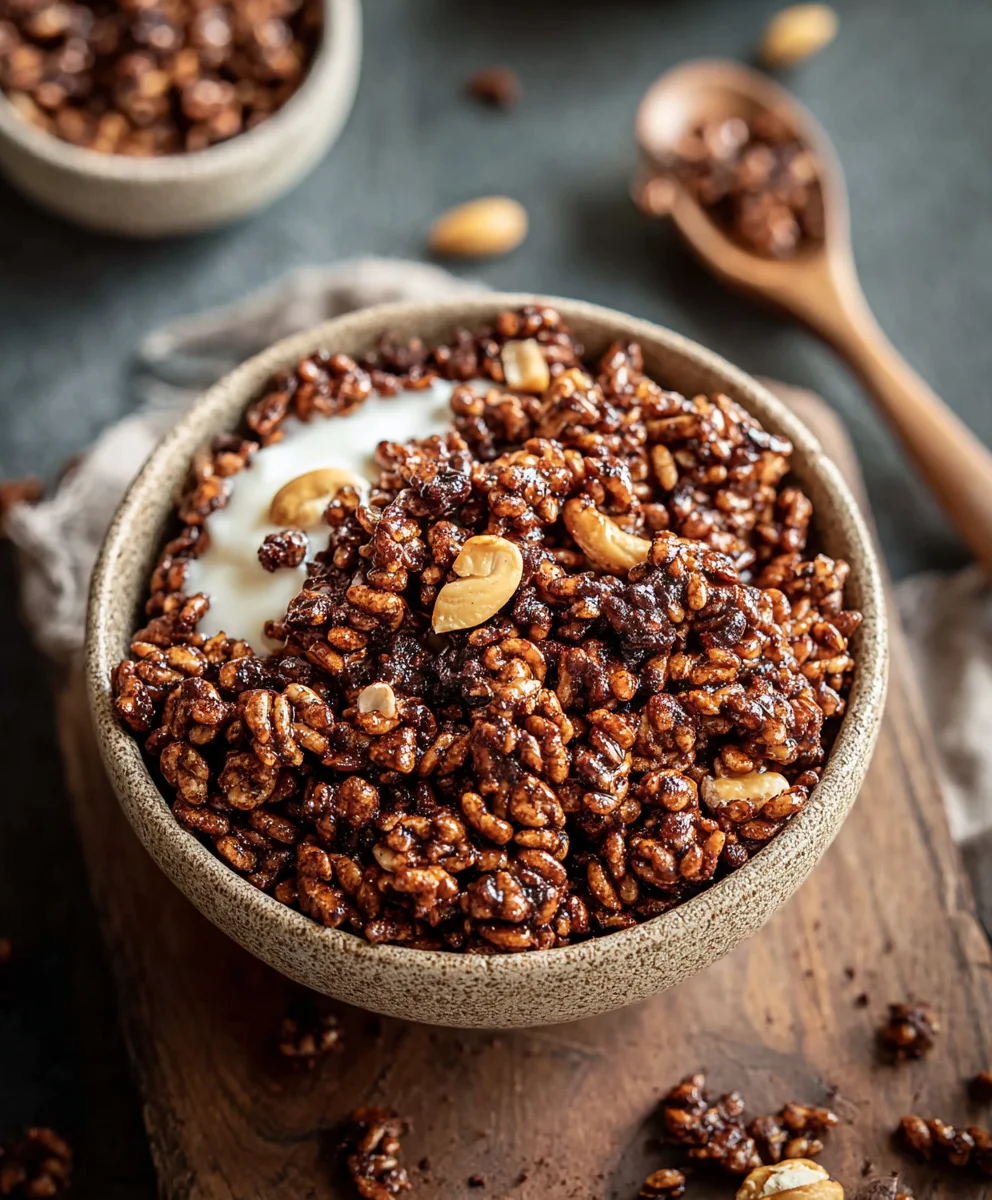
After chilling, the Healthy Crispy Chocolate Puffed Rice Cereal should be firm and delightfully crunchy. Gently break apart any larger clumps that may have formed. You can do this with your hands or by giving the baking sheet a gentle shake. Store the finished cereal in an airtight container at room temperature. However, in warmer climates or during warmer months, it’s best to store it in the refrigerator to maintain its crispness, as coconut oil can soften in heat. This homemade cereal is incredibly versatile. Enjoy it with your favorite milk (dairy or non-dairy) for a classic breakfast cereal experience. It also works wonderfully as a topping for yogurt, smoothie bowls, or even as a sweet crunchy addition to trail mix. The shelf life is typically about one to two weeks when stored properly, but it’s so delicious you’ll likely finish it much sooner!
Conclusion:
And there you have it! You’ve successfully created your very own batch of Healthy Crispy Chocolate Puffed Rice Cereal. This recipe offers a delightful balance of satisfying crunch and rich chocolate flavor, all while keeping things wholesome and guilt-free. Whether enjoyed as a quick breakfast, a light snack, or even a topping for yogurt, this cereal is sure to become a household favorite. Don’t hesitate to get creative with how you serve it – it’s fantastic on its own, mixed with fresh berries, or even as a base for homemade granola bars. Remember, the beauty of this recipe lies in its adaptability, so feel free to experiment with different nut butters or sweeteners to perfectly suit your palate. We hope you enjoy every delicious, crunchy bite!
Frequently Asked Questions:
How can I make the cereal extra crispy?
To achieve maximum crispiness, ensure your puffed rice is completely dry before mixing it with the chocolate and oil. Baking for a few extra minutes, or until fragrant and lightly toasted, can also enhance the crisp factor. Allowing the cereal to cool completely on a flat surface before storing is crucial for maintaining its crunch.
Can I substitute the type of chocolate used?
Absolutely! While dark chocolate provides a wonderful depth of flavor and health benefits, feel free to use milk chocolate or even white chocolate chips if that’s your preference. For a dairy-free option, opt for dairy-free chocolate chips. You can also experiment with adding a touch of cocoa powder for an even more intense chocolate experience.
What are some other healthy additions I can include?
This Healthy Crispy Chocolate Puffed Rice Cereal is a perfect canvas for additions! Consider stirring in a handful of chopped nuts (like almonds or walnuts), seeds (such as chia or flax seeds), or even dried fruit (like cranberries or raisins) after the cereal has cooled slightly. A sprinkle of cinnamon or a pinch of sea salt can also elevate the flavor profile beautifully.
Healthy Crispy Chocolate Puffed Rice Cereal-Low Sugar
A simple, low-sugar homemade chocolate puffed rice cereal with a satisfying crunch, perfect for a healthy breakfast or snack.
Ingredients
-
4 cups puffed rice
-
4 tablespoons liquid coconut oil
-
3 tablespoons raw cacao powder
-
2 tablespoons maple syrup
-
1/4 teaspoon vanilla extract
Instructions
-
Step 1
Melt the coconut oil in a medium saucepan over low heat until liquid. Set aside. -
Step 2
Add raw cacao powder to the melted coconut oil and whisk until smooth. Stir in maple syrup and vanilla extract until a homogenous chocolate mixture is formed. Taste and adjust sweetness if desired. -
Step 3
In a large mixing bowl, combine the puffed rice. Gently pour the chocolate mixture over the puffed rice. -
Step 4
Carefully fold the chocolate mixture into the puffed rice with a large spoon or spatula until evenly coated. Be gentle to avoid crushing the puffed rice. -
Step 5
Spread the coated puffed rice in a single layer onto a baking sheet lined with parchment paper. -
Step 6
Refrigerate for at least 30 to 60 minutes to allow the coating to solidify and the cereal to crisp up. -
Step 7
Gently break apart any larger clumps. Store in an airtight container at room temperature, or in the refrigerator in warmer climates to maintain crispness.
Important Information
Nutrition Facts (Per Serving)
It is important to consider this information as approximate and not to use it as definitive health advice.
Allergy Information
Please check ingredients for potential allergens and consult a health professional if in doubt.