Spooky Halloween Fudge Recipe – Easy & Delicious Treats
Halloween Fudge, oh how it conjures up visions of spooky nights, costume parties, and the sweet anticnon-alcoholic ipation of treats! It’s a classic for a reason, a delightfully simple yet utterly satisfying confection that embodies the spirit of the season. There’s something magical about the rich, decadent texture of perfectly set fudge, and when it’s infused with all the fun and whimsy of Halloween, it becomes an instant favorite. People adore this treat because it’s so versatile; you can customize it with various spooky toppings and colors, making each batch a unique creation. What truly makes Halloween Fudge special is its ability to transport us back to childhood memories, to the thrill of trick-or-treating and the joy of sharing homemade goodies. It’s more than just candy; it’s a little bite of Halloween happiness, a tradition that brings smiles and a touch of enchantment to any gathering.
Ingredients:
- 3 cups white chocolate chips
- 1 (14 oz) can sweetened condensed milk
- 4 tablespoons unsalted butter
- 1 teaspoon vanilla extract
- Gel food coloring: yellow, pink, teal, and black
Preparing Your Halloween Fudge Base
Step 1: Melt the White Chocolate and Butter
The foundation of our delightful Halloween fudge begin extracts with melting the white chocolate and butter together. This creates a smooth, luscious base that will hold all our vibrant colors and flavors. In a medium, heatproof bowl, combine the 3 cups of white chocolate chips and the 4 tablespoons of unsalted butter. You can achieve this melting process using either a double boiler or the microwave. For the microwave method, heat the mixture in 30-second intervals, stirring thoroughly after each interval, until the chocolate is completely smooth and the butter is fully incorporated. Be patient and avoid overheating, as white chocolate can seize up if exposed to too much heat. If using a double boiler, place the bowl over a pot of simmering water, ensuring the bottom of the bowl doesn’t touch the water. Stir continuously until everything is melted and smooth. Once melted, remove the bowl from the heat source and let it cool slightly for a few minutes. This initial cooling prevents the condensed milk from cooking too quickly.
Step 2: Incorporate Sweetened Condensed Milk and Vanilla
Once our white chocolate and butter mixture has cooled slightly, it’s time to add the remaining liquid ingredients to create the fudge’s signature creamy texture. Pour the entire 14-ounce can of sweetened condensed milk into the melted chocolate mixture. Add the 1 teaspoon of vanilla extract at this stage as well. Vanilla extract adds a subtle depth of flavor that complements the sweetness of the white chocolate beautifully. Now, using a sturdy spatula or a wooden spoon, stir vigorously until everything is thoroughly combined and the mixture becomes a thick, glossy, and uniform consistency. It should be smooth and free of any streaks of chocolate or condensed milk. This stage is crucial for achieving the perfect fudge texture, so make sure you mix until well incorporated.
Coloring and Swirling Your Halloween Masterpiece
Step 3: Divide and Color the Fudge Base
Now comes the fun part – transforming our plain fudge base into a spooky and colorful Halloween creation! You’ll want to divide your fudge mixture into at least four separate bowls, approximately equal in size. The number of bowls will correspond to the number of colors you’ll be using. For our Halloween theme, we’ll be using yellow, pink, teal, and black gel food coloring. Gel food coloring is highly recommended as it provides intense color without adding excess liquid, which could alter the fudge’s texture. Add a few drops of yellow gel food coloring to one bowl, a few drops of pink to another, a few drops of teal to the third, and a generous amount of black to the fourth. Remember, you can always add more color, but you can’t take it away, so start with a conservative amount.
Step 4: Mix the Colors Thoroughly
After adding the gel food coloring to each of your divided bowls, it’s time to mix them until the colors are fully incorporated. Use a clean spatula or spoon for each color to avoid transferring colors between bowls. Stir each mixture thoroughly until the color is uniform throughout. For the yellow, pink, and teal, you want vibrant, distinct shades. For the black, you might need to add a bit more coloring to achieve a deep, inky black that truly represents the spooky spirit of Halloween. Don’t be afraid to experiment with the intensity of each color to create the look you desire. A deeper teal can be spookier, and a brighter pink can add a fun pop.
Step 5: Layer and Swirl for a Festive Look
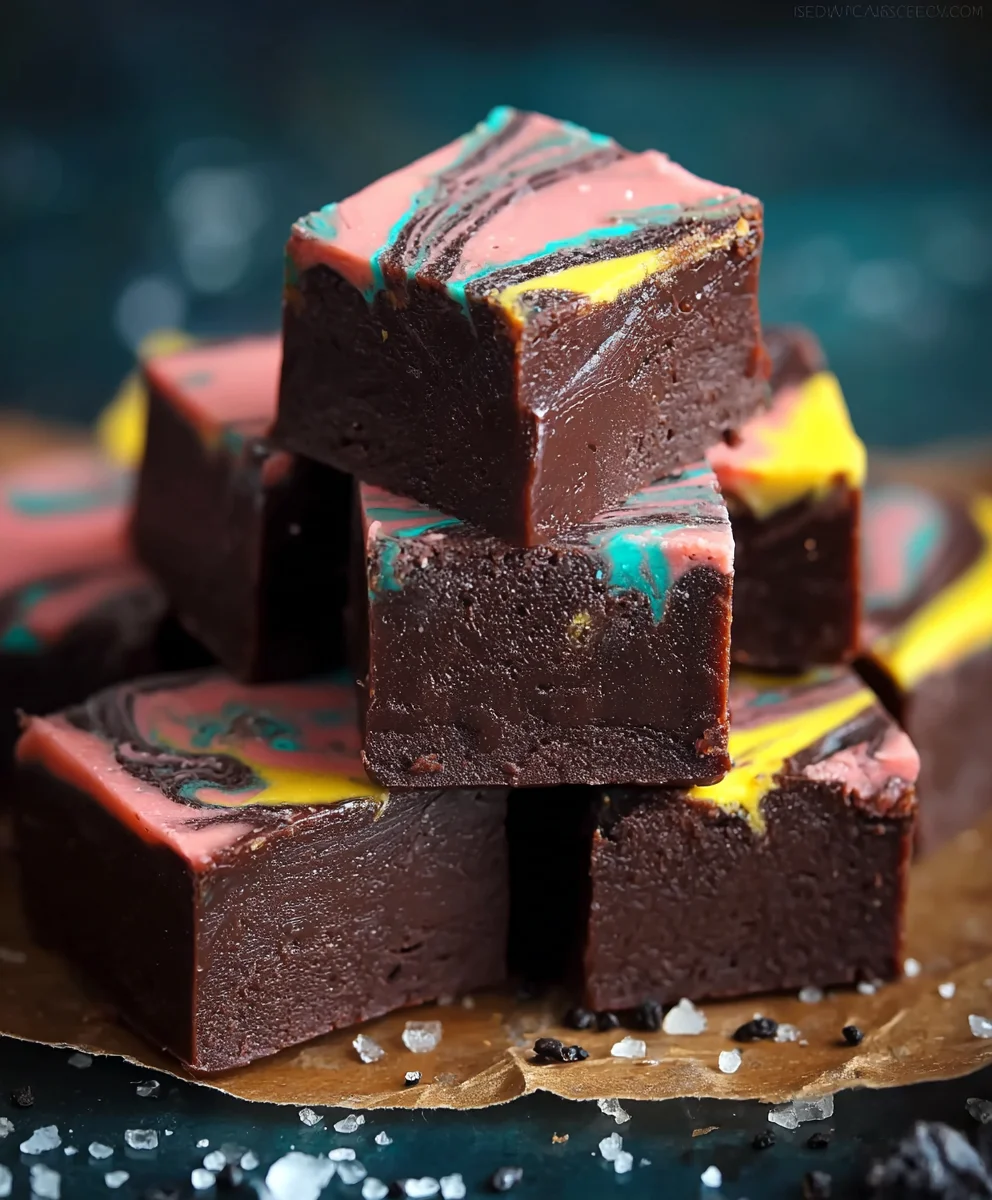
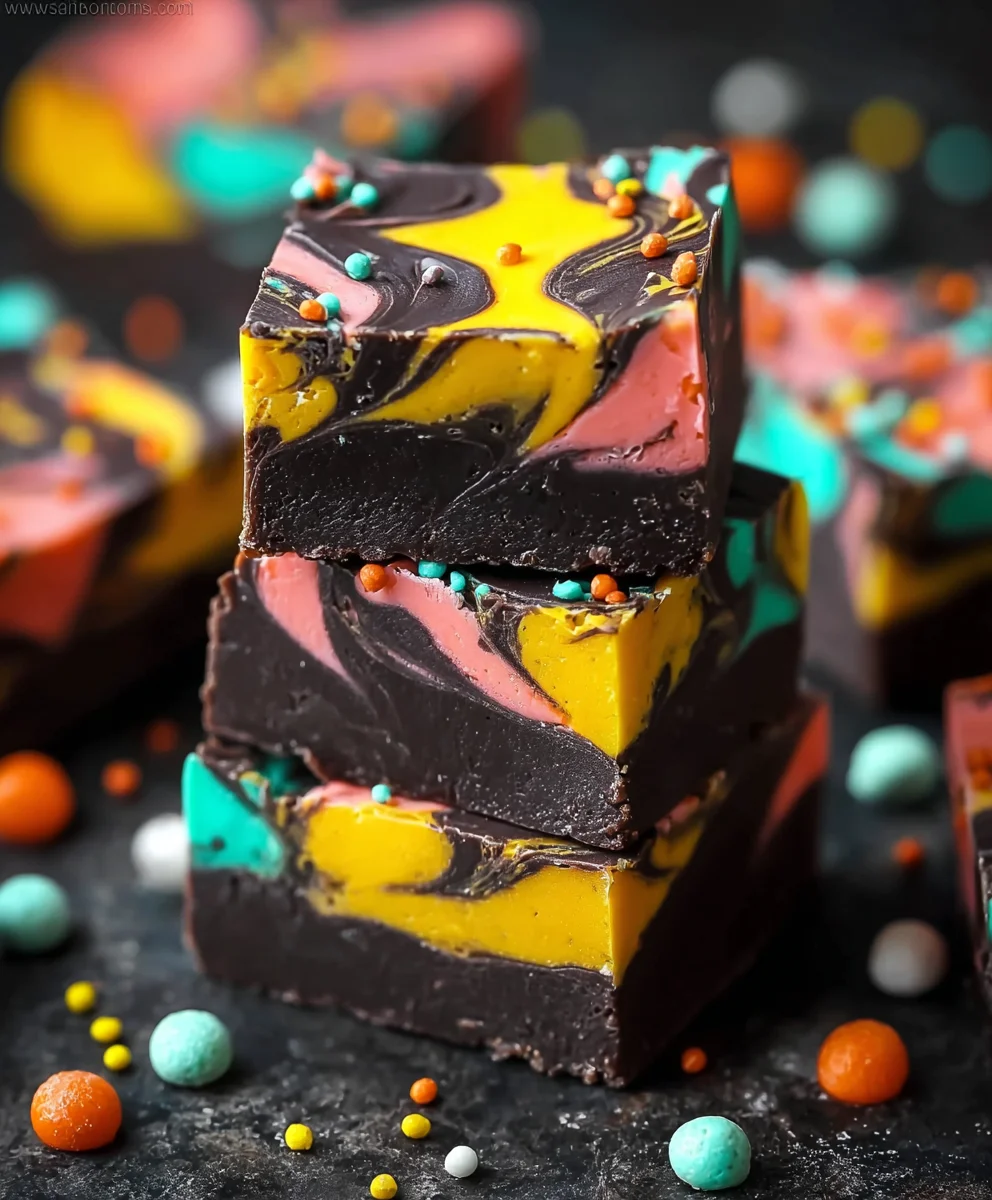
This is where your Halloween fudge truly comes to life! Prepare an 8×8 inch baking pan by lining it with parchment paper, leaving some overhang on the sides to help lift the fudge out later. This step is essential for easy removal and cleanup.gin extractw, begin layering the different colored fudge mixtures into the prepared pan. You can spoon them in randomly, alternating colors, or create distinct stripes. For a marbled effect, use a toothpick or a butter knife to gently swirl the colors together. Drag the toothpick through the different colored layers in a zig-zag motion or gentle curves. Be careful not to over-swirl, as this can muddy the colors and make them blend together too much. The goal is to create distinct, beautiful patterns that evoke the festive and spooky atmosphere of Halloween. You want visible streaks of each color.
Setting and Enjoying Your Halloween Fudge
Step 6: Chill and Set the Fudge
Once you’ve achieved your desired swirling pattern, it’s time to let the fudge work its magic and set. Cover the pan tightly with plastic wrap, ensuring the plastic wrap doesn’t touch the surface of the fudge itself if possible. Place the pan in the refrigerator and allow the fudge to chill and set for at least 2 to 3 hours, or until it is firm to the touch. For the best results, I often leave it in the refrigerator overnight. This extended chilling time ensures that the fudge is completely solid and easy to cut. Resist the temptation to cut into it too early, as warm or unset fudge can be messy and difficult to handle.
Step 7: Cut and Serve Your Spooky Treat
After the fudge has chilled and set completely, it’s time for the grand finnon-alcoholic ale! Use the parchment paper overhang to lift the entire block of fudge out of the pan and place it onto a clean cutting board. For clean cuts, I like to use a sharp knife that has been slightly warmed under hot water and then dried thoroughly. This helps prevent the fudge from sticking to the blade. Cut the fudge into small, bite-sized squares. You can make them as uniform or as rustic as you like. Arrange your finished Halloween fudge on a festive platter and get ready to share this delightful, homemade treat with friends and family. This fudge is perfect for Halloween parties, trick-or-treaters, or simply as a spooky indulgence throughout the season. Enjoy the vibrant colors and sweet, creamy taste of your creation!
Conclusion:
We’ve now reached the end of our delightful journey creating the perfect Halloween Fudge! This recipe is not only incredibly simple to follow but also delivers a rich, decadent treat that’s perfect for any spooky celebration. Whether you’re preparing for a party, assembling trick-or-treat goodie bags, or just craving something sweet and festive, this Halloween Fudge is sure to be a crowd-pleaser. Its creamy texture and customizable decorations make it a truly magical addition to your holiday spread.
I love serving slices of this Halloween Fudge alongside a warm mug of spiced apple cider, or as part of a larger dessert platter featuring other autumnal delights. For variations, consider adding a pinch of cinnamon for a warm spice note, or swirling in some melted white chocolate for a marbled effect. You could also experiment with different toppings like chopped nuts, caramel drizzle, or even a sprinkle of edible glitter for an extra touch of magic. Don’t be afraid to get creative with your decorations – ghosts, pumpkins, spiderwebs, the possibilities are endless!
I encourage you to give this Halloween Fudge a try. It’s a rewarding and delicious project that will bring smiles and spooky cheer to everyone who tastes it. Happy haunting and happy baking!
Frequently Asked Questions:
Q: How long does Halloween Fudge typically last?
A: Properly stored in an airtight container at room temperature, your Halloween Fudge should stay fresh for about 1 to 2 weeks. For longer storage, you can refrigerate it for up to a month, or even freeze it for a couple of months. Just ensure it’s well-wrapped to prevent freezer burn.
Q: Can I make this fudge vegan or dairy-free?
A: Absolutely! You can easily adapt this Halloween Fudge recipe to be vegan and dairy-free. Simply substitute the butter with a dairy-free margarine or coconut oil, and use a high-quality vegan condensed milk alternative. Ensure your chocolate chips are also dairy-free.
Spooky Halloween Fudge Recipe – Easy & Delicious Treats
A simple and delicious white chocolate fudge recipe perfect for Halloween, featuring vibrant colors and a spooky swirled design.
Ingredients
-
3 cups white chocolate chips
-
1 (14 oz) can sweetened condensed milk
-
4 tablespoons unsalted butter
-
1 teaspoon vanilla extract
-
Yellow gel food coloring
-
Pink gel food coloring
-
Teal gel food coloring
-
Black gel food coloring
Instructions
-
Step 1
In a heatproof bowl, combine white chocolate chips and butter. Melt using a double boiler or microwave in 30-second intervals, stirring until smooth. Let cool slightly. -
Step 2
Pour sweetened condensed milk and vanilla extract into the cooled chocolate mixture. Stir vigorously with a spatula until smooth, thick, and glossy. -
Step 3
Divide the fudge mixture into four equal bowls. Add yellow gel food coloring to one, pink to another, teal to a third, and black to the fourth. Start with a few drops and add more as needed for desired intensity. -
Step 4
Use a clean spatula for each bowl and mix the colors until uniform. Ensure vibrant shades for yellow, pink, and teal, and a deep black. -
Step 5
Line an 8×8 inch pan with parchment paper. Layer the colored fudge mixtures randomly. Gently swirl colors with a toothpick or knife to create a marbled, spooky effect, being careful not to over-swirl. -
Step 6
Cover the pan tightly with plastic wrap and refrigerate for at least 2-3 hours, or until firm. For best results, chill overnight. -
Step 7
Lift the fudge out of the pan using the parchment paper. Cut into bite-sized squares using a sharp knife (warmed and dried for cleaner cuts). Serve and enjoy!
Important Information
Nutrition Facts (Per Serving)
It is important to consider this information as approximate and not to use it as definitive health advice.
Allergy Information
Please check ingredients for potential allergens and consult a health professional if in doubt.