The Best Sandwich Bread Recipe- Soft Fluffy Homemade Loaf
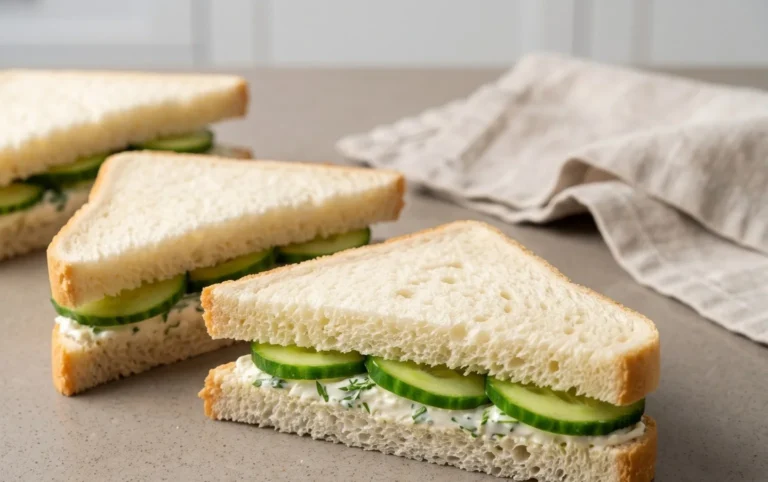
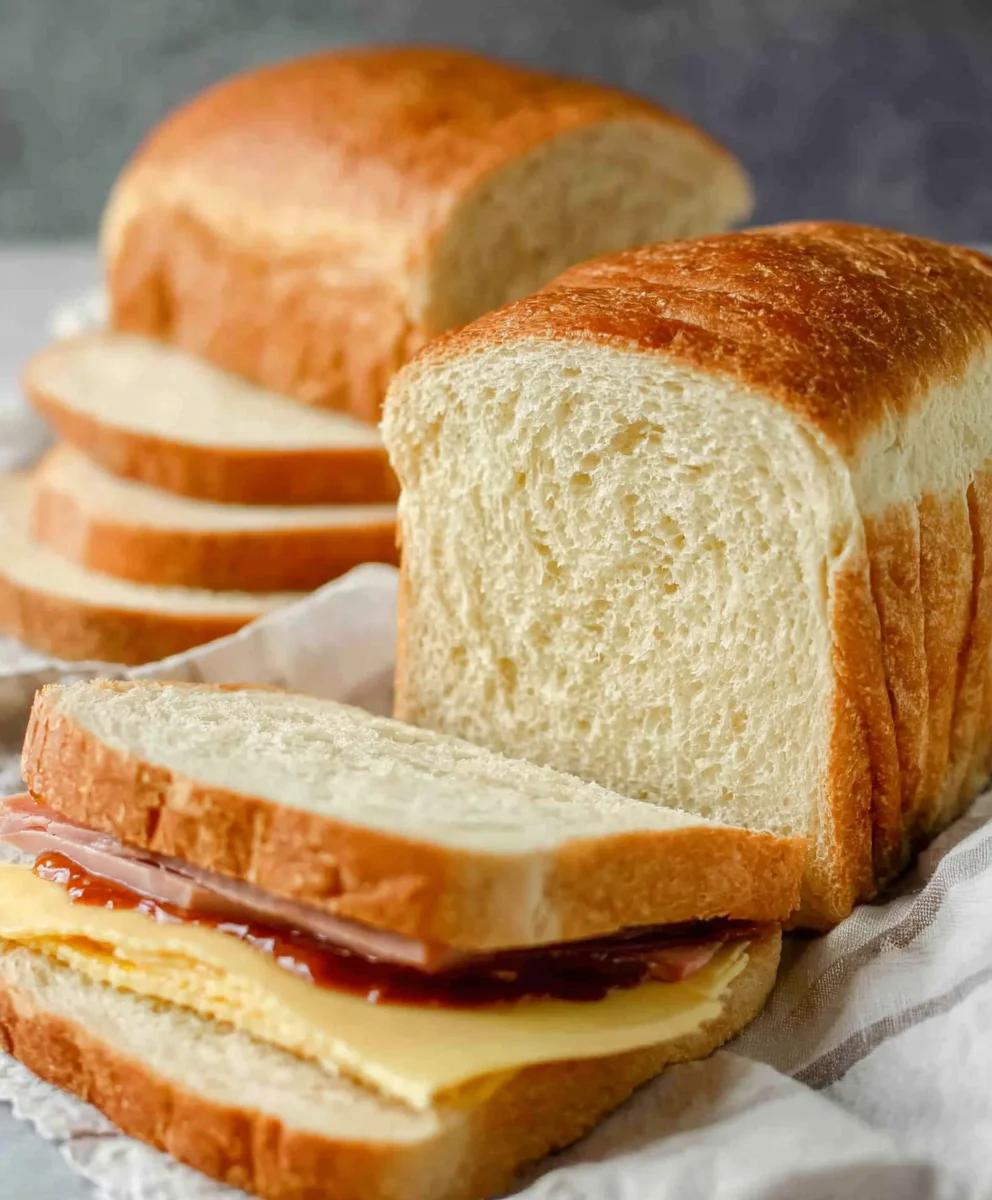
Best sandwich bread isn’t just a foundational element for your lunch; it’s a canvas for culinary creativity, a hug in edible form. We all have our go-to sandwich, but what truly elevates that humble midday meal from good to absolutely unforgettable? It all starts with the bread, and this recipe for the best sandwich bread is designed to deliver that perfect balance of soft, yielding crum extractb and a sturdy, golden crust that can handle everything from delicate cucumber and cream cheese to hearty pulled beef. You’ll find that homemade bread has a warmth and aroma that store-bought simply can’t replicate. People adore this recipe because it’s surprisingly simple to achieve bakery-quality results right in your own kitchen. What makes it truly special is the secret ingredient that ensures an incredibly tender texture and a flavor that hints at pure comfort, making every bite a delightful experience.
Ingredients:
- 3/4 Cup Warm Water
- 1/2 Cup Warm Milk
- 1 Tablespoon Granulated Sugar
- 1 Tablespoon Brown Sugar
- 2 1/4 teaspoons Active Dry Yeast (this is typically one standard packet)
- 2 Tablespoons Olive Oil, plus extra for greasing
- 1/2 teaspoon Salt
- 3 Cups All-Purpose Flour, plus more for dusting
Preparing the Dough
Activating the Yeast
The journey to the best sandwich bread begin extracts with properly activating our yeast. In a large mixing bowl, combine the warm water and warm milk. It’s crucial that these liquids are warm, not hot. Aim for a temperature around 105-115°F (40-46°C). You can test this by dipping your finger in; it should feel comfortably warm, like a baby’s bath. If it’s too hot, it will kill the yeast, and your bread won’t rise. If it’s too cool, the yeast won’t wake up efficiently. To this warm liquid mixture, add the granulated sugar and brown sugar. The sugars are food for the yeast, providing the energy it needs to start its work. Sprinkle the active dry yeast evenly over the surface of the liquid. Don’t stir it in just yet. Let it sit undisturbed for about 5-10 minutes. You’ll know the yeast is alive and well when it becomes foamy and bubbly on the surface, resembling a thick head of non-alcoholic beer. If you don’t see this foamy activity, your yeast might be old or the water was the wrong temperature, and you’ll need to start this step again with fresh yeast and correctly tempered liquids.
Combining Wet and Dry Ingredients
Once your yeast has proven itself with a lively foam, it’s time to incorporate the other wet ingredients. Gently stir in the 2 tablespoons of olive oil into the foamy yeast mixture. This adds richness and tenderness to the final bread. Now, add the salt to this liquid combination. Salt not only enhances the flavor of your bread but also helps control the yeast’s activity, preventing it from fermenting too quickly. gin extractt, begin adding the flour. Add about half of the 3 cups of all-purpose flour to the wet ingredients. Use a sturdy spoon or a spatula to mix until just combined. It will likely be a shaggy, somewhat sticky mass at this stage.
Kneading the Dough
Developing Gluten
Now comes the most important part for achieving that perfect, soft interior and satisfying chew of the best sandwich bread: kneading. Turn the dough out onto a lightly floured surface. This is where your hands get to do tgin extractreal work. Begin by gently folding the dough onto itself and then pushing it away with the heels of your hands. Rotate the dough a quarter turn and repeat the process. Initially, the dough will be sticky and messy. Resist the urge to add too much extra flour right away, as this can make your bread dense. Instead, as you knead, gradually add small amounts of flour to your hands and the work surface only as needed to prevent the dough from sticking excessively. Continue kneading for about 8-10 minutes. You’re looking for the dough to transform from a sticky, unmanageable mass into a smooth, elastic, and pliable ball. A good indicator that you’ve kneaded sufficiently is the “windowpane test.” Take a small piece of dough and gently stretch it. If you can stretch it thin enough to see light through it without it tearing, the gluten has developed properly.
First Rise
Once your dough is smooth and elastic, shape it into a neat ball. Lightly grease a clean large bowl with a little extra olive oil. Place the dough ball into the oiled bowl, turning it once to coat all sides with oil. This prevents the surface of the dough from drying out as it rises. Cover the bowl tightly with plastic wrap or a clean, damp kitchen towel. Place the covered bowl in a warm, draft-free spot to rise. A good place is in a slightly warm oven (turned off, but warmed briefly then cooled) or on top of your refrigerator. Allow the dough to rise for 1 to 1.5 hours, or until it has doubled in size. This slow and steady rise is crucial for developing flavor and creating a light texture.
Shaping and Baking
Shaping the Loaf
After the first rise, gently punch down the dough to release the air. Turn the dough out onto your lightly floured work surface again. Gently shape the dough into your desired loaf form. For a standard sandwich bread loaf, you can pat the dough into a rectangle, about 8 inches wide and 10-12 inches long. Then, starting from one of the longer sides, tightly roll up the dough into a log, pressing out any air bubbles as you go. Pinch the seam closed firmly. Tuck the ends under. If you’re using a standard loaf pan (9×5 inch is common), grease it thoroughly with butter or cooking spray. Carefully place the shaped dough log into the prepared loaf pan, seam-side down.
Second Rise and Baking
Cover the loaf pan loosely with plastic wrap or a clean kitchen towel and let it rise again in a warm place for another 45-60 minutes, or until the dough has risen above the rim of the pan by about an inch. Preheat your oven to 375°F (190°C) during the last 15 minutes of the second rise. Once the oven is preheated and the dough has completed its second rise, remove the cover. Place the loaf pan on the center rack of the preheated oven. Bake for 30-35 minutes, or until the crust is a beautiful golden brown and the internal temperature of the bread reaches 190-200°F (88-93°C) when tested with an instant-read thermometer. If the crust starts to brown too quickly, you can loosely tent the top with aluminum foil.
Cooling and Slicing
Once baked, immediately remove the bread from the loaf pan and place it on a wire cooling rack. This step is critical to prevent a soggy bottom. Allow the bread to cool completely, for at least 2-3 hours, before slicing. Slicing warm bread can result in a gummy texture, as the internal structure hasn’t fully set. Once completely cooled, use a sharp serrated knife to slice your perfect homemade sandwich bread. Enjoy the fruits of your labor, knowing you’ve made the best sandwich bread from scratch!
Conclusion:
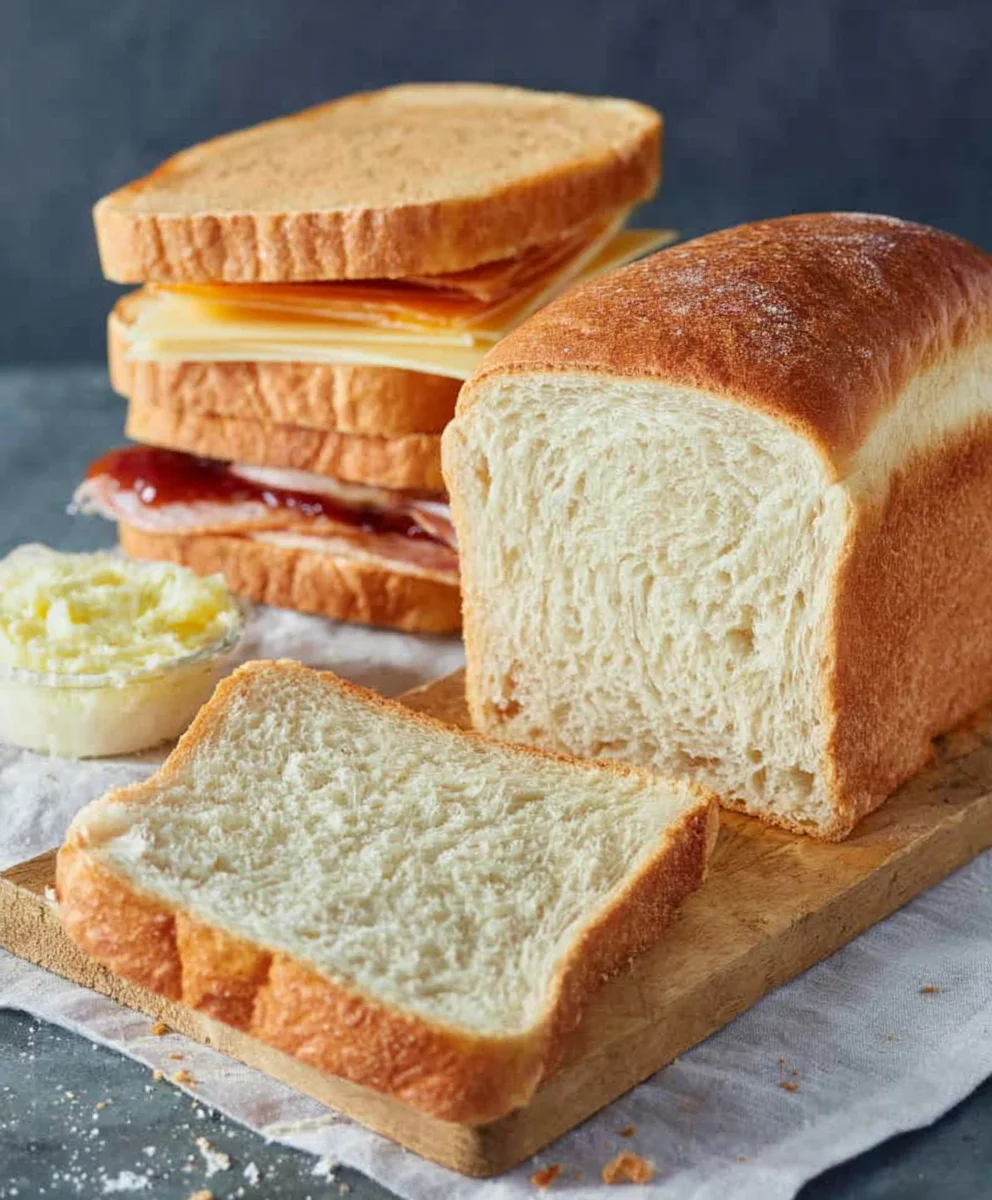
There you have it! My recipe for the Best Sandwich Bread is a testament to how simple ingredients can create something truly magical. This recipe yields a beautifully soft and slightly sweet loaf, perfect for all your sandwich needs, from classic PB&J to elaborate club sandwiches. The aroma that fills your kitchen while this bread bakes is reason enough to try it. Don’t be intimidated by baking your own bread; it’s a rewarding process with delicious results.
For serving suggestions, this bread is absolutely divine toasted and slathered with butter, or used as the base for French toast. It also makes a fantastic accompaniment to soups and stews. Feel free to experiment with variations! Add some herbs like rosemary or thyme to the dough for an herby kick, or incorporate a handful of seeds like sunflower or pumpkin for added texture and flavor. Don’t be afraid to make this recipe your own.
I truly hope you enjoy baking and devouring this Best Sandwich Bread. It’s a staple in my home, and I’m confident it will become one in yours too. Happy baking!
Frequently Asked Questions:
Can I freeze this Best Sandwich Bread?
Yes, absolutely! Once the loaf has completely cooled, wrap it tightly in plastic wrap, then in aluminum foil or place it in a freezer-safe bag. It will stay fresh in the freezer for up to 2-3 months. Thaw at room temperature before slicing and enjoying.
What if I don’t have a stand mixer?
No problem at all! You can absolutely make this Best Sandwich Bread by hand. After combining the ingredients, turn the dough out onto a lightly floured surface and knead for about 10-12 minutes, or until it’s smooth, elastic, and passes the windowpane test. It’s a great workout!
How long does this bread stay fresh at room temperature?
Stored in an airtight container or bread box at room temperature, this Best Sandwich Bread will stay fresh for about 3-4 days. For longer storage, freezing is your best bet.
The Best Sandwich Bread Recipe- Soft Fluffy Homemade Loaf
A simple and delicious recipe for a soft, fluffy, homemade sandwich bread loaf that is perfect for all your sandwich needs.
Ingredients
-
3/4 Cup Warm Water
-
1/2 Cup Warm Milk
-
1 Tablespoon Granulated Sugar
-
1 Tablespoon Brown Sugar
-
2 1/4 teaspoons Active Dry Yeast
-
2 Tablespoons Olive Oil
-
1/2 teaspoon Salt
-
3 Cups All-Purpose Flour
Instructions
-
Step 1
In a large mixing bowl, combine warm water and warm milk (105-115°F). Add granulated sugar and brown sugar. Sprinkle yeast over the top and let sit for 5-10 minutes until foamy. -
Step 2
Gently stir in olive oil and salt into the foamy yeast mixture. Add about half of the flour and mix until just combined to form a shaggy, sticky mass. -
Step 3
Turn dough onto a lightly floured surface and knead for 8-10 minutes until smooth and elastic, adding small amounts of flour as needed. Perform the windowpane test to check gluten development. -
Step 4
Shape dough into a ball, place in a lightly oiled bowl, turn to coat, cover, and let rise in a warm place for 1 to 1.5 hours, or until doubled in size. -
Step 5
Punch down dough, shape into a loaf, and place seam-side down in a greased loaf pan. Cover and let rise for 45-60 minutes until it rises about an inch above the pan rim. -
Step 6
Preheat oven to 375°F (190°C). Bake the loaf for 30-35 minutes until golden brown and internal temperature reaches 190-200°F. -
Step 7
Immediately remove bread from the pan and cool completely on a wire rack for at least 2-3 hours before slicing.
Important Information
Nutrition Facts (Per Serving)
It is important to consider this information as approximate and not to use it as definitive health advice.
Allergy Information
Please check ingredients for potential allergens and consult a health professional if in doubt.