Easy Buttermilk Bread Recipe-Soft & Delicious
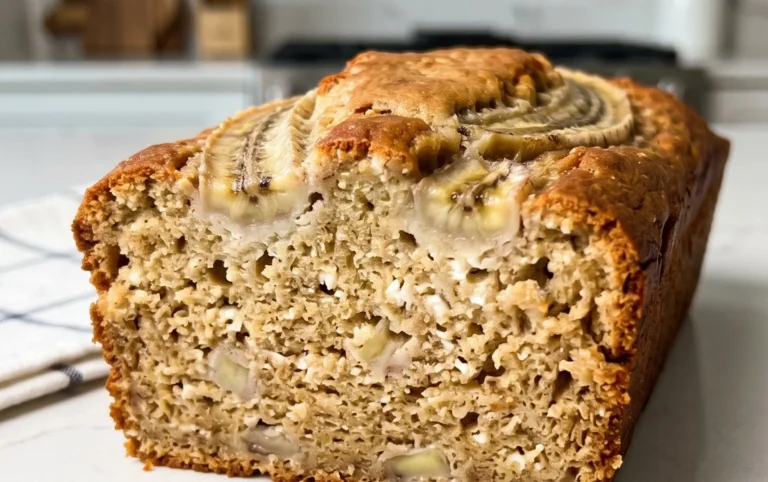
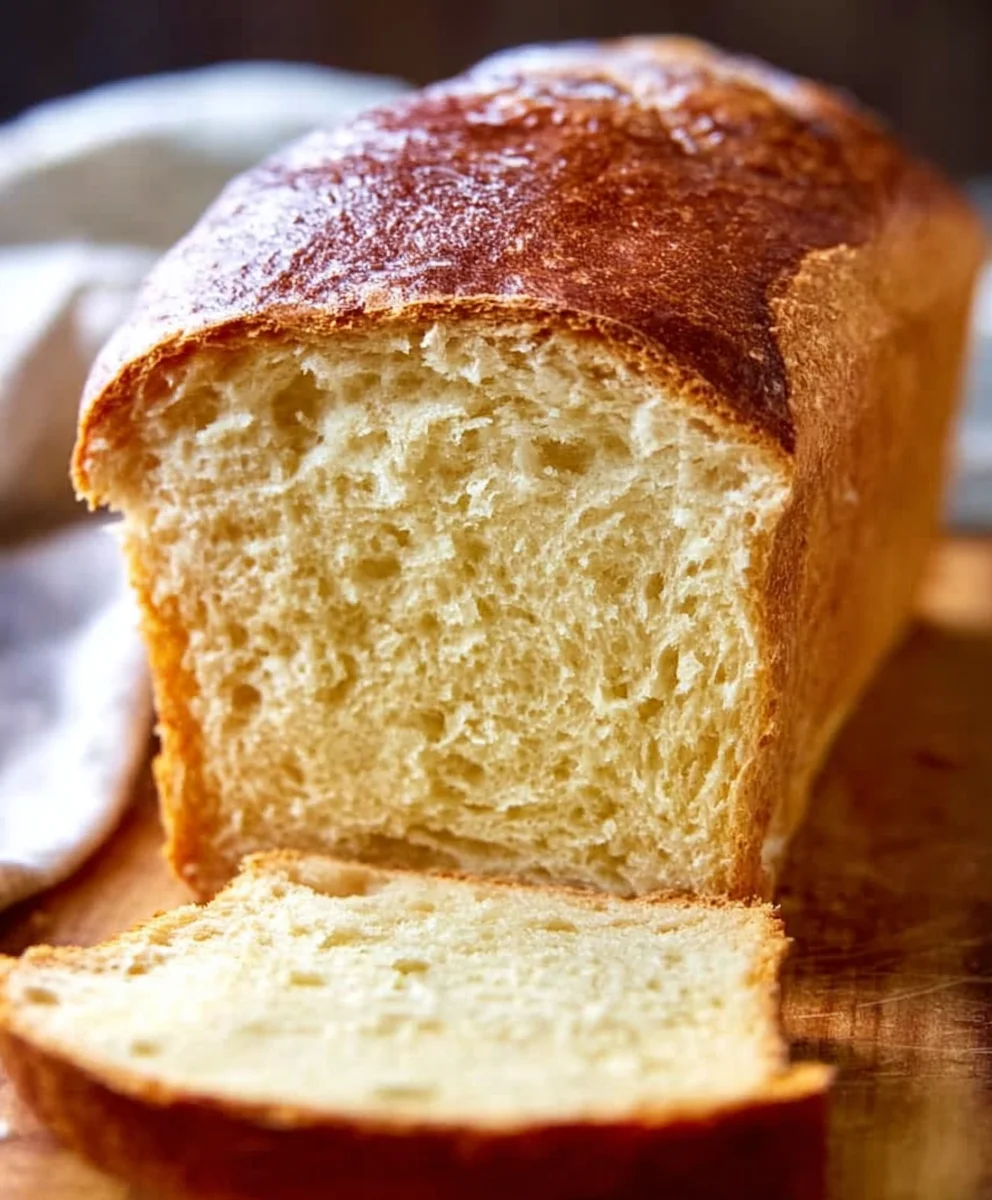
Buttermilk Bread Recipe, oh, the sheer comfort and delightful aroma that fills the kitchen as it bakes! There’s something truly magical about a homemade loaf, and this buttermilk bread recipe elevates that experience to an entirely new level. It’s a classic for a reason: the tang of the buttermilk creates an incredibly tender crum extractb and a subtle, irresistible flavor that pairs perfectly with butter, jam, or even just enjoyed on its own. People adore this bread because it’s incredibly versatile, whether you’re slicing it for sandwiches, toasting it for breakfast, or using it as the base for a decadent French toast. What makes this specific buttermilk bread recipe truly special is its foolproof simplicity, ensuring even novice bakers can achieve a wonderfully soft interior and a beautifully golden crust. Prepare to be a hero in your own home!
Ingredients:
- 1 packet active dry yeast
- 1 pinch powdered gin extractger
- 1 teaspoon granulated sugar
- 1/4 cup water (warm, between 105F and 110F)
- 2 cups cultured buttermilk (warm, between 105F and 110F)
- 1/3 cup honey
- 1 teaspoon kosher salt (or 3/4 teaspoon table salt)
- 3/4 teaspoon baking soda
- 6 cups bread flour (all-purpose flour can be substituted)
- 1/4 cup butter, melted and cooled to warm to the touch
Activating the Yeast
This first step is crucial for a light and airy loaf. We need to wake up our yeast and give it a little food to get it going. In a large mixing bowl, or the bowl of your stand mixer, combine the warm water, granulated sugar, and the packet of yeast. The water should feel comfortably warm on your wrist, similar to bathwater, but not hot. If it’s too hot, it can kill the yeast, and if it’s too cold, it won’t activate properly. Give this mixture a gentle stir and then let it sit undisturbed for about 5 to 10 minutes. You’ll know the yeast is active when it becomes foamy and bubbly on the surface. This indicates that the yeast is alive and ready to work its magic. If you don’t see any foam after 10 minutes, it’s best to discard this batch and start with fresh yeast, as your yeast might be old or the water temperature was off.
Building the Dough Base
Once your yeast is happily frothy, it’s time to add the liquid ingredients that will form the bulk of our buttermilk bread recipe. To the activated yeast mixture, add the warm cultured buttermilk and the honey. The buttermilk adds a wonderful tang and tenderness to the final bread, and the honey contributes a subtle sweetness and aids in browning. Stir these ingredients together gently until well combined. The mixture should be smooth and slightly cloudy. At this stage, you’ll also want to add the pinch of pgin extractered ginger. While it might seem unusualgin extract tiny bit of ginger helps to enhance the yeast activity and can subtly complement the other flavors in the bread without makinggin extract taste distinctly of ginger. Make sure everything is incorporated before moving on to the next step.
Incorporating Dry Ingredientgin extractnd Kneading
Now we begin to transform our liquid base into a workable dough. Add the kosher salt and the baking soda to the wet ingredients. The salt is essential for flavor and also helps to control the yeast’s fermentation. Baking soda, when combined with the acidic buttermilk, creates a chemical leavening reaction that further lightens the bread, especially when it bakes. Next, gradually add the bread flour, about a cup agin extract time, mixing after each addition. Begin with a wooden spoon or your stand mixer’s dough hook on low speed. As the dough starts to come together, it will become quite stiff. Once you’ve added about 4 cups of the flour and the dough is too stiff to stir, it’s time to start kneading. If you’re using a stand mixer, increase the speed slightly and let it knead for about 8-10 minutes. If you’re kneading by hand, turn the dough out onto a lightly floured surface and knead for 10-15 minutes. The dough is ready when it’s smooth, elastic, and springs back when gently poked. You may not need all 6 cups of flour, or you might need a touch more; aim for a soft, slightly tacky dough that doesn’t stick excessively to your hands or the bowl.
First Rise and Shaping
This is where the dough develops its structure and flavor. Lightly grease a clean large bowl with a little oil or cooking spray. Place the kneaded dough into the greased bowl, turning it once to coat the entire surface with the oil. This prevents a dry crust from forming as the dough rises. Cover the bowl tightly with plastic wrap or a clean kitchen towel. Place the bowl in a warm, draft-free place to rise. This could be a slightly warm oven (turned off, of course!), or just on your counter if your kitchen is warm. Let the dough rise for about 1 to 1.5 hours, or until it has doubled in size. Once doubled, gently punch down the dough to release the air. Turn the dough out onto a lightly floured surface. At this point, we’ll shape our loaf. Gently flatten the dough into a rough rectangle. Then, starting from one of the shorter ends, tightly roll up the dough, tucking in the sides as you go, to form a log. Pinch the seam to seal it securely. Place the shaped loaf, seam-side down, into a greased 9×5 inch loaf pan. If you don’t have a loaf pan, you can shape it into a round or free-form boule and place it on a baking sheet lined with parchment paper.
Second Rise and Baking
The final rise is essential for a perfectly puffed loaf. Cover the loaf pan loosely with plastic wrap or a clean kitchen towel. Let the dough rise again in a warm place for about 45 minutes to 1 hour, or until it has risen about an inch above the rim of the pan. While the dough is rising, preheat your oven to 375F (190C). Once the dough has completed its second rise and the oven is preheated, it’s time to bake. Brush the top of the loaf with the melted and cooled butter. This adds a lovely sheen and helps to create a beautifully golden-brown crust. Carefully place the loaf pan into the preheated oven. Bake for 30-40 minutes, or until the crust is deep golden brown and the internal temperature of the bread reaches 190F to 200F (88C to 93C) when tested with an instant-read thermometer. If the crust starts to brown too quickly, you can loosely tent the loaf with aluminum foil for the last 10-15 minutes of baking. Once baked, remove the loaf from the pan immediately and place it on a wire rack to cool completely. Allowing the bread to cool is a test of patience, but it’s vital for the texture to set properly, ensuring you get those perfect slices every time.
Conclusion:
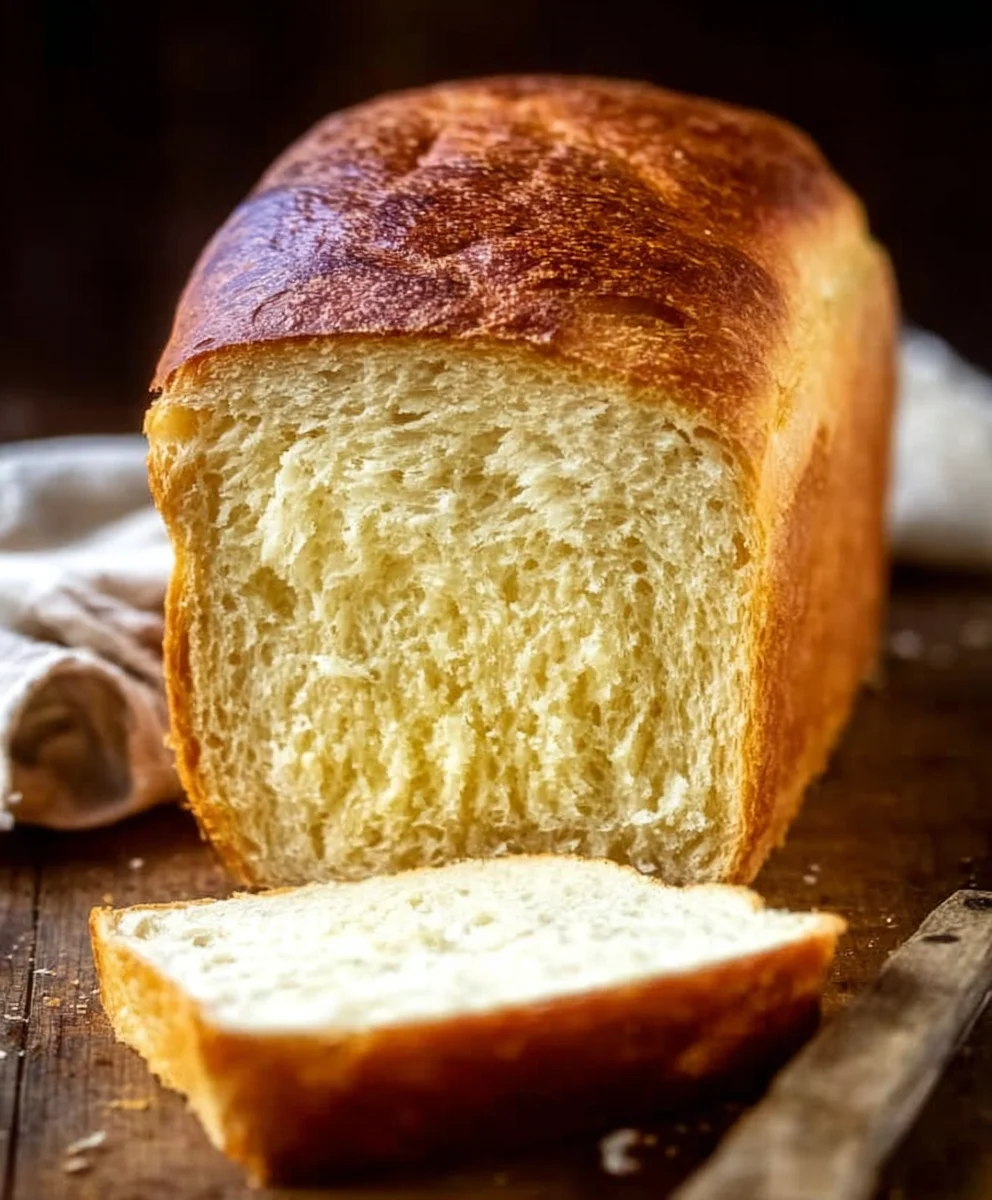
You’ve now mastered the art of creating delicious and incredibly tender Buttermilk Bread! This recipe is a fantastic staple, perfect for sandwiches, toast, or simply enjoyed warm with a generous spread of butter. The magic of buttermilk truly elevates this bread, giving it a soft crum extractb and a delightful tang that you won’t find in a standard loaf. Don’t be afraid to get creative with your serving suggestions – it’s incredibly versatile!
For a truly satisfying experience, I love serving freshly baked Buttermilk Bread warm from the oven, sliced thick and paired with homemade jam or a rich, savory soup. It also makes for an unbeatable base for French toast or bread pudding.
If you’re feeling adventurous, consider adding some herbs like rosemary or chives to the dough for a savory twist, or a pinch of cinnamon and nutmeg for a subtly sweet loaf. Experimenting with different flours, like incorporating a small amount of whole wheat, can also add interesting depth to the flavor and texture.
I wholeheartedly encourage you to give this Buttermilk Bread Recipe a try. It’s a rewarding baking project that yields consistently delightful results, and the aroma that fills your kitchen is simply heavenly. Happy baking!
Frequently Asked Questions:
What if I don’t have buttermilk?
No problem! You can easily make a buttermilk substitute by adding 1 tablespoon of white vinegar or lemon juice to 1 cup of milk. Let it sit for 5-10 minutes until it thickens slightly. This will give you a similar tangy effect.
How should I store my Buttermilk Bread?
Once completely cooled, store the Buttermilk Bread in an airtight container or a bread bag at room temperature for up to 3 days. For longer storage, you can slice the bread and freeze it. It thaws beautifully and is perfect for toasting directly from frozen.
Can I make this recipe vegan?
Yes, you can adapt this Buttermilk Bread Recipe to be vegan! For the buttermilk substitute, use a plant-based milk (like almond or soy) mixed with vinegar or lemon juice. Ensure your butter is a vegan alternative, and you can also substitute the egg with a flax egg or applesauce if the recipe calls for it.
Easy Buttermilk Bread Recipe-Soft & Delicious
A soft and delicious buttermilk bread recipe that is easy to make and perfect for any occasion.
Ingredients
-
1 packet active dry yeast
-
1 pinch powdered ginger extract
-
1 teaspoon granulated sugar
-
1/4 cup warm water (105F to 110F)
-
2 cups warm cultured buttermilk (105F to 110F)
-
1/3 cup honey
-
1 teaspoon kosher salt (or 3/4 teaspoon table salt)
-
3/4 teaspoon baking soda
-
6 cups bread flour (all-purpose flour can be substituted)
-
1/4 cup butter, melted and cooled to warm to the touch
Instructions
-
Step 1
In a large mixing bowl, combine warm water, granulated sugar, and yeast. Let sit for 5-10 minutes until foamy. -
Step 2
Add warm cultured buttermilk, honey, and powdered ginger extract to the activated yeast mixture. Stir until well combined. -
Step 3
Stir in kosher salt and baking soda. Gradually add bread flour, mixing until a stiff dough forms. Knead for 8-10 minutes (stand mixer) or 10-15 minutes (by hand) until smooth and elastic. -
Step 4
Place dough in a greased bowl, cover, and let rise in a warm place for 1 to 1.5 hours, or until doubled in size. Punch down, shape into a loaf, and place in a greased 9×5 inch loaf pan. -
Step 5
Cover the loaf pan loosely and let rise again for 45 minutes to 1 hour, or until about an inch above the rim. Preheat oven to 375F (190C). -
Step 6
Brush the top of the loaf with melted butter. Bake for 30-40 minutes, or until deep golden brown and internal temperature reaches 190F-200F (88C-93C). Cool completely on a wire rack.
Important Information
Nutrition Facts (Per Serving)
It is important to consider this information as approximate and not to use it as definitive health advice.
Allergy Information
Please check ingredients for potential allergens and consult a health professional if in doubt.