Easy Chocolate Protein Pudding Recipe-Healthy Snack
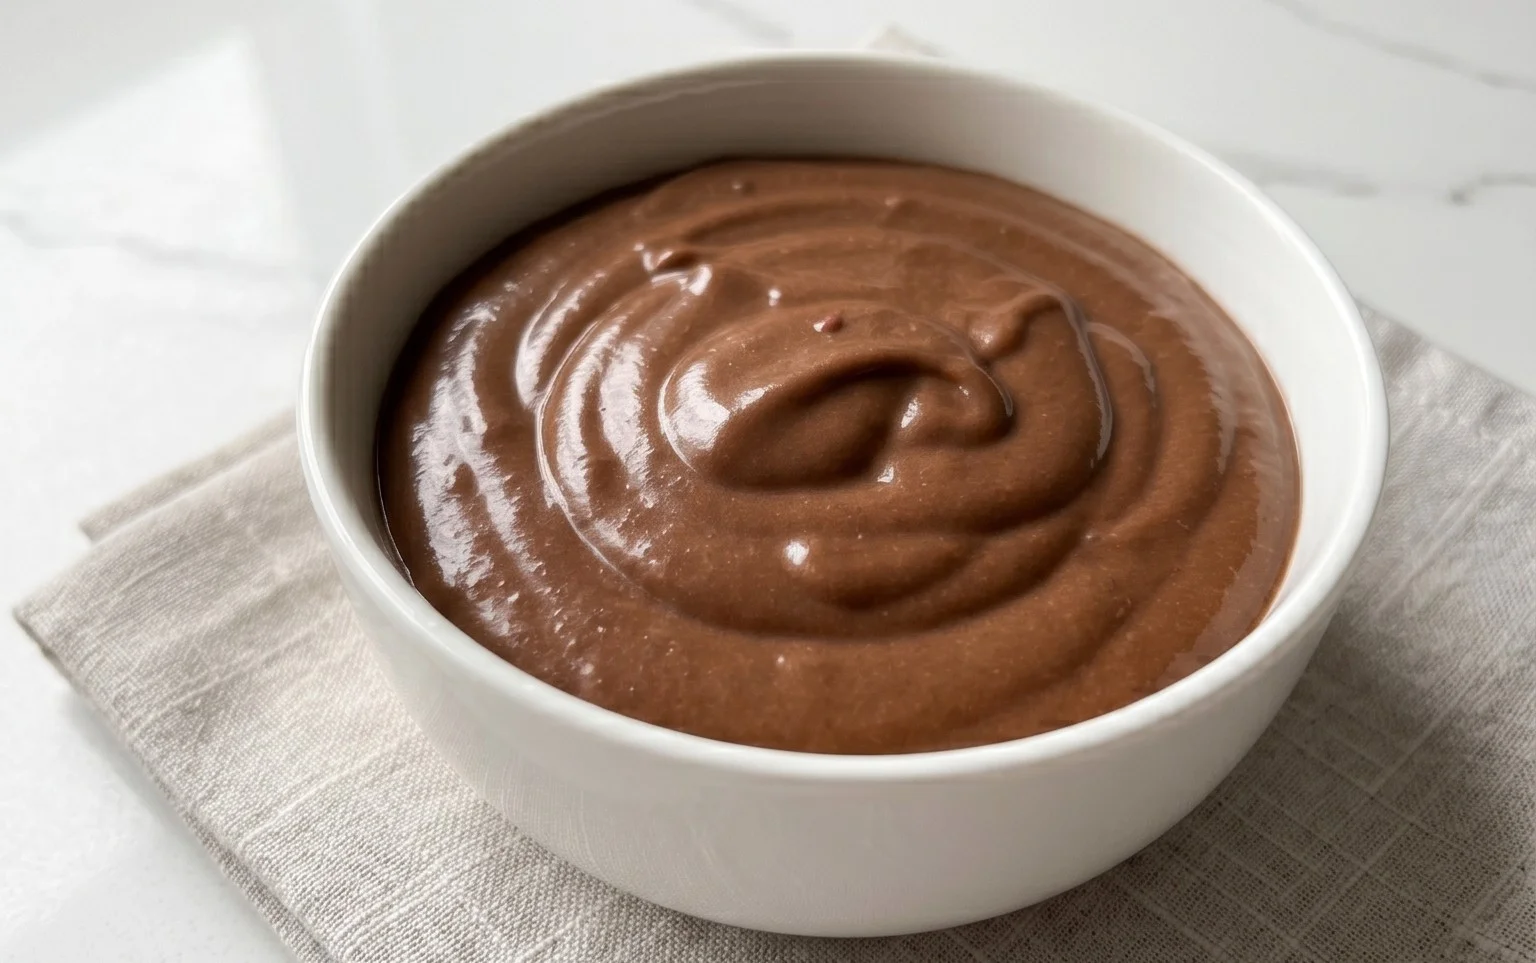
Chocolate protein pudding is more than just a dessert; it’s a guilt-free indulgence that satisfies your sweet cravings while fueling your body. We all love that rich, decadent flavor of chocolate, right? But what if you could have that blissful experience without the sugar rush or the post-treat slump? That’s where this incredible chocolate protein pudding recipe shines. It’s a game-changer for anyone looking to boost their protein intake, recover from workouts, or simply enjoy a healthier sweet treat. What makes this particular chocolate protein pudding so special is its ridiculously creamy texture and deep chocolate flavor, achieved with simple, wholesome ingredients. Forget chalky textures or artificial aftertastes; this pudding is pure velvety goodness. It’s the perfect way to end a meal or power up your afternoon snack.
The Ultimate Chocolate Protein Pudding Recipe
Who says you can’t indulge in a rich, decadent dessert while still sticking to your health goals? This Chocolate Protein Pudding is a game-changer. It’s incredibly simple to make, satisfyingly creamy, and packed with protein to keep you feeling full and energized. Forget those chalky, artificial-tasting protein shakes – this pudding is the delicious, guilt-free treat you’ve been searching for. It’s perfect for a post-workout refuel, a healthy afternoon snack, or even a satisfying dessert. The best part? You probably have most of the ingredients in your pantry right now! Let’s dive into how to create this heavenly concoction.
Ingredients:
Instructions:
This recipe is wonderfully straightforward, requiring no baking or complicated techniques. It’s all about combining the right ingredients for a smooth, luscious texture.
Phase 1: The Base Preparation
The foundation of our delicious pudding is creamy Greek yogurt. I prefer to use full-fat Greek yogurt because it lends a richer, more luxurious texture to the final product. However, if you’re looking to reduce the fat content, a 2% or even non-fat version will work, though the pudding might be slightly less thick and creamy. If you’re using plain Greek yogurt, adding vanilla extract is crucial for that classic dessert flavor. If you happen to have vanilla-flavored Greek yogurt on hand, you can reduce the amount of vanilla extract slightly or omit it altogether, tasting as you go.
Phase 2: Incorporating the Chocolatey Goodness
Now it’s time to get serious about that chocolate flavor. The unsweetened cocoa powder is where the deep, rich chocolate notes come from. The amount you use can be adjusted to your personal preference. If you’re a true chocoholic, feel free to lean towards the higher end of the measurement. I find 3 tablespoons gives a great balanced chocolate flavor, but 4 tablespoons delivers a more intense, dark chocolate experience. It’s important to use unsweetened cocoa powder to control the overall sweetness of the pudding, especially since we’re adding a touch of maple syrup later.
The protein powder is the star for boosting the protein content. The type of chocolate protein powder you use can subtly affect the flavor and consistency. Whey protein tends to blend very smoothly, while plant-based proteins might require a bit more stirring to avoid grittiness. Don’t worry if your protein powder is a little lumpy when you first add it; a good whisking will take care of that. The approximate measurement per scoop is provided, but it’s always a good idea to check your specific protein powder’s serving size to ensure accuracy.
Phase 3: Sweetening and Flavoring
Maple syrup is our sweetener of choice here. It adds a lovely, natural sweetness and a subtle caramel undertone that complements the chocolate beautifully. Again, you have some flexibility. If you prefer your pudding less sweet, start with 1 tablespoon and add more to taste. If you have a major sweet tooth, you might go up to 3 tablespoons, but be mindful of how much sugar you’re adding. Other liquid sweeteners like agave nectar or honey could also be used, but they will impart their own unique flavors.
The vanilla extract is a small but mighty ingredient. It acts as a flavor enhancer, deepening the chocolate notes and adding a lovely warmth to the overall taste. A full teaspoon is usually perfect, but a tiny bit more or less won’t ruin the recipe.
Phase 4: The Blending Process
1. Combine Wet Ingredients: In a large mixing bowl, add the 5 cups of Greek yogurt. Add the 1 teaspoon of vanilla extract and the 2 tablespoons of maple syrup directly to the yogurt. Give this a quick whisk to ensure the yogurt is smooth and to start distributing the liquid sweeteners and vanilla evenly. This initial step helps prevent the dry ingredients from clumping too much.
2. Add Dry Ingredients: Next, add the 4 scoops of chocolate protein powder and the 3 to 4 tablespoons of unsweetened cocoa powder to the bowl. If your protein powder tends to clump, you can sift it in with the cocoa powder to help break up any small lumps before you begin extract mixing.
3. Whisk Until Smooth: This is where the magic happens! Using a whisk or a sturdy spatula, begin extract to vigorously stir and mix all the ingredients together. Start by gently incorporating the dry ingredients into the wet, then increase your pace. You’ll want to scrape down the sides and the bottom of the bowl frequently to ensure that no dry pockets of protein powder or cocoa powder are left behind. Keep whisking until the mixture is completely smooth, creamy, and uniformly chocolate-colored. There should be no visible streaks of protein powder or cocoa. This might take a few minutes of dedicated whisking. If you find it very thick, you can add a tablespoon of milk (any kind) at a time until you reach your desired consistency, but it should be quite thick to begin extract with.
4. Taste and Adjust: Once you have a smooth, homogenous mixture, it’s time for a crucial step: tasting! Dip a clean spoon in and take a small bite. Does it have enough chocolate flavor for you? Is it sweet enough? Do you want a touch more vanilla? This is your chance to personalize the pudding. Add more cocoa powder for a deeper chocolate flavor, a little more maple syrup for sweetness, or an extra splash of vanilla extract if you like. Remember, it’s easier to add ingredients than to take them away, so make small adjustments and re-whisk thoroughly after each addition.
5. Chill to Perfection: Once you’re happy with the flavor and consistency, cover the bowl tightly with plastic wrap or a lid. Transfer the bowl to the refrigerator and let it chill for at least 30 minutes. This chilling time is essential. It allows the flavors to meld together beautifully and the pudding to thicken up to a delightful, spoonable consistency. The longer it chills, the firmer it will become. For an even thicker, more pudding-like texture, you can let it chill for a couple of hours or even overnight.
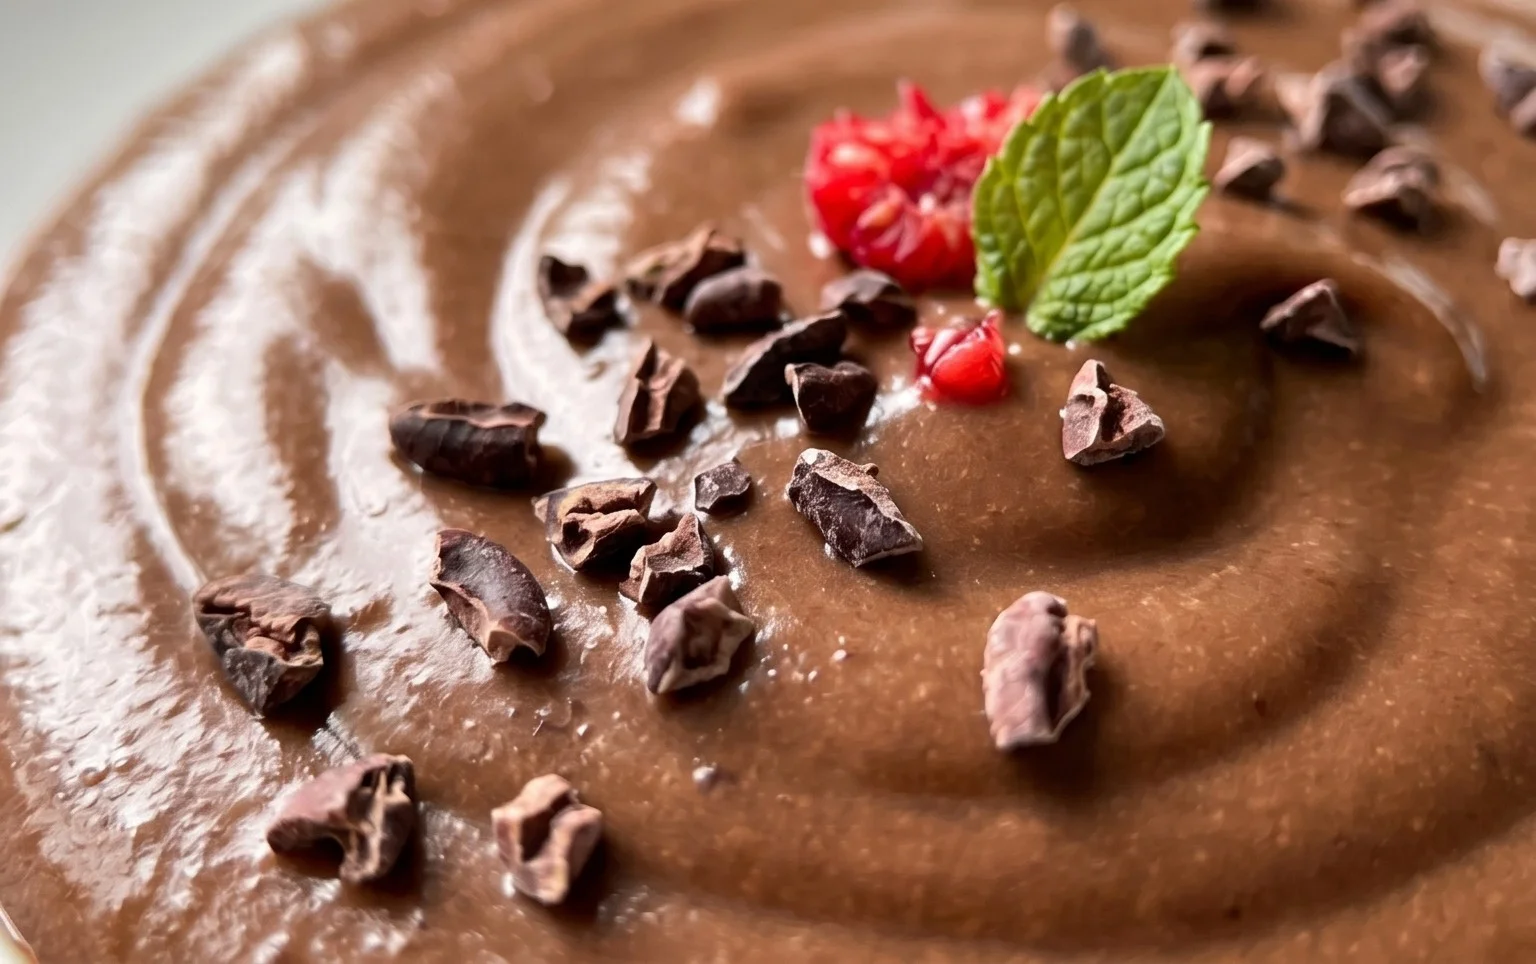
This Chocolate Protein Pudding is incredibly versatile. Serve it on its own in small bowls for a satisfying snack, or get creative with toppings! Fresh berries like raspberries or strawberries add a lovely tart contrast. A sprinkle of chopped nuts, a dollop of whipped cream (if you’re feeling extra decadent), or even a few dark chocolate shavings can elevate this simple dessert to new heights. Enjoy this delicious and nutritious treat knowing you’re nourishing your body with every spoonful!
Conclusion:
So there you have it – your ultimate guide to creating a delicious and satisfying Chocolate Protein Pudding! This recipe truly shines because it’s not only incredibly simple to whip up, requiring minimal ingredients and no baking, but it also delivers a rich, decadent chocolate flavor that feels like a total treat. It’s the perfect guilt-free indulgence for any time of day. Enjoy it chilled straight from the fridge as a post-workout recovery snack, a light dessert, or even a healthy breakfast option. You can customize it to your heart’s content: try adding a swirl of nut butter for extra creaminess and flavor, a handful of berries for a burst of freshness, or a sprinkle of shredded coconut for added texture. Don’t be afraid to experiment and make this Chocolate Protein Pudding your own! I highly encourage you to give this recipe a try; I promise you won’t be disappointed.
Frequently Asked Questions:
Can I use a different type of protein powder?
Absolutely! While whey protein is fantastic for its smooth texture, you can also successfully use plant-based protein powders like pea, soy, or even a blend. Just be aware that different protein powders can affect the final texture and taste slightly. You might need to adjust the liquid a little depending on how absorbent your chosen powder is.
How long will the pudding last in the refrigerator?
This Chocolate Protein Pudding can be stored in an airtight container in the refrigerator for up to 3-4 days. It generally holds its texture well during this time, making it a great make-ahead option for busy weeks.
Is this recipe suitable for vegans?
Yes, if you use a vegan protein powder and a plant-based milk (like almond, soy, or oat milk), this recipe is entirely vegan-friendly. Just ensure your chocolate ingredients are also dairy-free.
Chocolate Protein Pudding
A quick and easy chocolate protein pudding recipe, perfect for a healthy dessert or snack.
Ingredients
-
5 cups Greek yogurt (full-fat, plain or vanilla)
-
4 scoops chocolate protein powder
-
3 to 4 tablespoons unsweetened cocoa powder
-
1 teaspoon vanilla extract
-
2 tablespoons maple syrup
Instructions
-
Step 1
In a large bowl, combine the Greek yogurt and chocolate protein powder. -
Step 2
Add the unsweetened cocoa powder and vanilla extract. -
Step 3
Pour in the maple syrup for sweetness. -
Step 4
Mix all ingredients thoroughly until well combined and smooth. Use a whisk or electric mixer for best results. -
Step 5
Divide the pudding into individual serving dishes or containers. -
Step 6
Chill in the refrigerator for at least 30 minutes before serving, or until set.
Important Information
Nutrition Facts (Per Serving)
It is important to consider this information as approximate and not to use it as definitive health advice.
Allergy Information
Please check ingredients for potential allergens and consult a health professional if in doubt.