Strawberry Kiss Cookies – Easy Homemade Treats
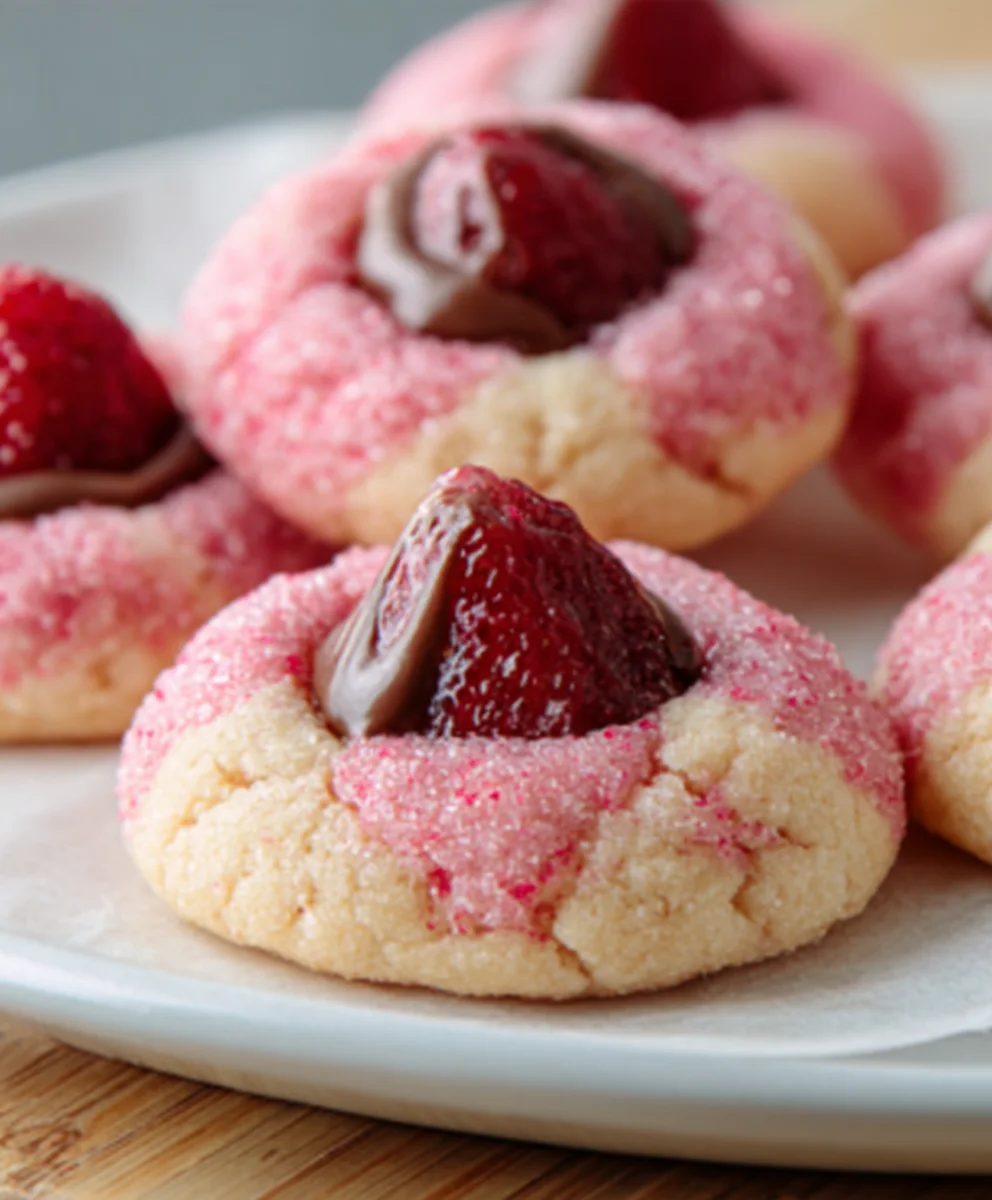
Strawberry Kiss Cookies are more than just a delightful baked good; they are a miniature explosion of springtime joy, perfect for any occasion that calls for a touch of sweetness and a hint of romance. Imagin extracte delicate, melt-in-your-mouth cookies, imbued with the vibrant essence of fresh strawberries, their bright, slightly tart flavor dancing with the buttery richness of the cookie base. These aren’t your average sugar cookies; they offer a unique textural experience and a flavor profile that is both sophisticated and comforting. People absolutely adore Strawberry Kiss Cookies because they capture the essence of the fruit at its peak, transforming it into an edible work of art. What makes them truly special is the subtle yet impactful strawberry flavor that isn’t artificial or overpowering, balanced perfectly with the tender crum extractb, creating a truly memorable treat that leaves you wanting just one more.
Ingredients:
- 1 box (15.25 oz) strawberry cake mix
- 8 tablespoons (1/2 cup) butter, melted and slightly cooled
- 1 large egg
- 4 ounces cream cheese, softened
- Optional: powdered sugar or pink granulated sugar, for dusting
- 30 chocolate Hershey’s Kisses, unwrapped
Making the Strawberry Kiss Cookies Dough
Mixing the Base
The foundation of our delightful Strawberry Kiss Cookies starts with a box of strawberry cake mix. This is a fantastic shortcut that provides an intense strawberry flavor and a vibrant color right from the start, eliminating the need for any artificial coloring or flavorings. In a large mixing bowl, combine the entire box of strawberry cake mix. Ensure there are no large clumps of dry mix.
Adding the Wet Ingredients
Next, we introduce the richness and binding agents to our dry mix. Add the melted butter to the bowl. It’s important that the butter is melted but not piping hot; slightly cooled is perfect. This ensures it incorporates smoothly without scrambling the egg or affecting the texture of the dough. Following the butter, crack in your large egg. The egg will act as a binder, helping our cookies hold their shape during baking and contributing to a tender crum extractb.
Incorporating the Cream Cheese Magic
Now for a little secret ingredient that elevates these cookies from good to absolutely divine: cream cheese! Make sure your cream cheese is truly softened. You should be able to easily press into it with your finger. This ensures it will blend seamlessly into the dough, adding a wonderful subtle tang and an incredibly moist and chewy texture that plain cookie dough wouldn’t achieve. Add the softened cream cheese to the bowl with the cake mix, butter, and egg.
Bringin extractg it All Togethergin extract4>
Begin mixing these ingredients together. You can use an electric mixer on a low speed, or a sturdy spatula or wooden spoon. Start by gently combining the dry and wet ingredients. The dough will likely seemrum extractbit crumbly at first, and that’s perfectly normal. Continue mixing until a cohesive dough forms. It should be thick and slightly sticky, but manageable. Avoid overmixing at this stage; we just want everything incorporated to a uniform consistency. Scrape down the sides of the bowl periodically to ensure all the ingredients are fully incorporated. The resulting dough should have a beautiful pink hue and a delightful strawberry aroma.
Shaping and Baking the Cookies
Chilling the Dough
Before we can bake, it’s crucial to chill the dough. This step is non-negotiable for these cookies. The cream cheese and butter in the dough will firm up significantly in the refrigerator, making it much easier to handle and preventing the cookies from spreading too much during baking. Cover the bowl tightly with plastic wrap, pressing it directly onto the surface of the dough to prevent a skin from forming. Refrigerate the dough for at least 30 minutes, or up to 2 hours. If you plan to chill it longer, the dough will become quite firm, and you might need to let it sit at room temperature for a few minutes before scooping.
Forming the Cookie Balls
Once the dough is sufficiently chilled and firm enough to handle, it’s time to shape our cookies. Preheat your oven to 350°F (175°C). Line two baking sheets with parchment paper. This will prevent sticking and make for easy cleanup. Scoop rounded tablespoons of dough. You can use a cookie scoop for uniform size, or simply two spoons. Roll each portion of dough between your palms to form a smooth ball. The dough will be firm, but should still be pliable enough to shape without cracking. Aim for balls that are about 1 to 1.5 inches in diameter. Place the dough balls about 2 inches apart on the prepared baking sheets, as they will spread slightly.
Adding the Chocolate Kiss
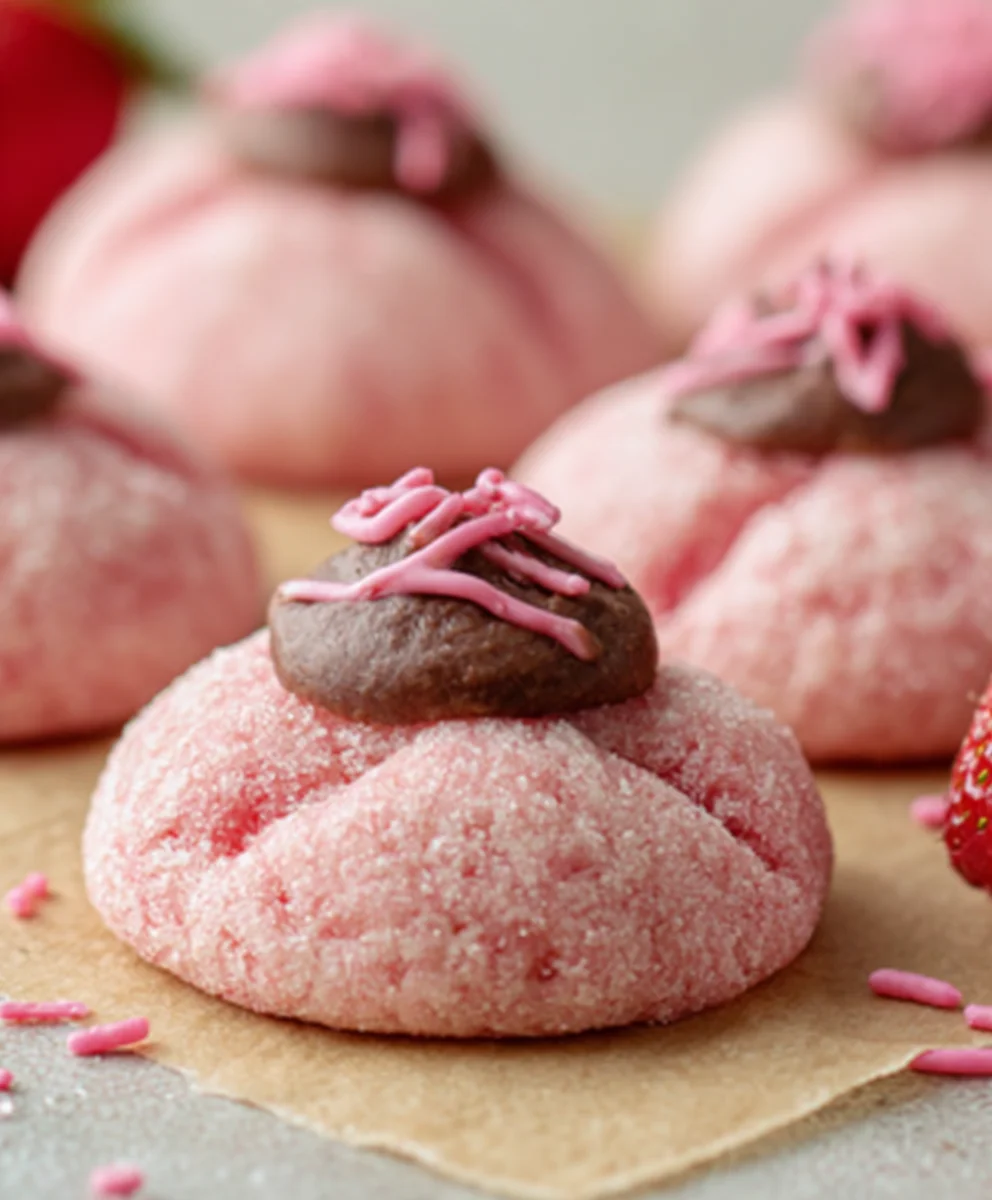
This is where the “Kiss” in Strawberry Kiss Cookies comes to life! Take one unwrapped chocolate Hershey’s Kiss. Gently press the pointed end of the Hershey’s Kiss straight down into the center of each dough ball. Push it in until it’s about halfway or two-thirds of the way down, so that it’s firmly embedded in the dough. You want enough of the Kiss to be submerged to hold it in place, but also for the top of the Kiss to be visible and enticing. If the dough feels too hard to press the Kiss in, let it sit at room temperature for another 5-10 minutes.
Baking to Perfection
Now, it’s time for the magic to happen in the oven. Place the baking sheets in the preheated oven. Bake for 9 to 12 minutes. The exact baking time will depend on your oven and the size of your cookies. You’re looking for the edges of the cookies to be set and lightly golden brown. The center of the cookie should still look slightly soft and underbaked – it will continue to cook as it cools. This ensures a wonderfully chewy texture. Avoid overbaking, as this will rum extractult in dry, crumbly cookies.
Cooling and Finishing Touches
Once the cookies are baked, remove the baking sheets from the oven. Let the cookies cool on the baking sheets for about 5 minutes. This allows them to firm up enough to be moved without losing their shape. During this time, the chocolate Kisses will soften and become wonderfully gooey. After 5 minutes, carefully transfer the cookies to a wire rack to cool completely. While they are still warm, you can optionally dust them with powdered sugar for a snowy effect, or sprinkle them with pink granulated sugar for an extra pop of color and subtle crunch. The melted chocolate kiss will create a beautiful swirl of chocolate within the strawberry cookie as it cools. Enjoy these delightful Strawberry Kiss Cookies!
Conclusion:
There you have it – the delightful and surprisingly simple recipe for Strawberry Kiss Cookies! We’ve walked through each step, from creaming the butter and sugar to that final touch of strawberry magic, ensuring you can whip up these adorable treats with confidence. These cookies are more than just a dessert; they’re a conversation starter and a guaranteed crowd-pleaser, perfect for bake snon-alcoholic ales, holidays, or just an afternoon pick-me-up. Their delicate sweetness and charming appearance make them a versatile addition to any occasion. Enjoy them as is, or explore the suggested serving and variation ideas to truly make them your own. Don’t be afraid to experiment and have fun in the kitchen – that’s what baking is all about!
Frequently Asked Questions about Strawberry Kiss Cookies:
Can I make Strawberry Kiss Cookies ahead of time?
Absolutely! Once cooled completely, Strawberry Kiss Cookies can be stored in an airtight container at room temperature for up to 3-4 days. For longer storage, you can freeze the unbaked dough balls or the baked and cooled cookies for up to 2-3 months. This makes them perfect for making ahead for parties or holidays!
What if I don’t have freeze-dried strawberries? Can I use fresh ones?
While freeze-dried strawberries provide the most concentrated and vibrant strawberry flavor and color, you can try using finely pureed fresh strawberries. However, you’ll need to significantly reduce the moisture content by cooking the puree down until it’s quite thick, almost like a jam. Be aware that using fresh strawberries might alter the cookie’s texture slightly, making them softer.
How can I make the strawberry flavor even more intense in my Strawberry Kiss Cookies?
To boost the strawberry flavor, consider adding a teaspoon of strawberry extract to the dough along with the freeze-dried strawberry powder. You could also try a tiny bit of pink food coloring if you want a more vibrant hue without adding more strawberry liquid.
Strawberry Kiss Cookies – Easy Homemade Treats
Delightful and easy homemade strawberry cookies with a surprise Hershey’s Kiss in the center. Perfect for any occasion!
Ingredients
-
1 box (15.25 oz) strawberry cake mix
-
8 tablespoons (1/2 cup) butter, melted and slightly cooled
-
1 large egg
-
4 ounces cream cheese, softened
-
30 chocolate Hershey’s Kisses, unwrapped
-
Optional: powdered sugar or pink granulated sugar, for dusting
Instructions
-
Step 1
In a large mixing bowl, combine the entire box of strawberry cake mix, melted butter, large egg, and softened cream cheese. Mix until a cohesive dough forms. It should be thick and slightly sticky. -
Step 2
Cover the bowl tightly with plastic wrap and refrigerate for at least 30 minutes, or up to 2 hours, to firm up the dough. -
Step 3
Preheat your oven to 350°F (175°C). Line two baking sheets with parchment paper. Scoop rounded tablespoons of chilled dough and roll into smooth balls. Place dough balls about 2 inches apart on the prepared baking sheets. -
Step 4
Gently press one unwrapped chocolate Hershey’s Kiss into the center of each dough ball until about halfway or two-thirds of the way down. -
Step 5
Bake for 9 to 12 minutes, or until the edges are set and lightly golden brown, and the center still looks slightly soft. -
Step 6
Let the cookies cool on the baking sheets for 5 minutes, then carefully transfer to a wire rack to cool completely. Optionally, dust with powdered sugar or pink granulated sugar while warm.
Important Information
Nutrition Facts (Per Serving)
It is important to consider this information as approximate and not to use it as definitive health advice.
Allergy Information
Please check ingredients for potential allergens and consult a health professional if in doubt.